I first discovered the bento bag while browsing the Fringe Supply Co. website for a gift for my aunt this past holiday season. I eventually decided to go with a knitting notebook for her, but I didn't forget about the Ambatalia bento bags that they sell, and I wanted to try making some for myself.
While I was unable to find a source for where exactly the term "bento bag" came from, my theory is that they were inspired by bags made for bento boxes. Originally, these bags were just bundles wrapped in furoshiki, Japanese cloth used for wrapping. While furoshiki is unique to Japan, the wrapping of objects with fabric can be found throughout the globe and history. Korean bogaji and even the American hobo bindle are other examples of bundle-making.
Tutorial:
The bento bag has endless possibilities. It consists of only two triangle pieces stitched together, so you can easily modify your bag depending on your fabric choices, finishing technique, and scale of your triangles.
Project Time: 45mins
Supplies:
Steps:
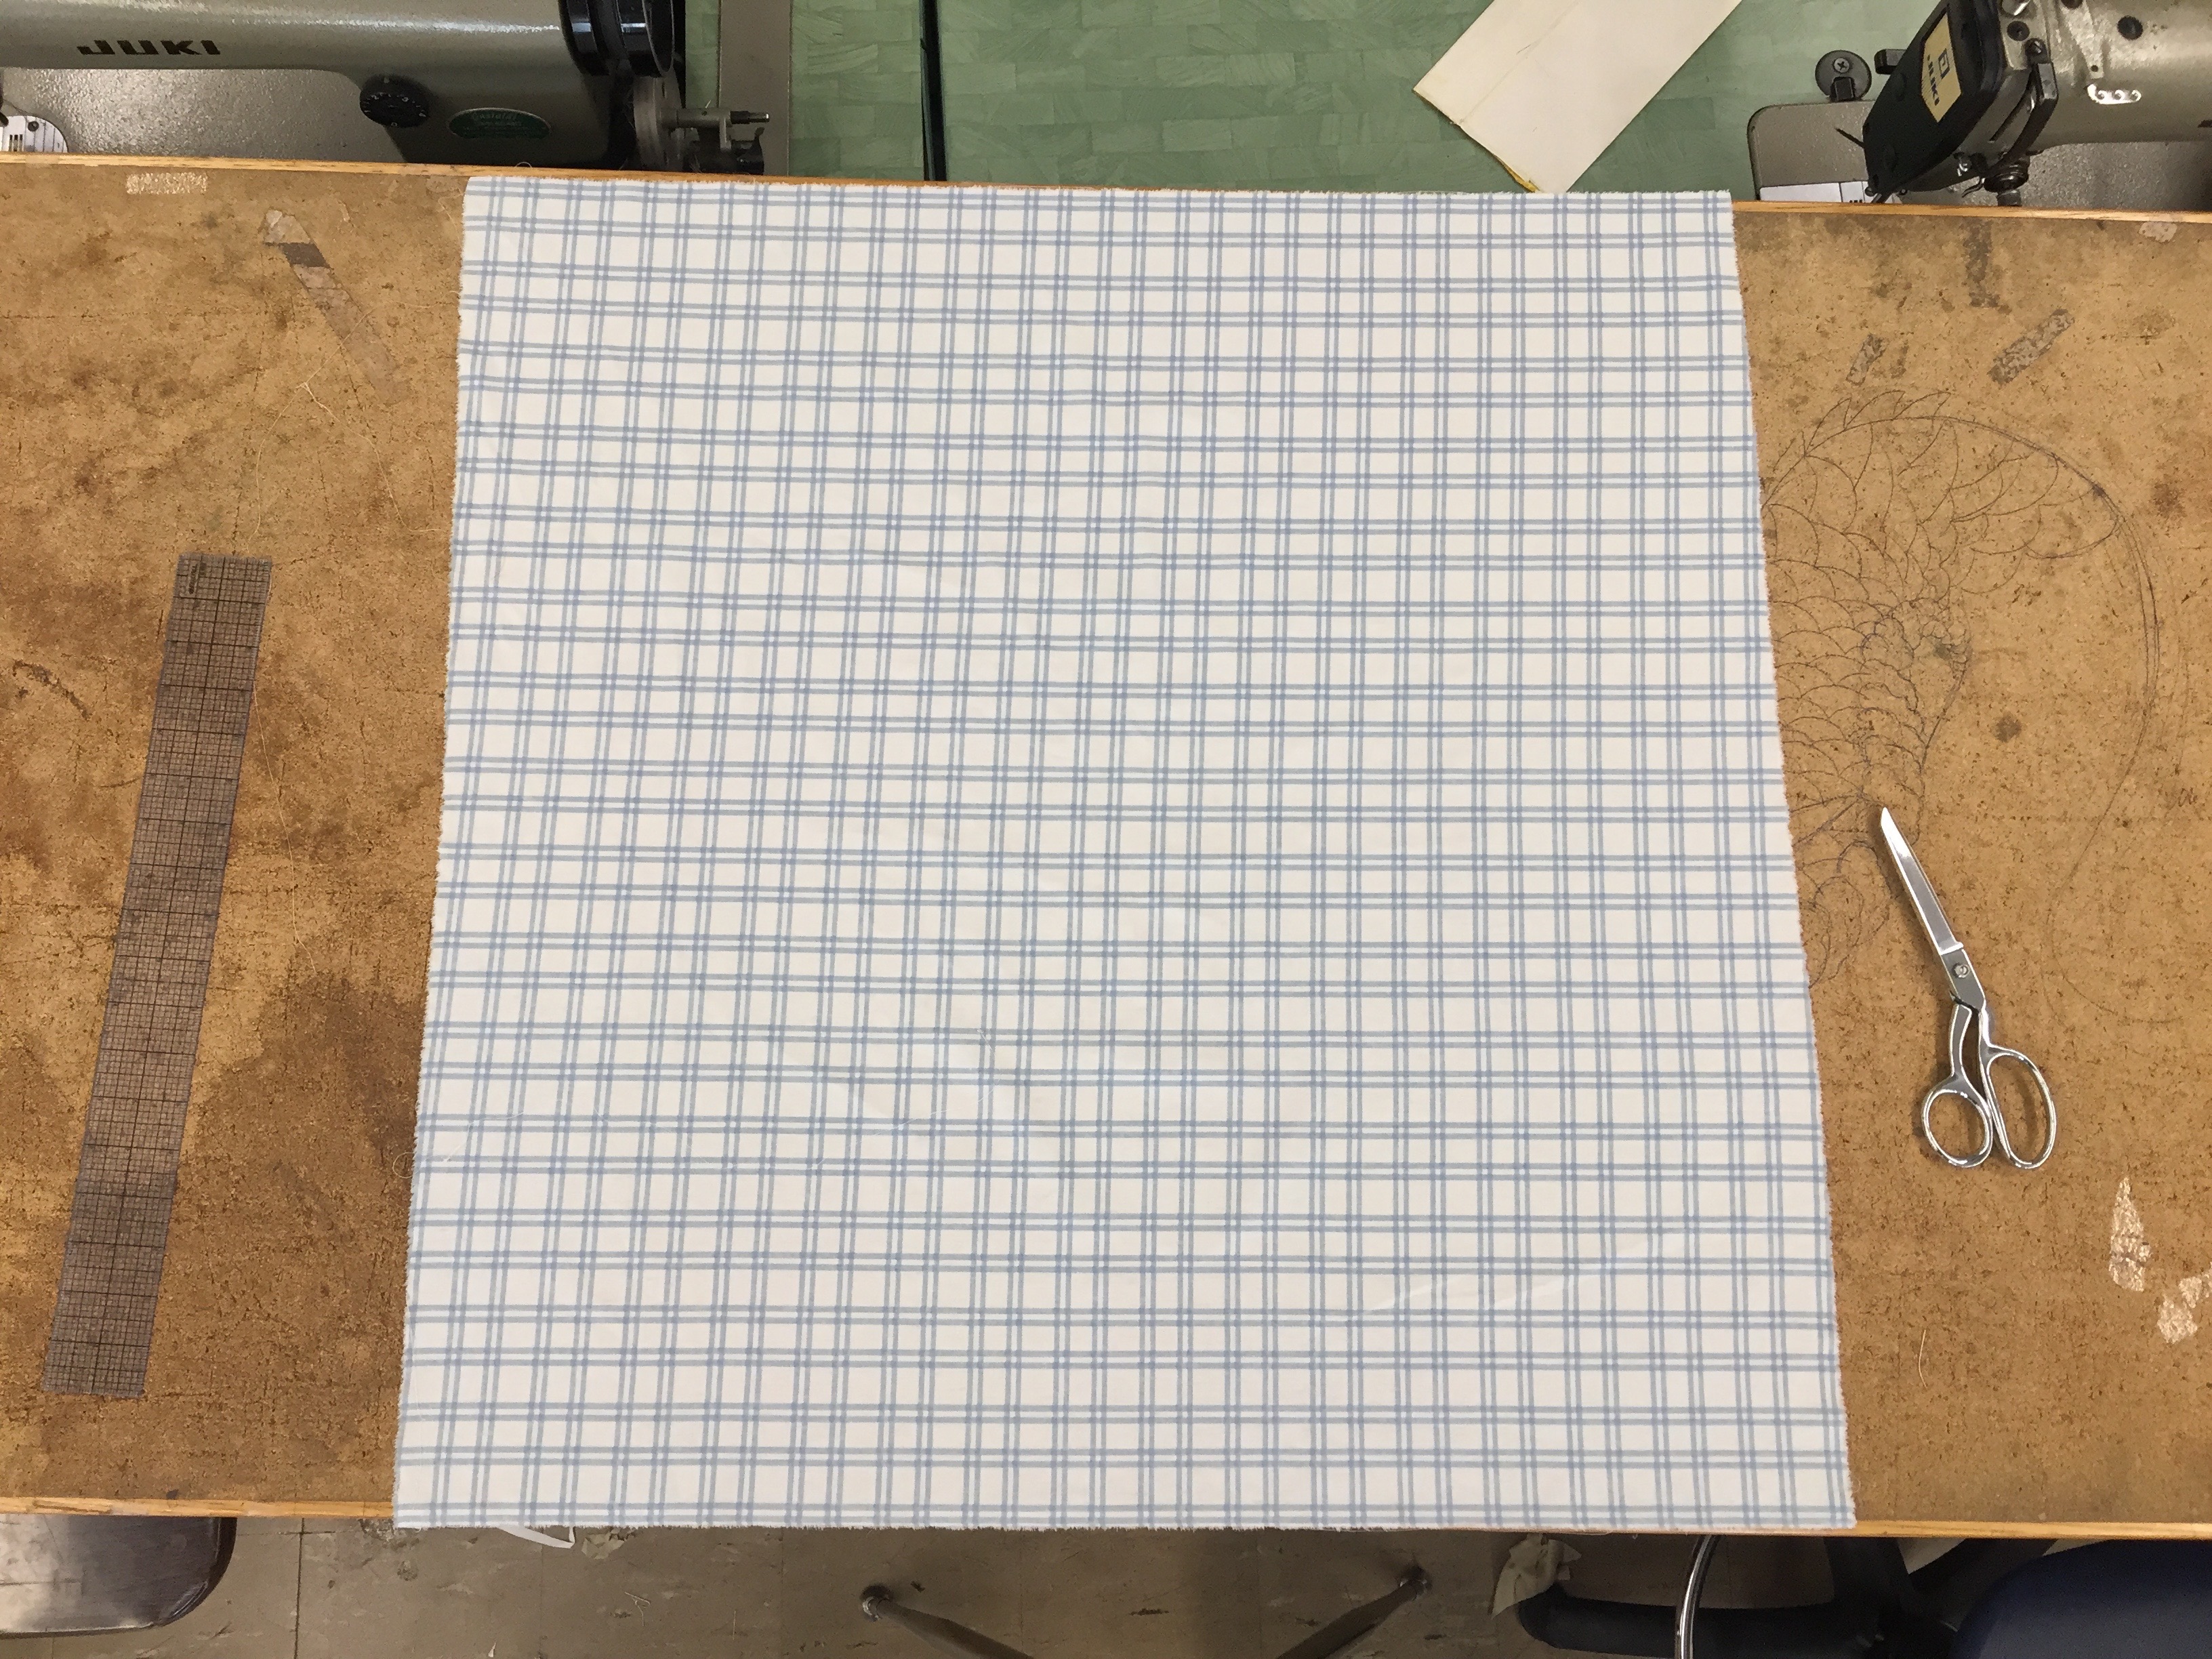
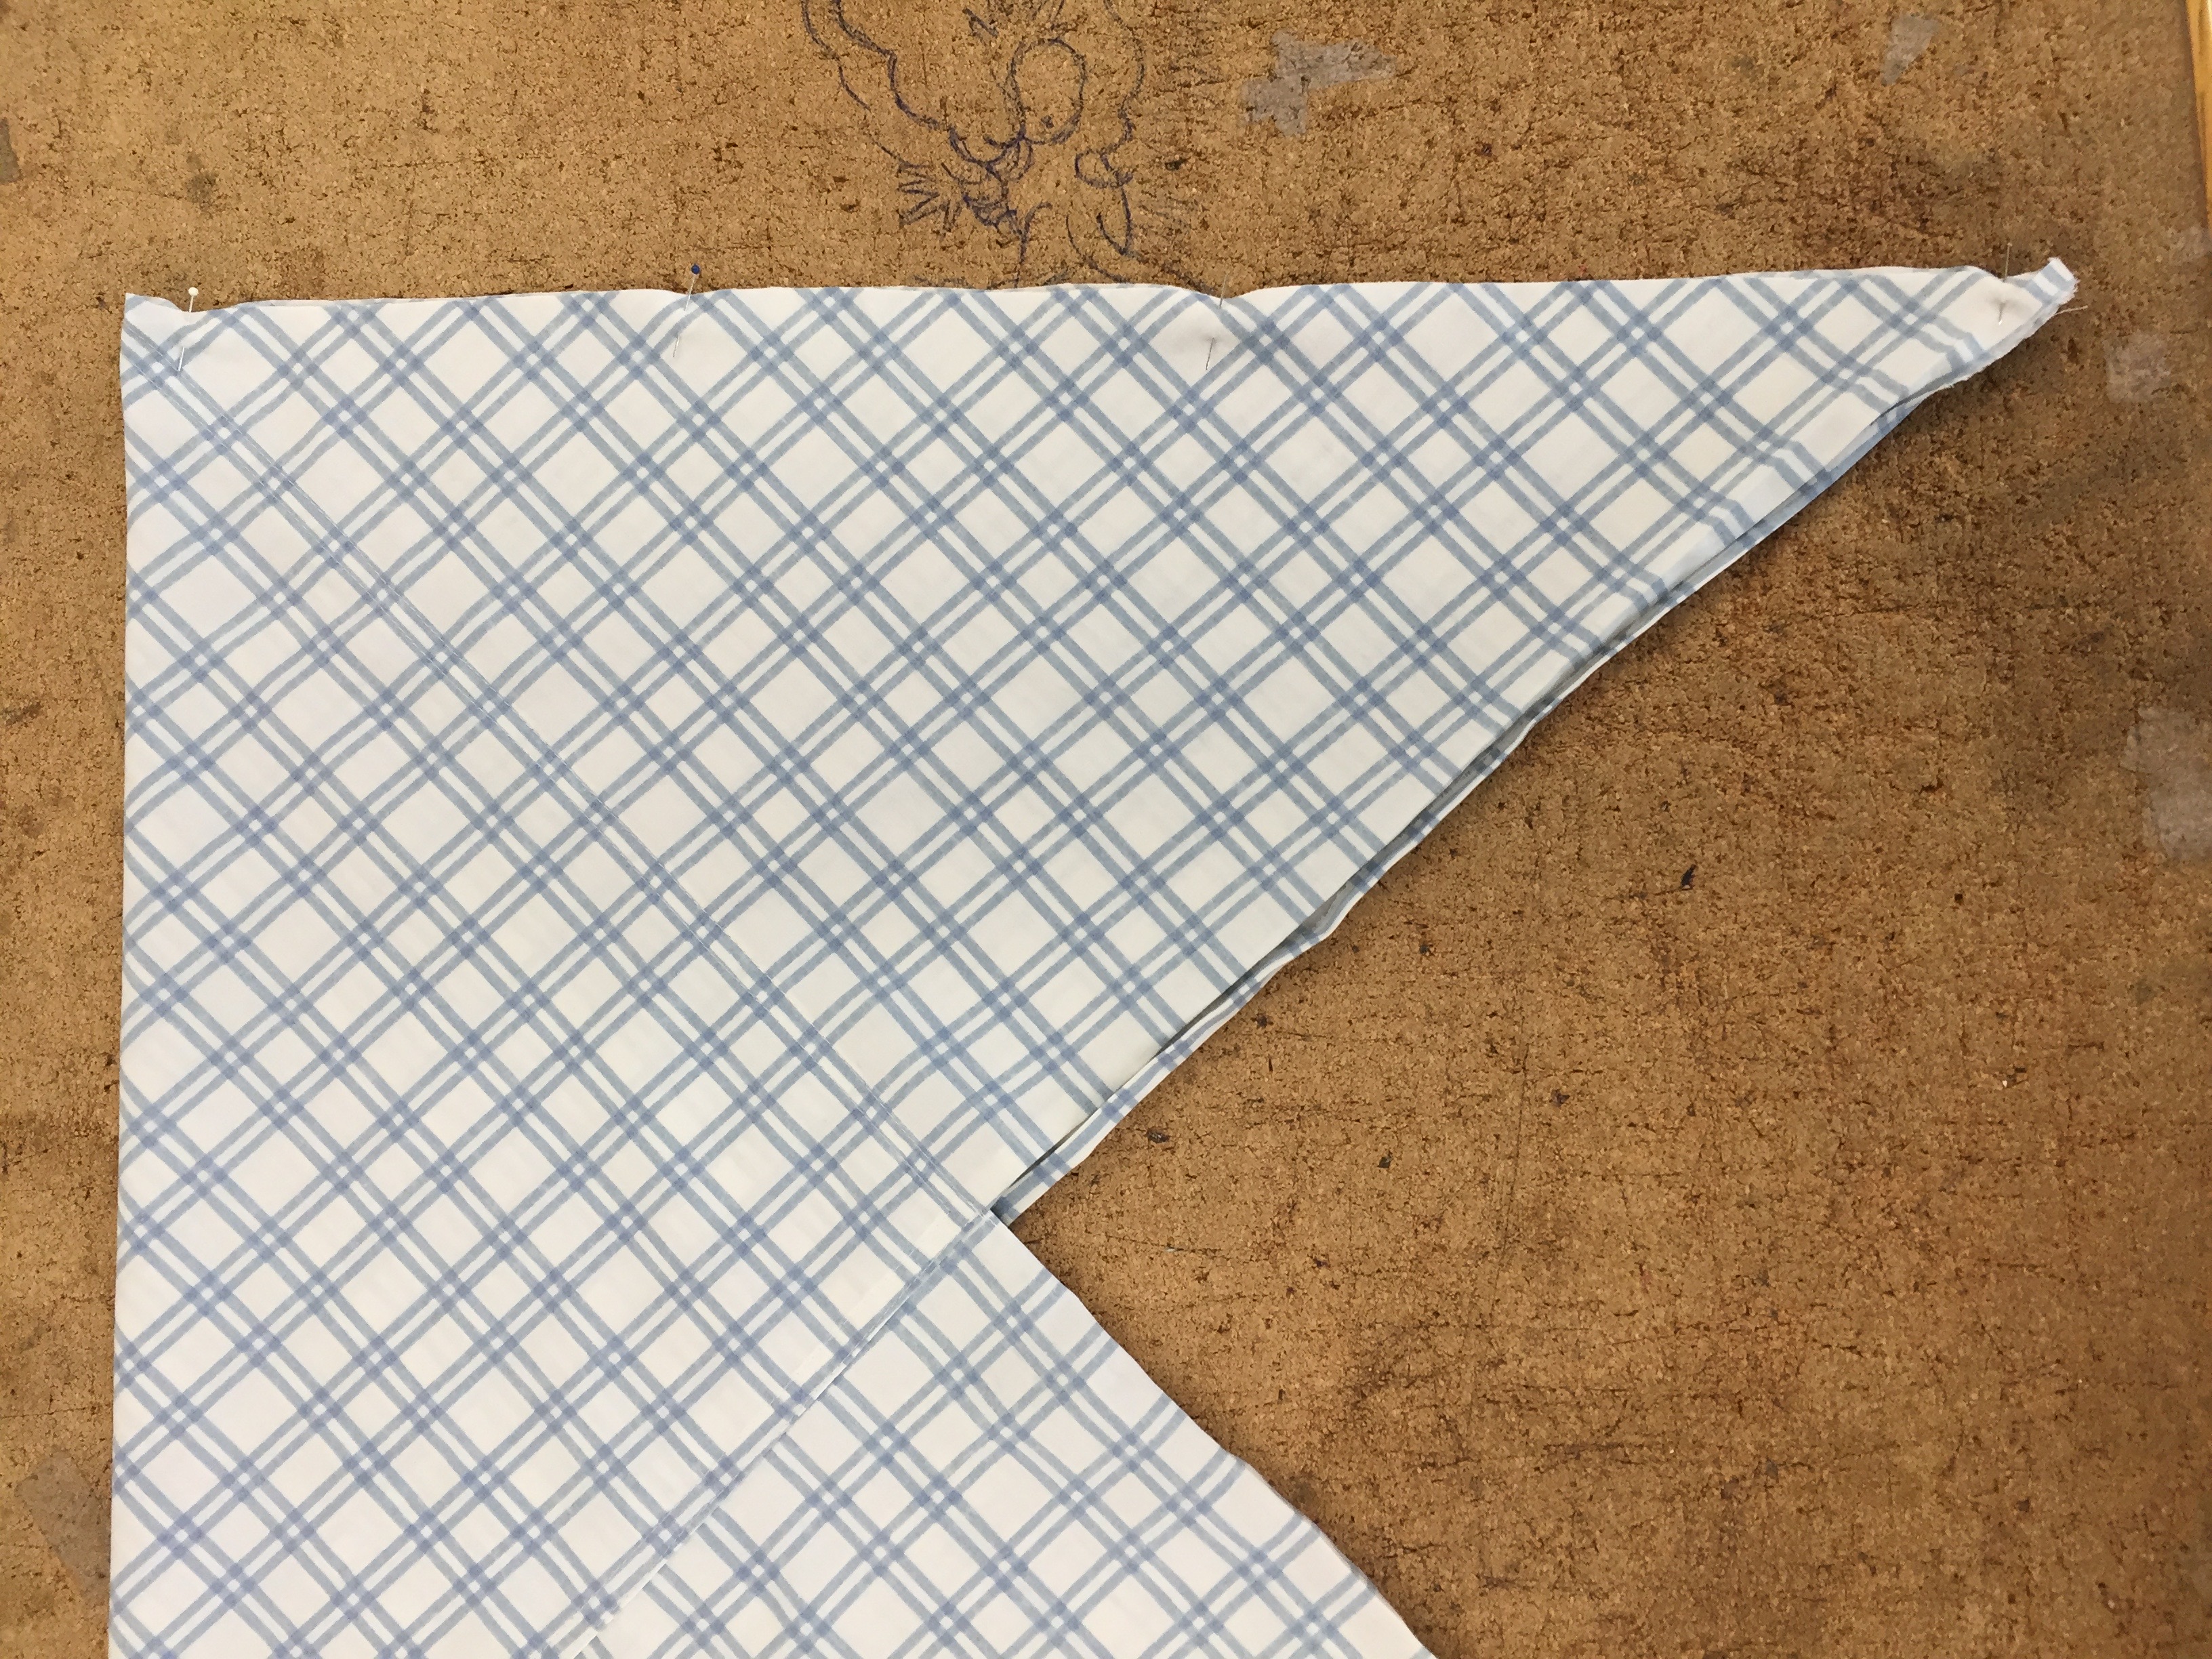
1. Cut out a square (mine was 30" x 30").
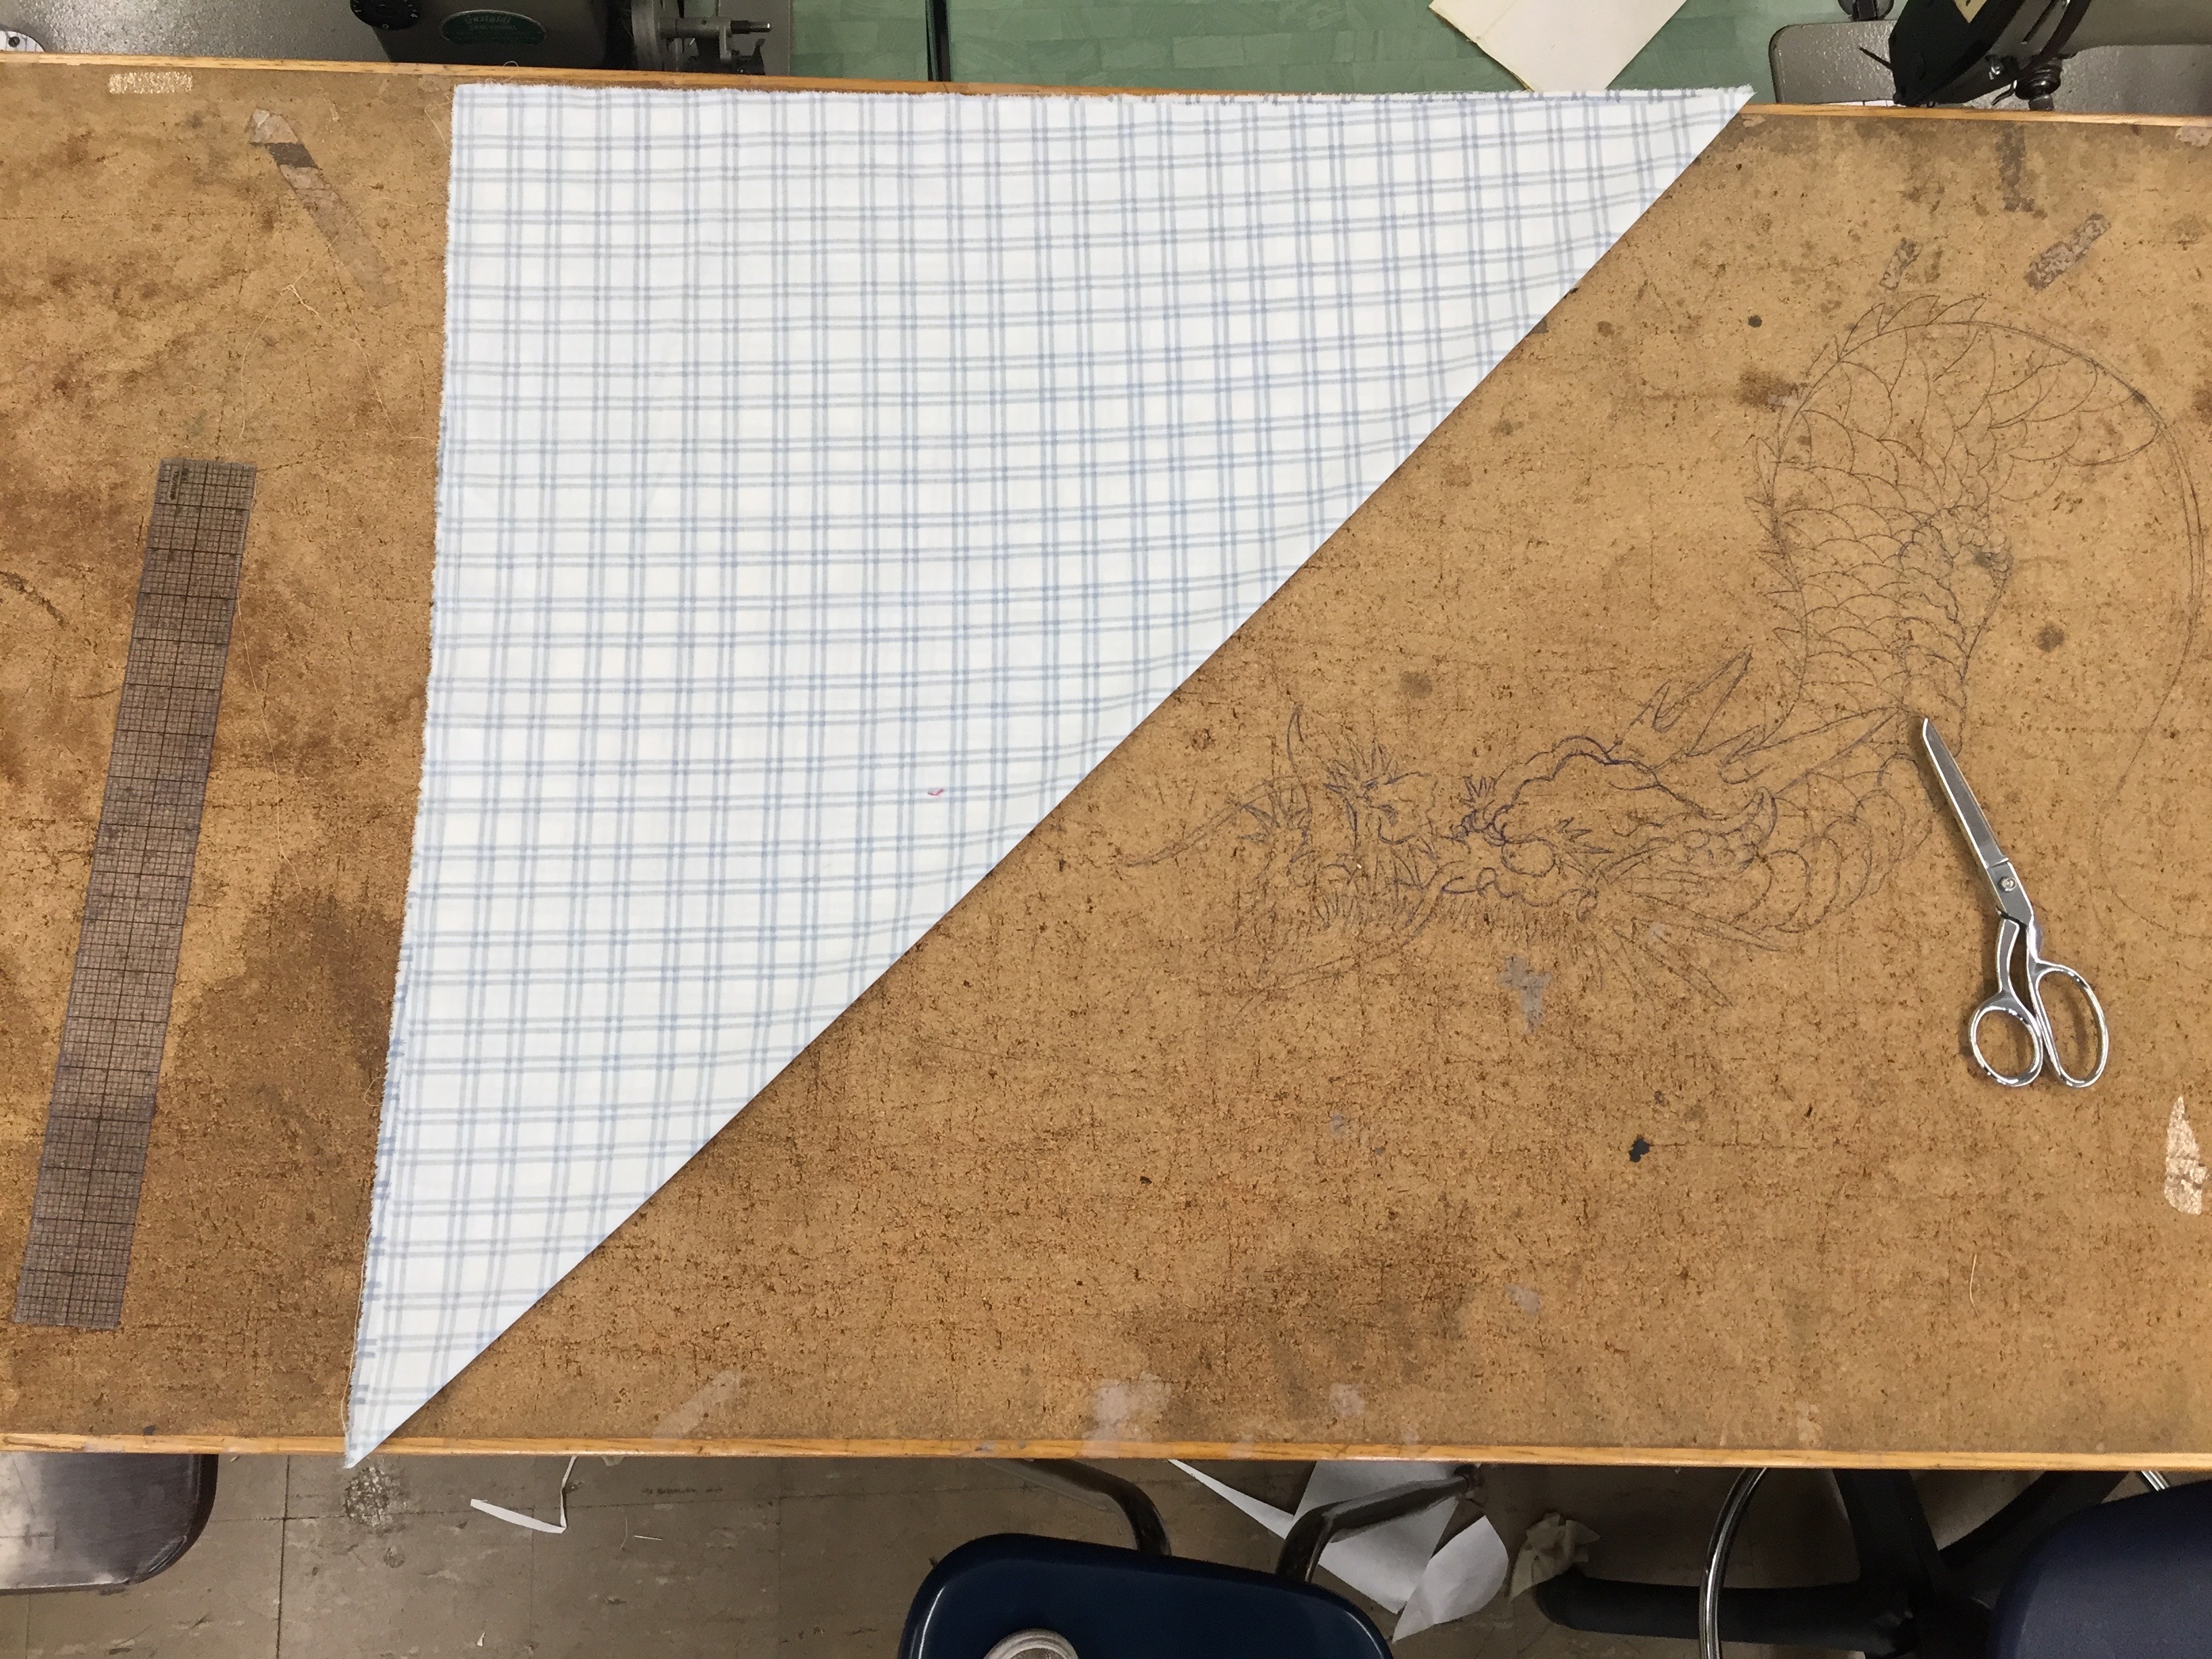
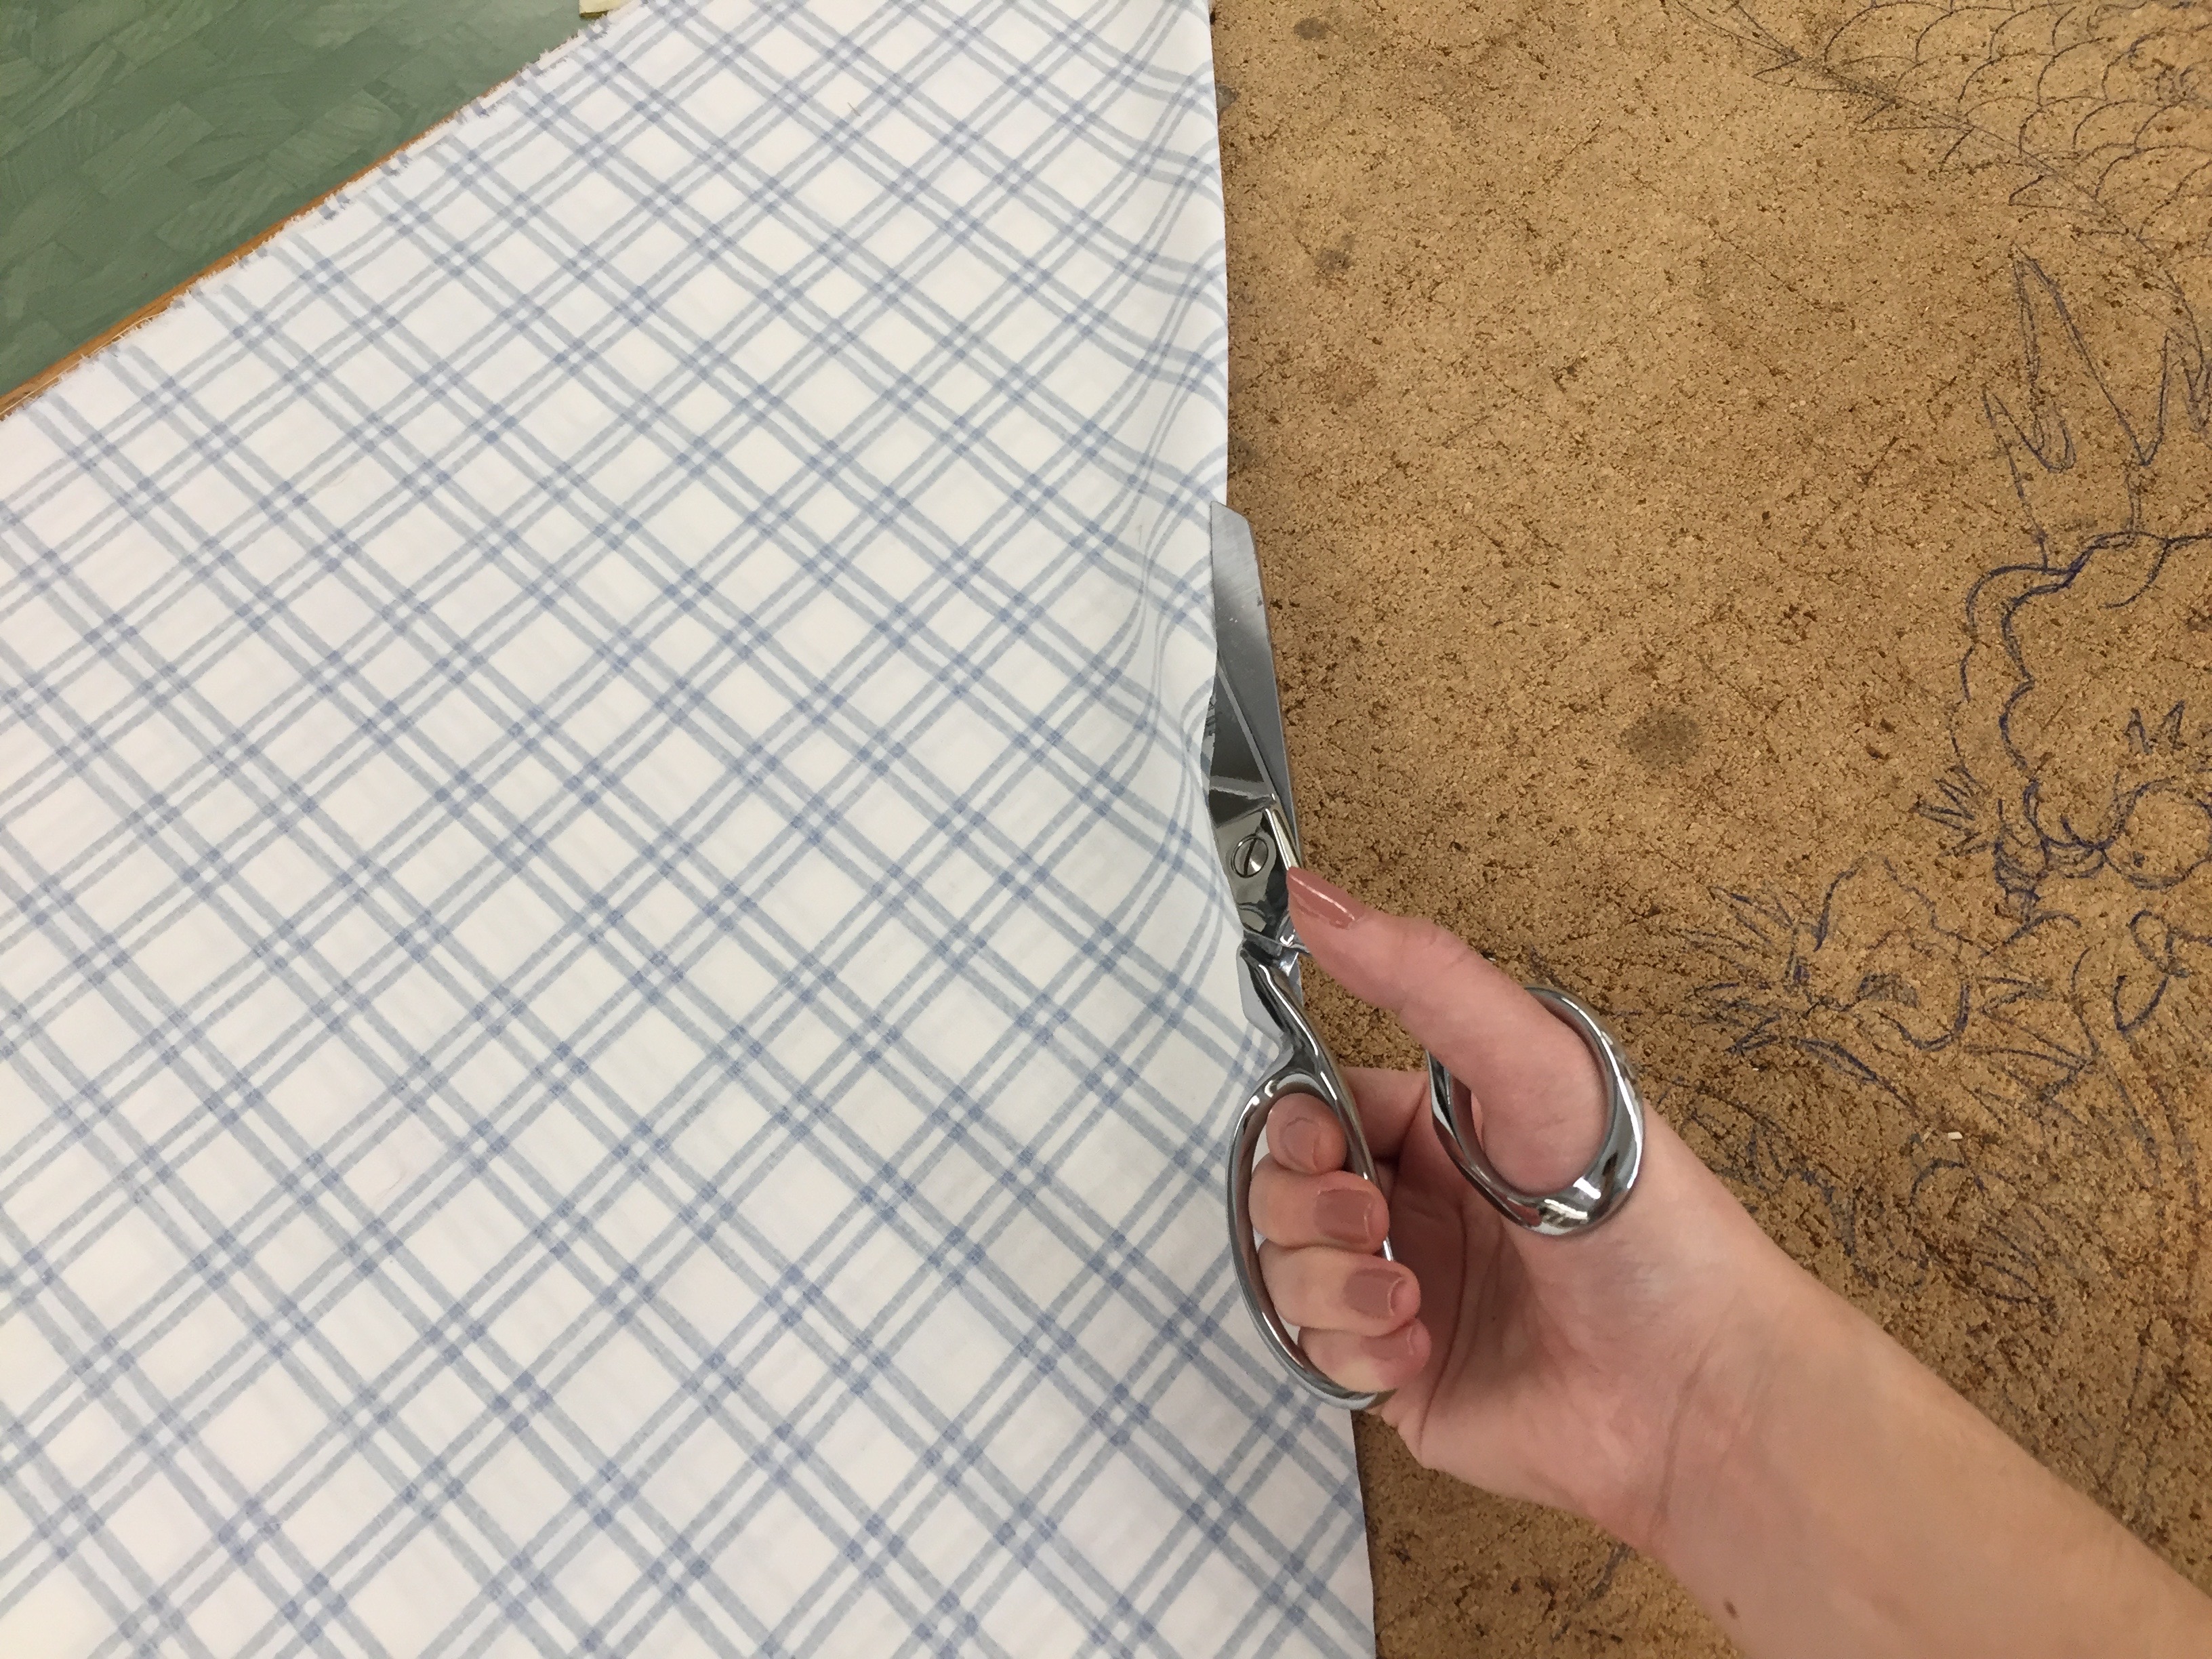
2. Cut the square in half diagonally into two triangles.
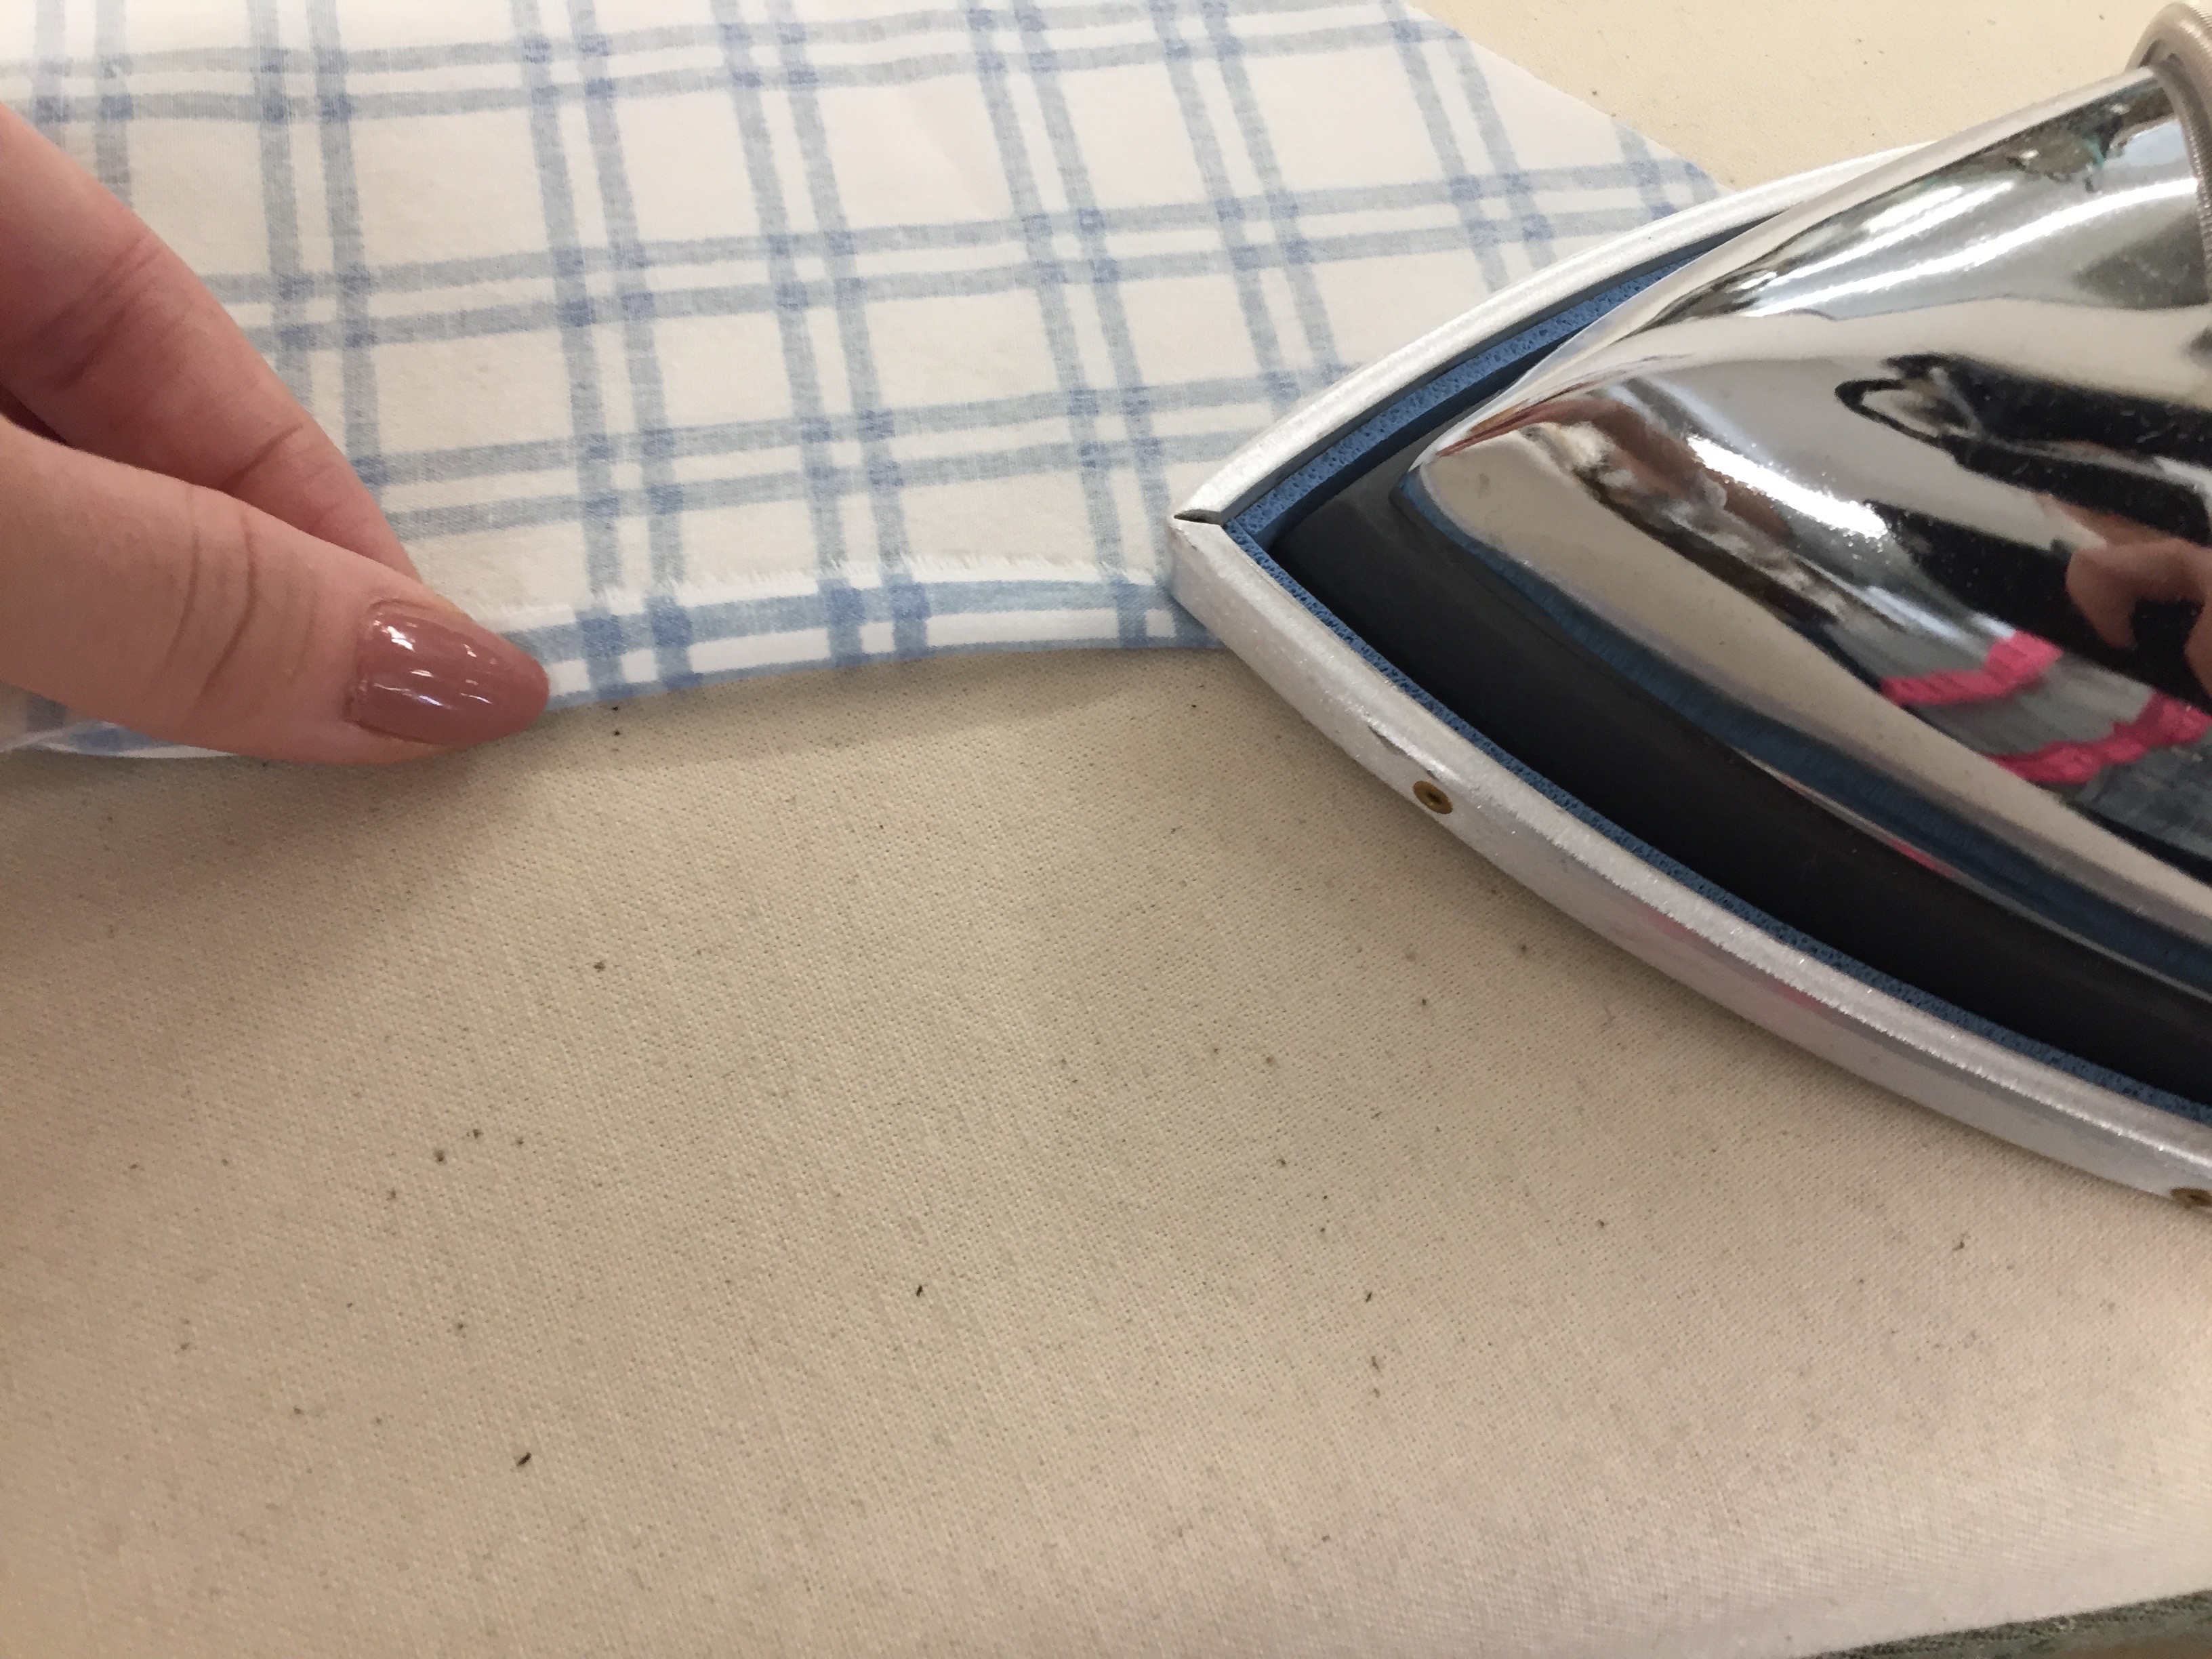
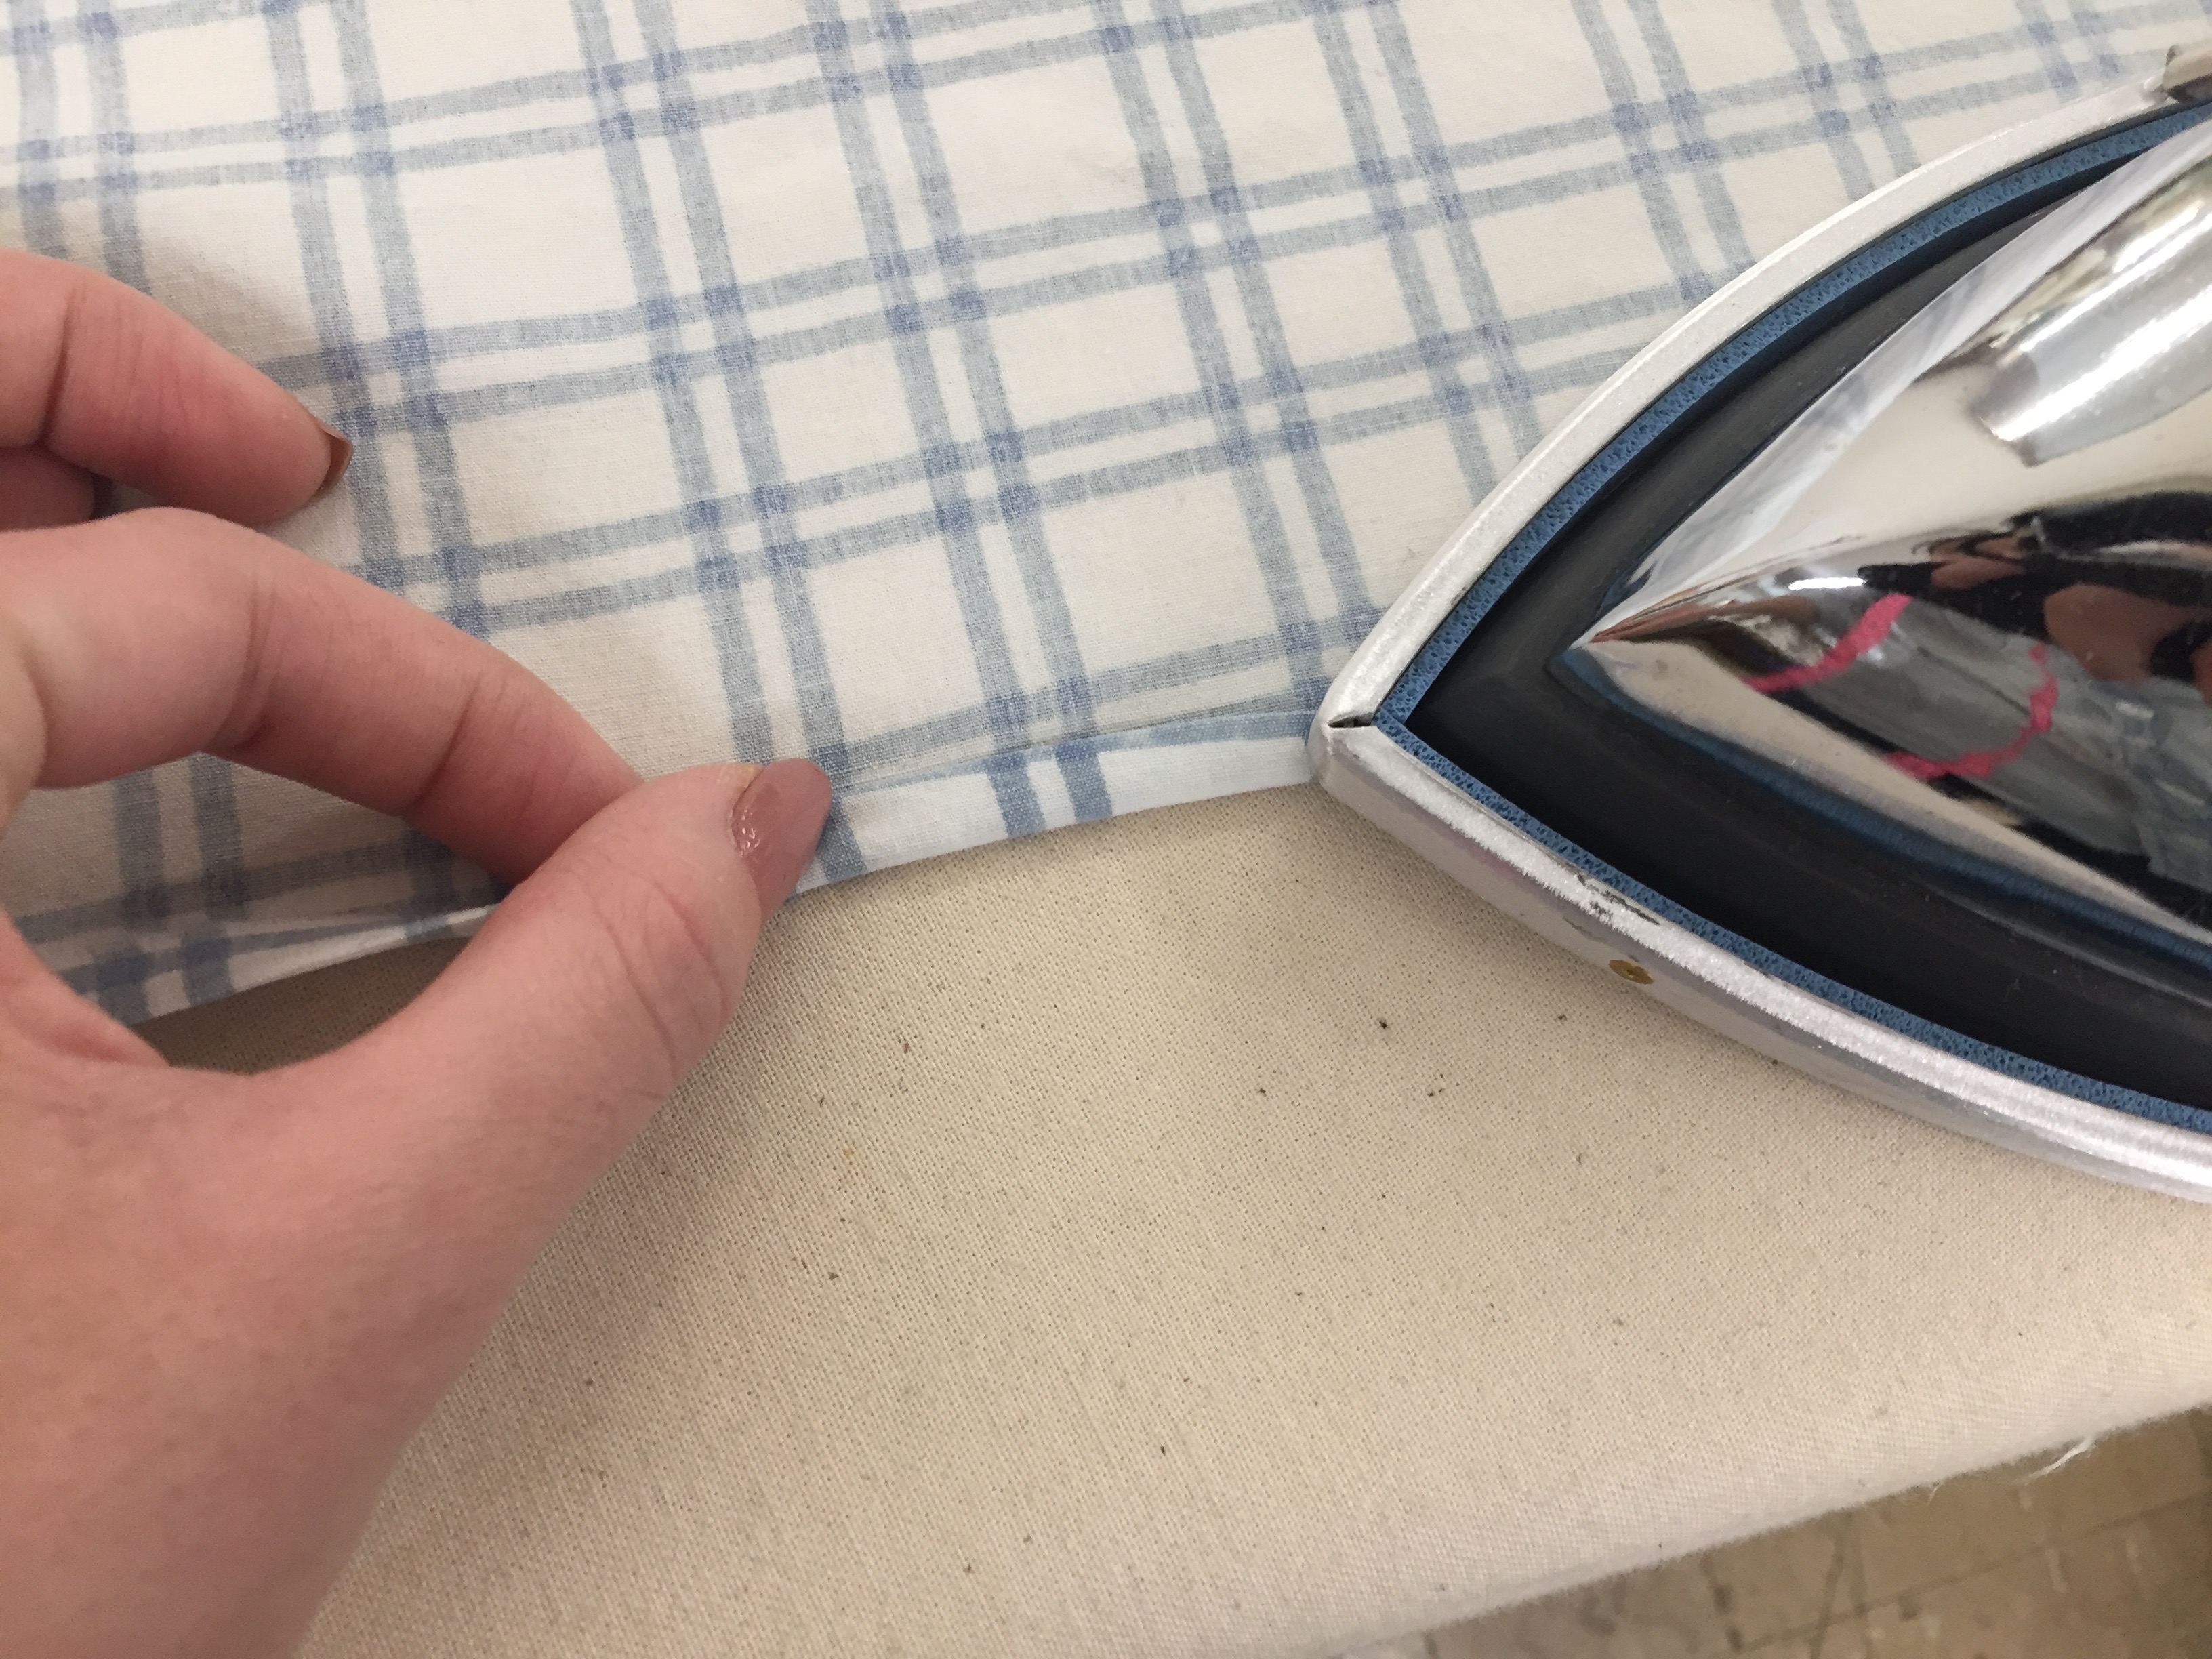
3. Fold and iron the short sides of the triangles with 1/4" hem. Fold and iron another 1/4" to hide the raw edge.
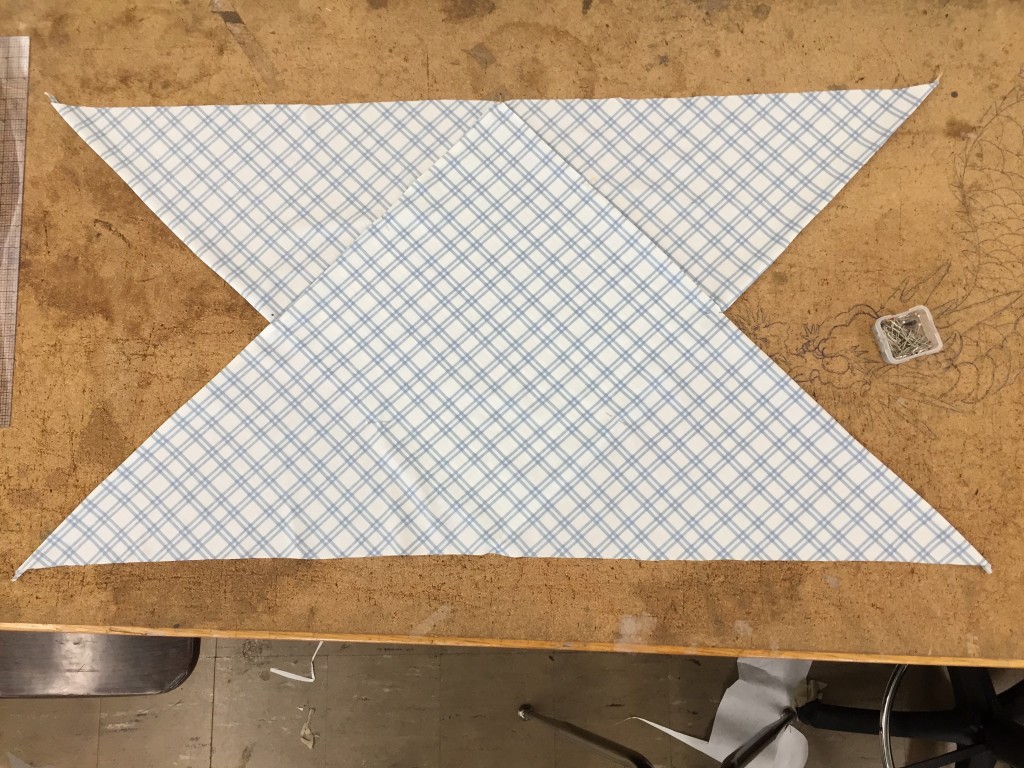
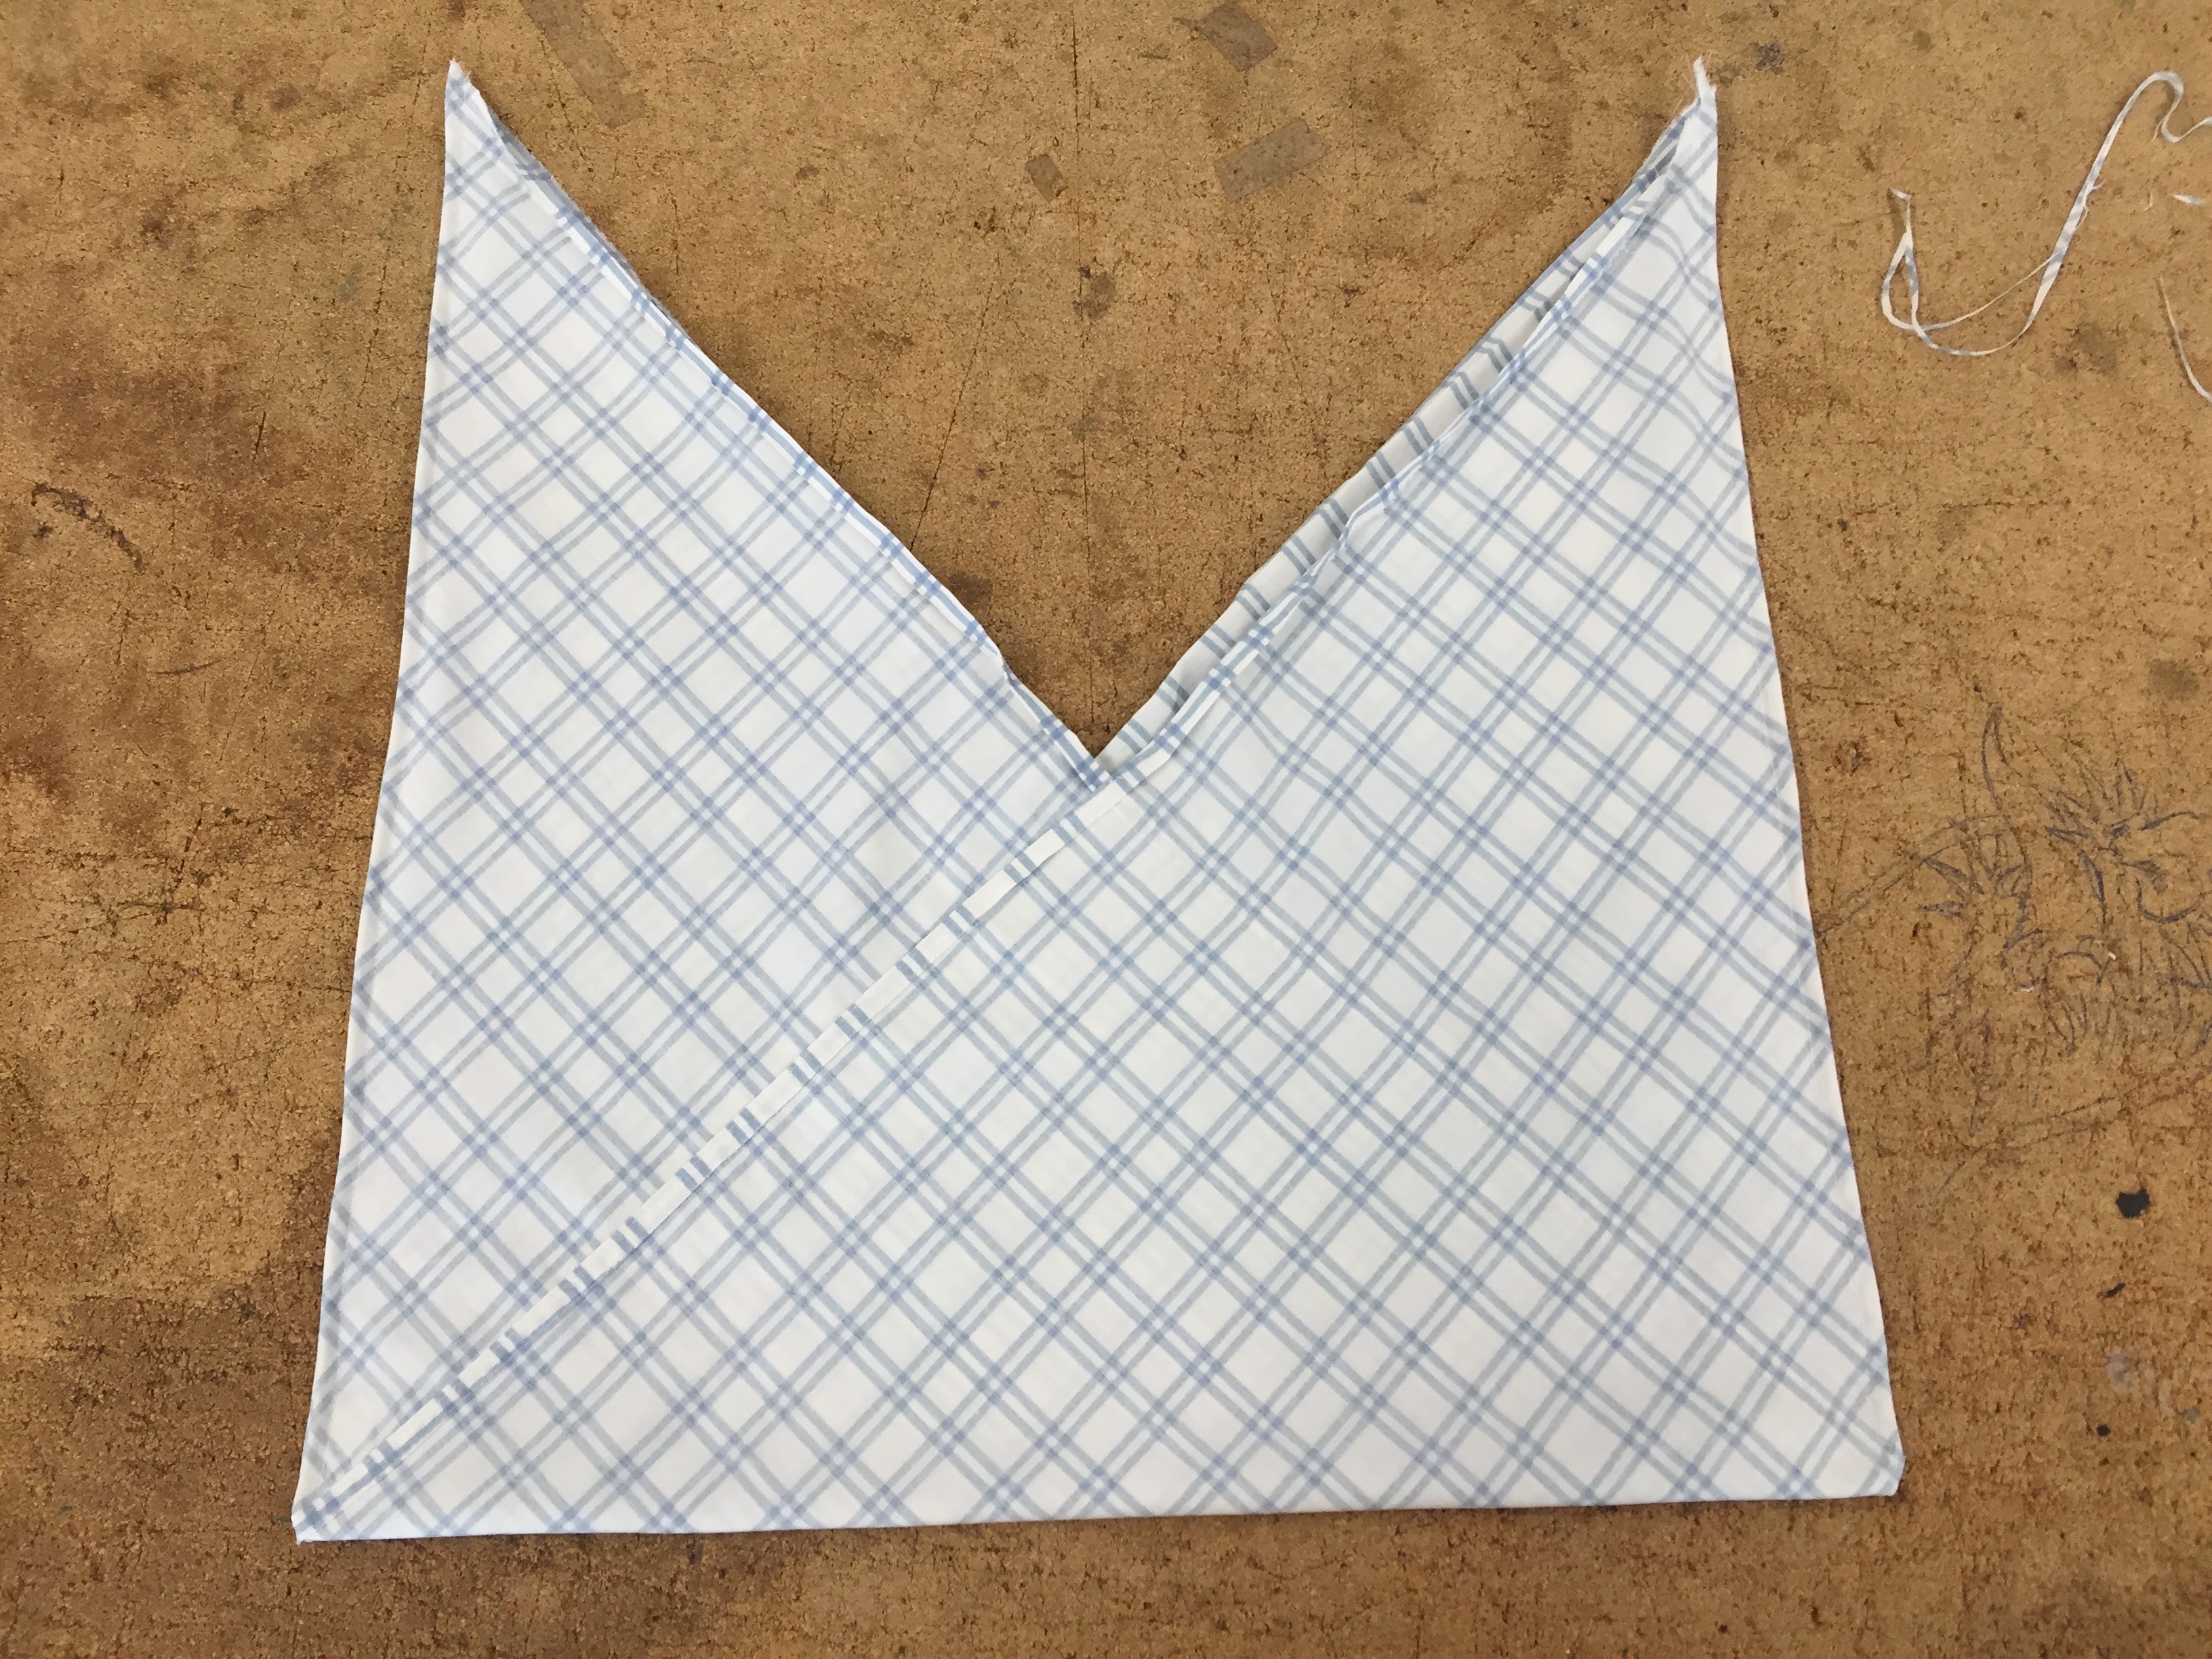
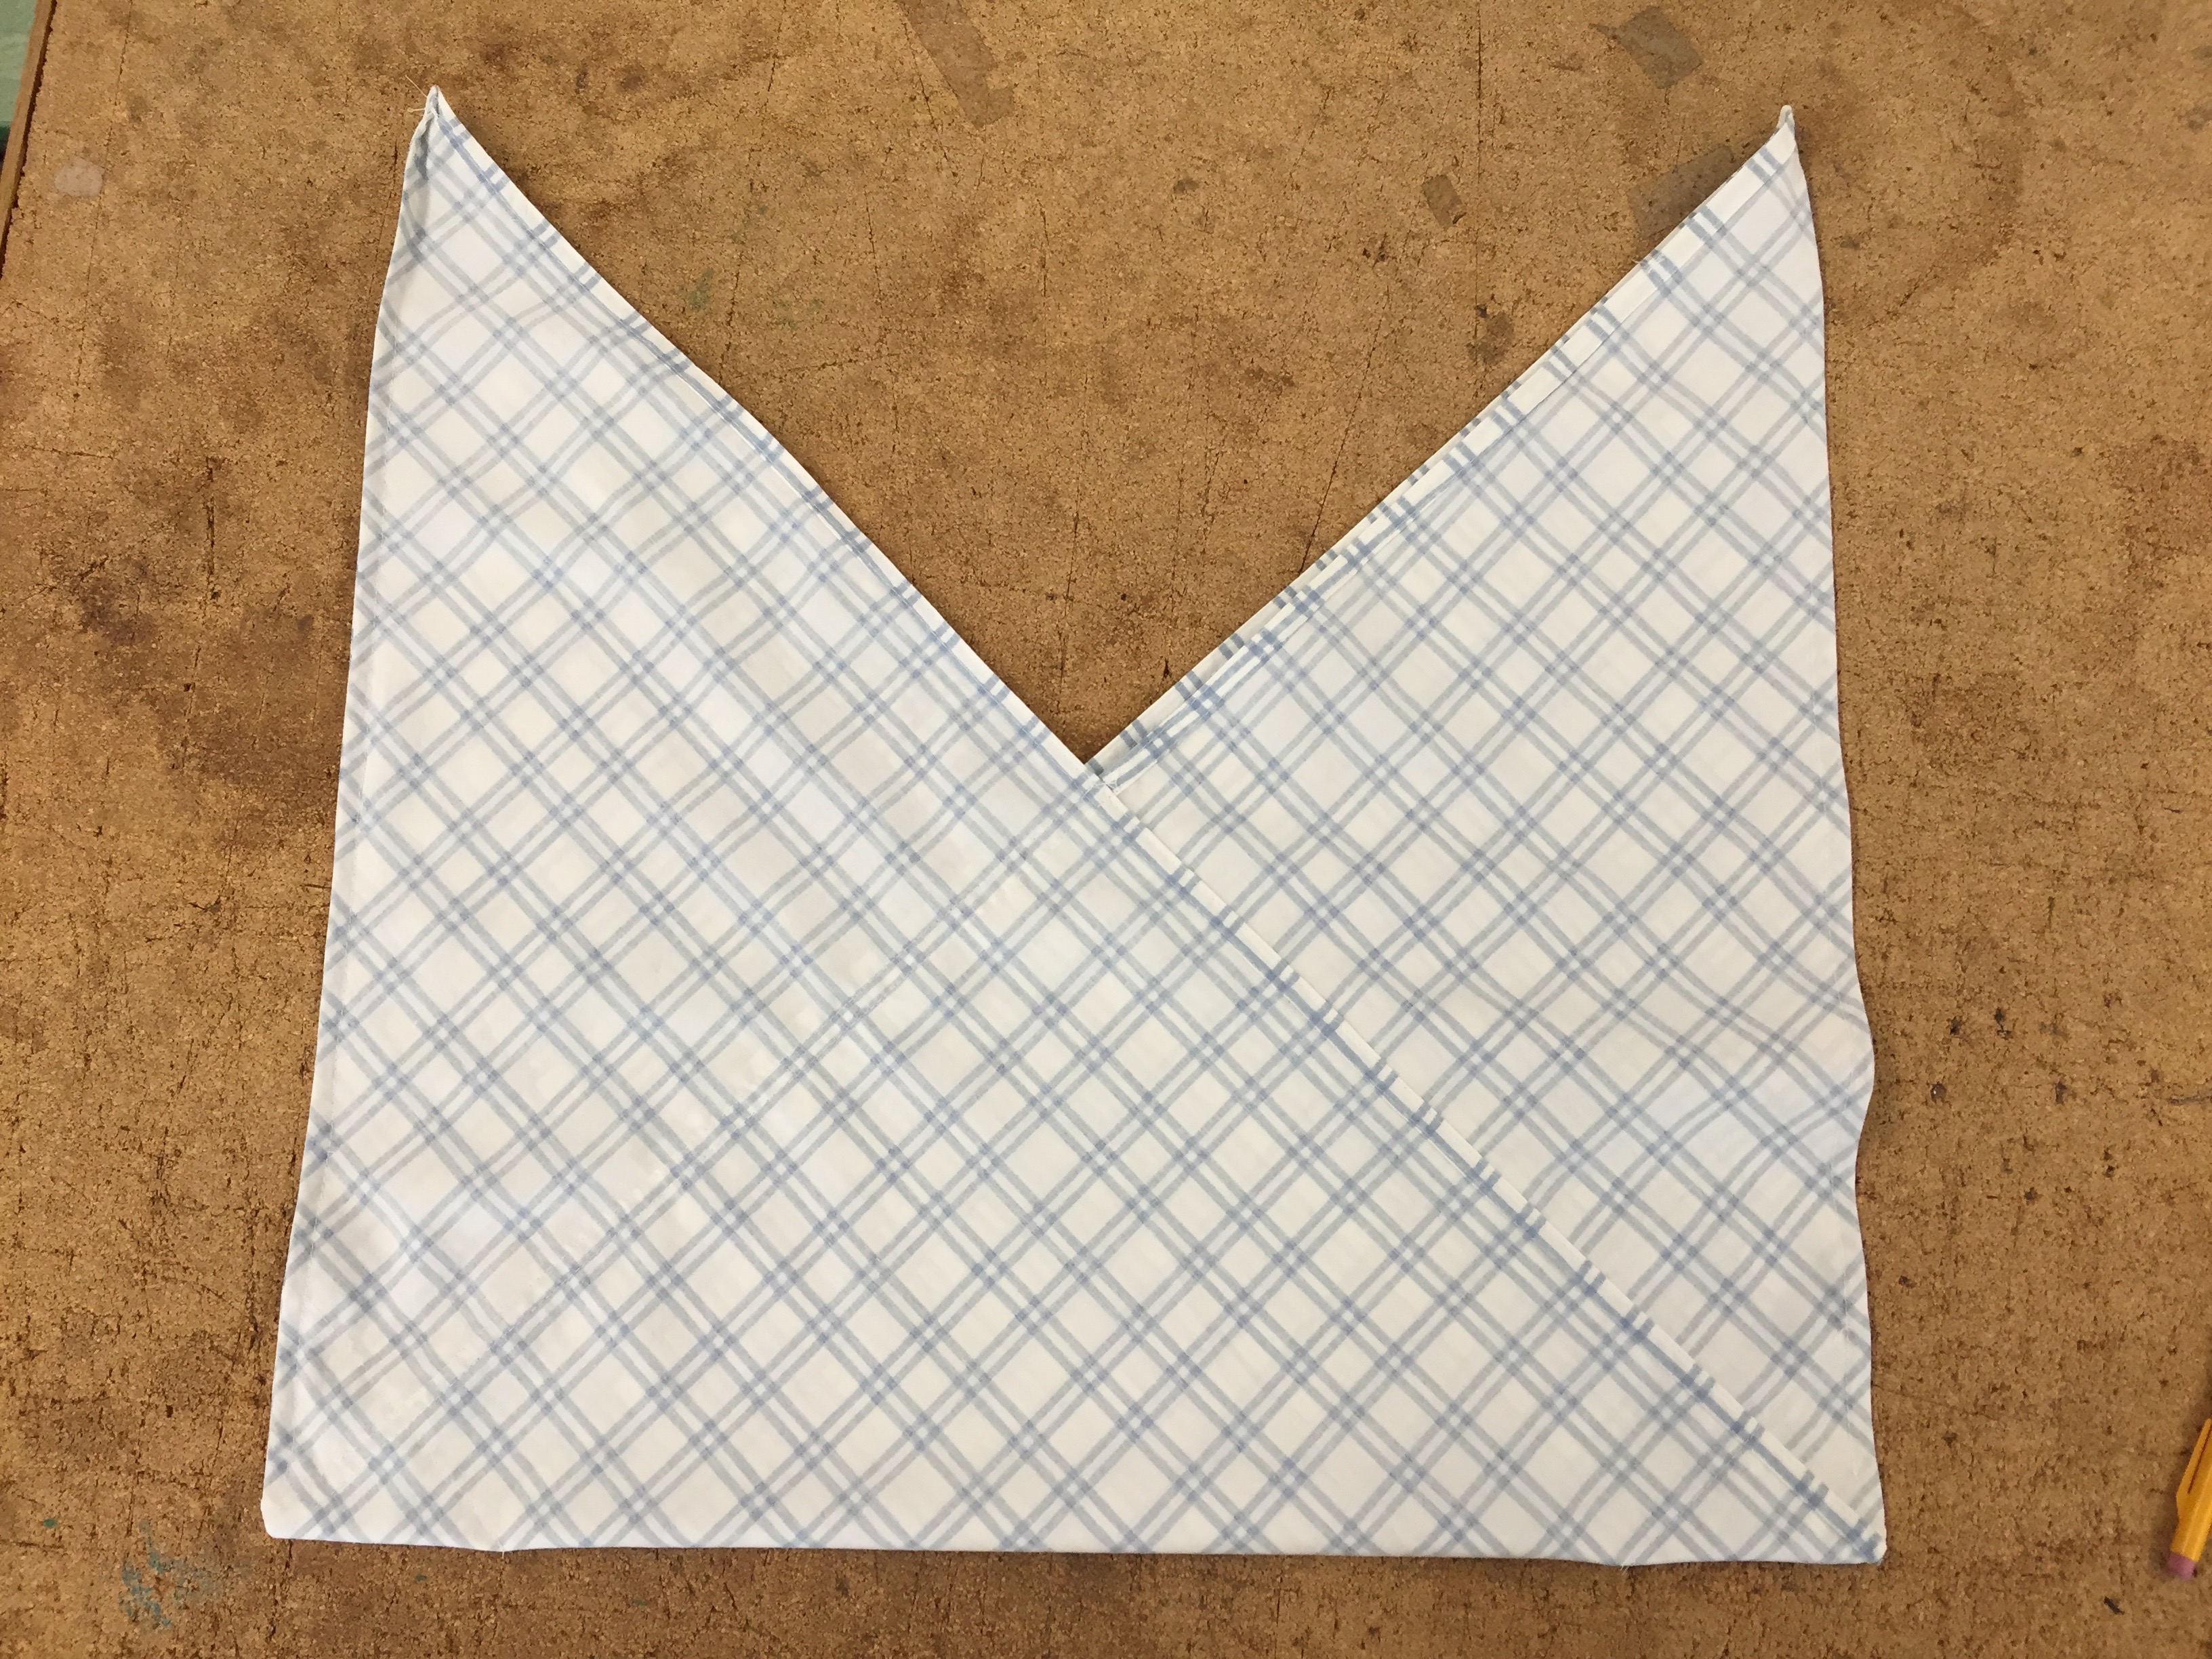
4. Place the triangles on top of each other like below and pin in place.
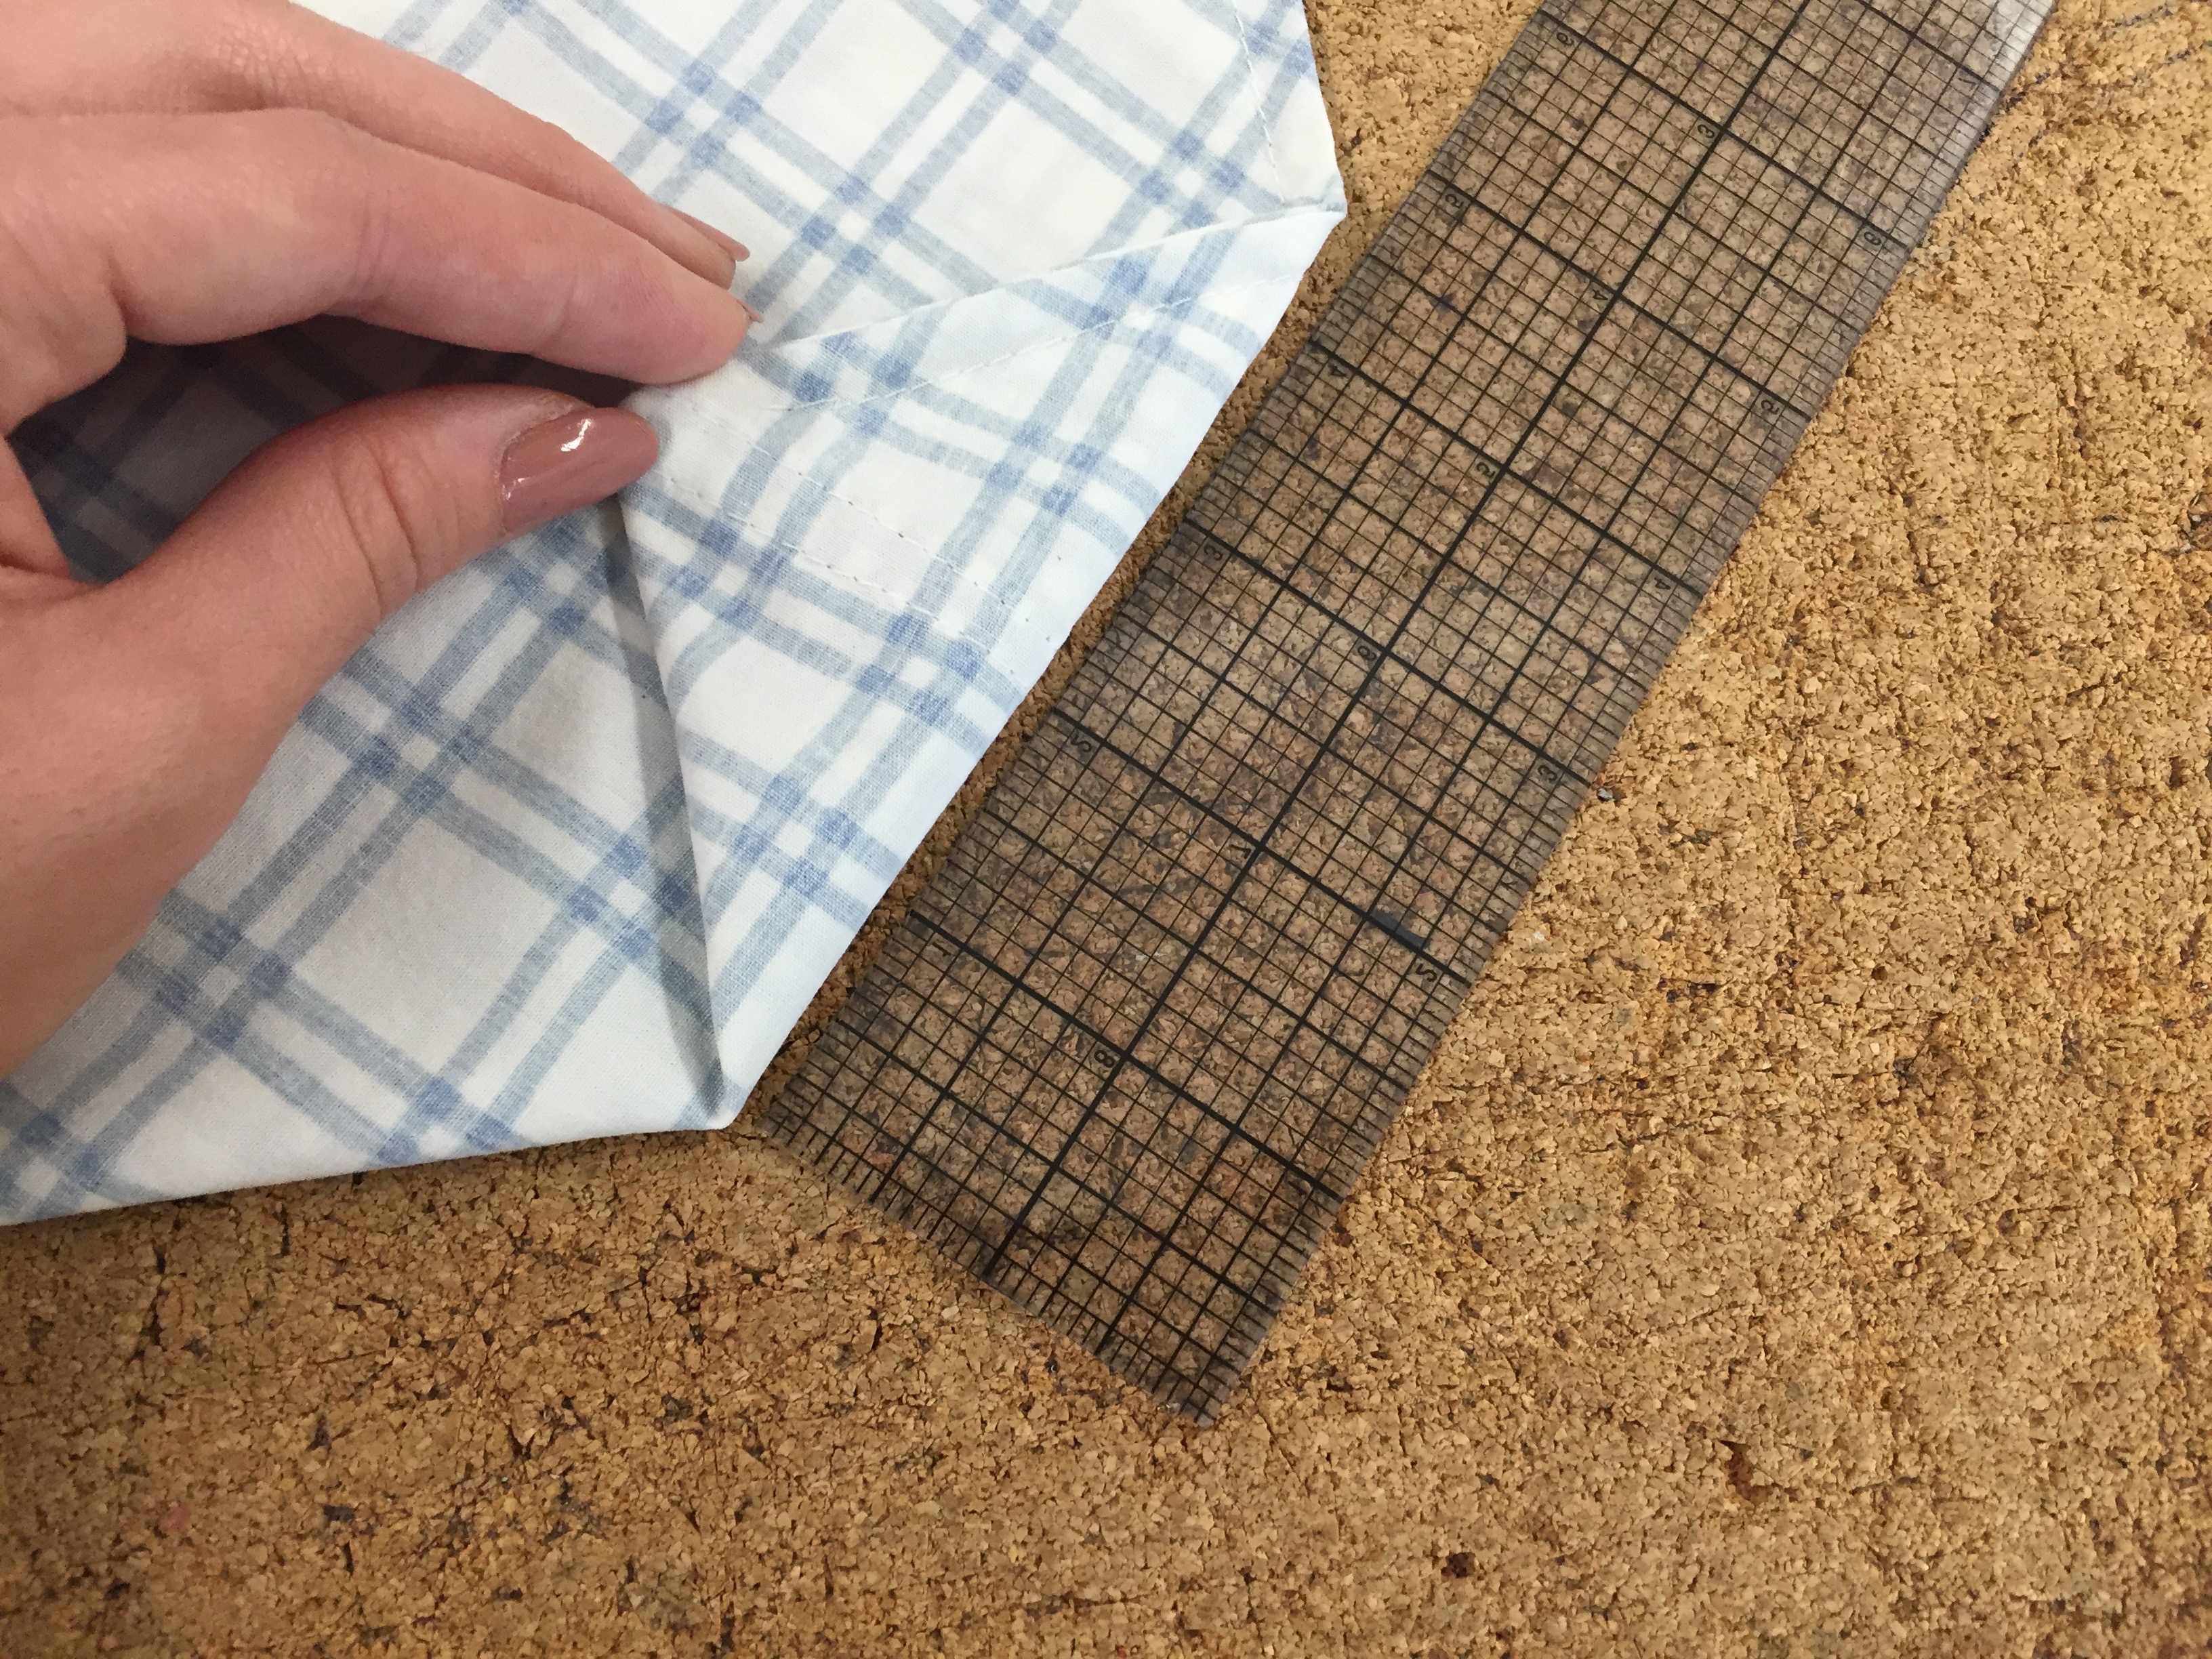
5. Edge stitch the inside square. Do this in two steps, so that you can flip over your fabric and see the edge that you are sewing.

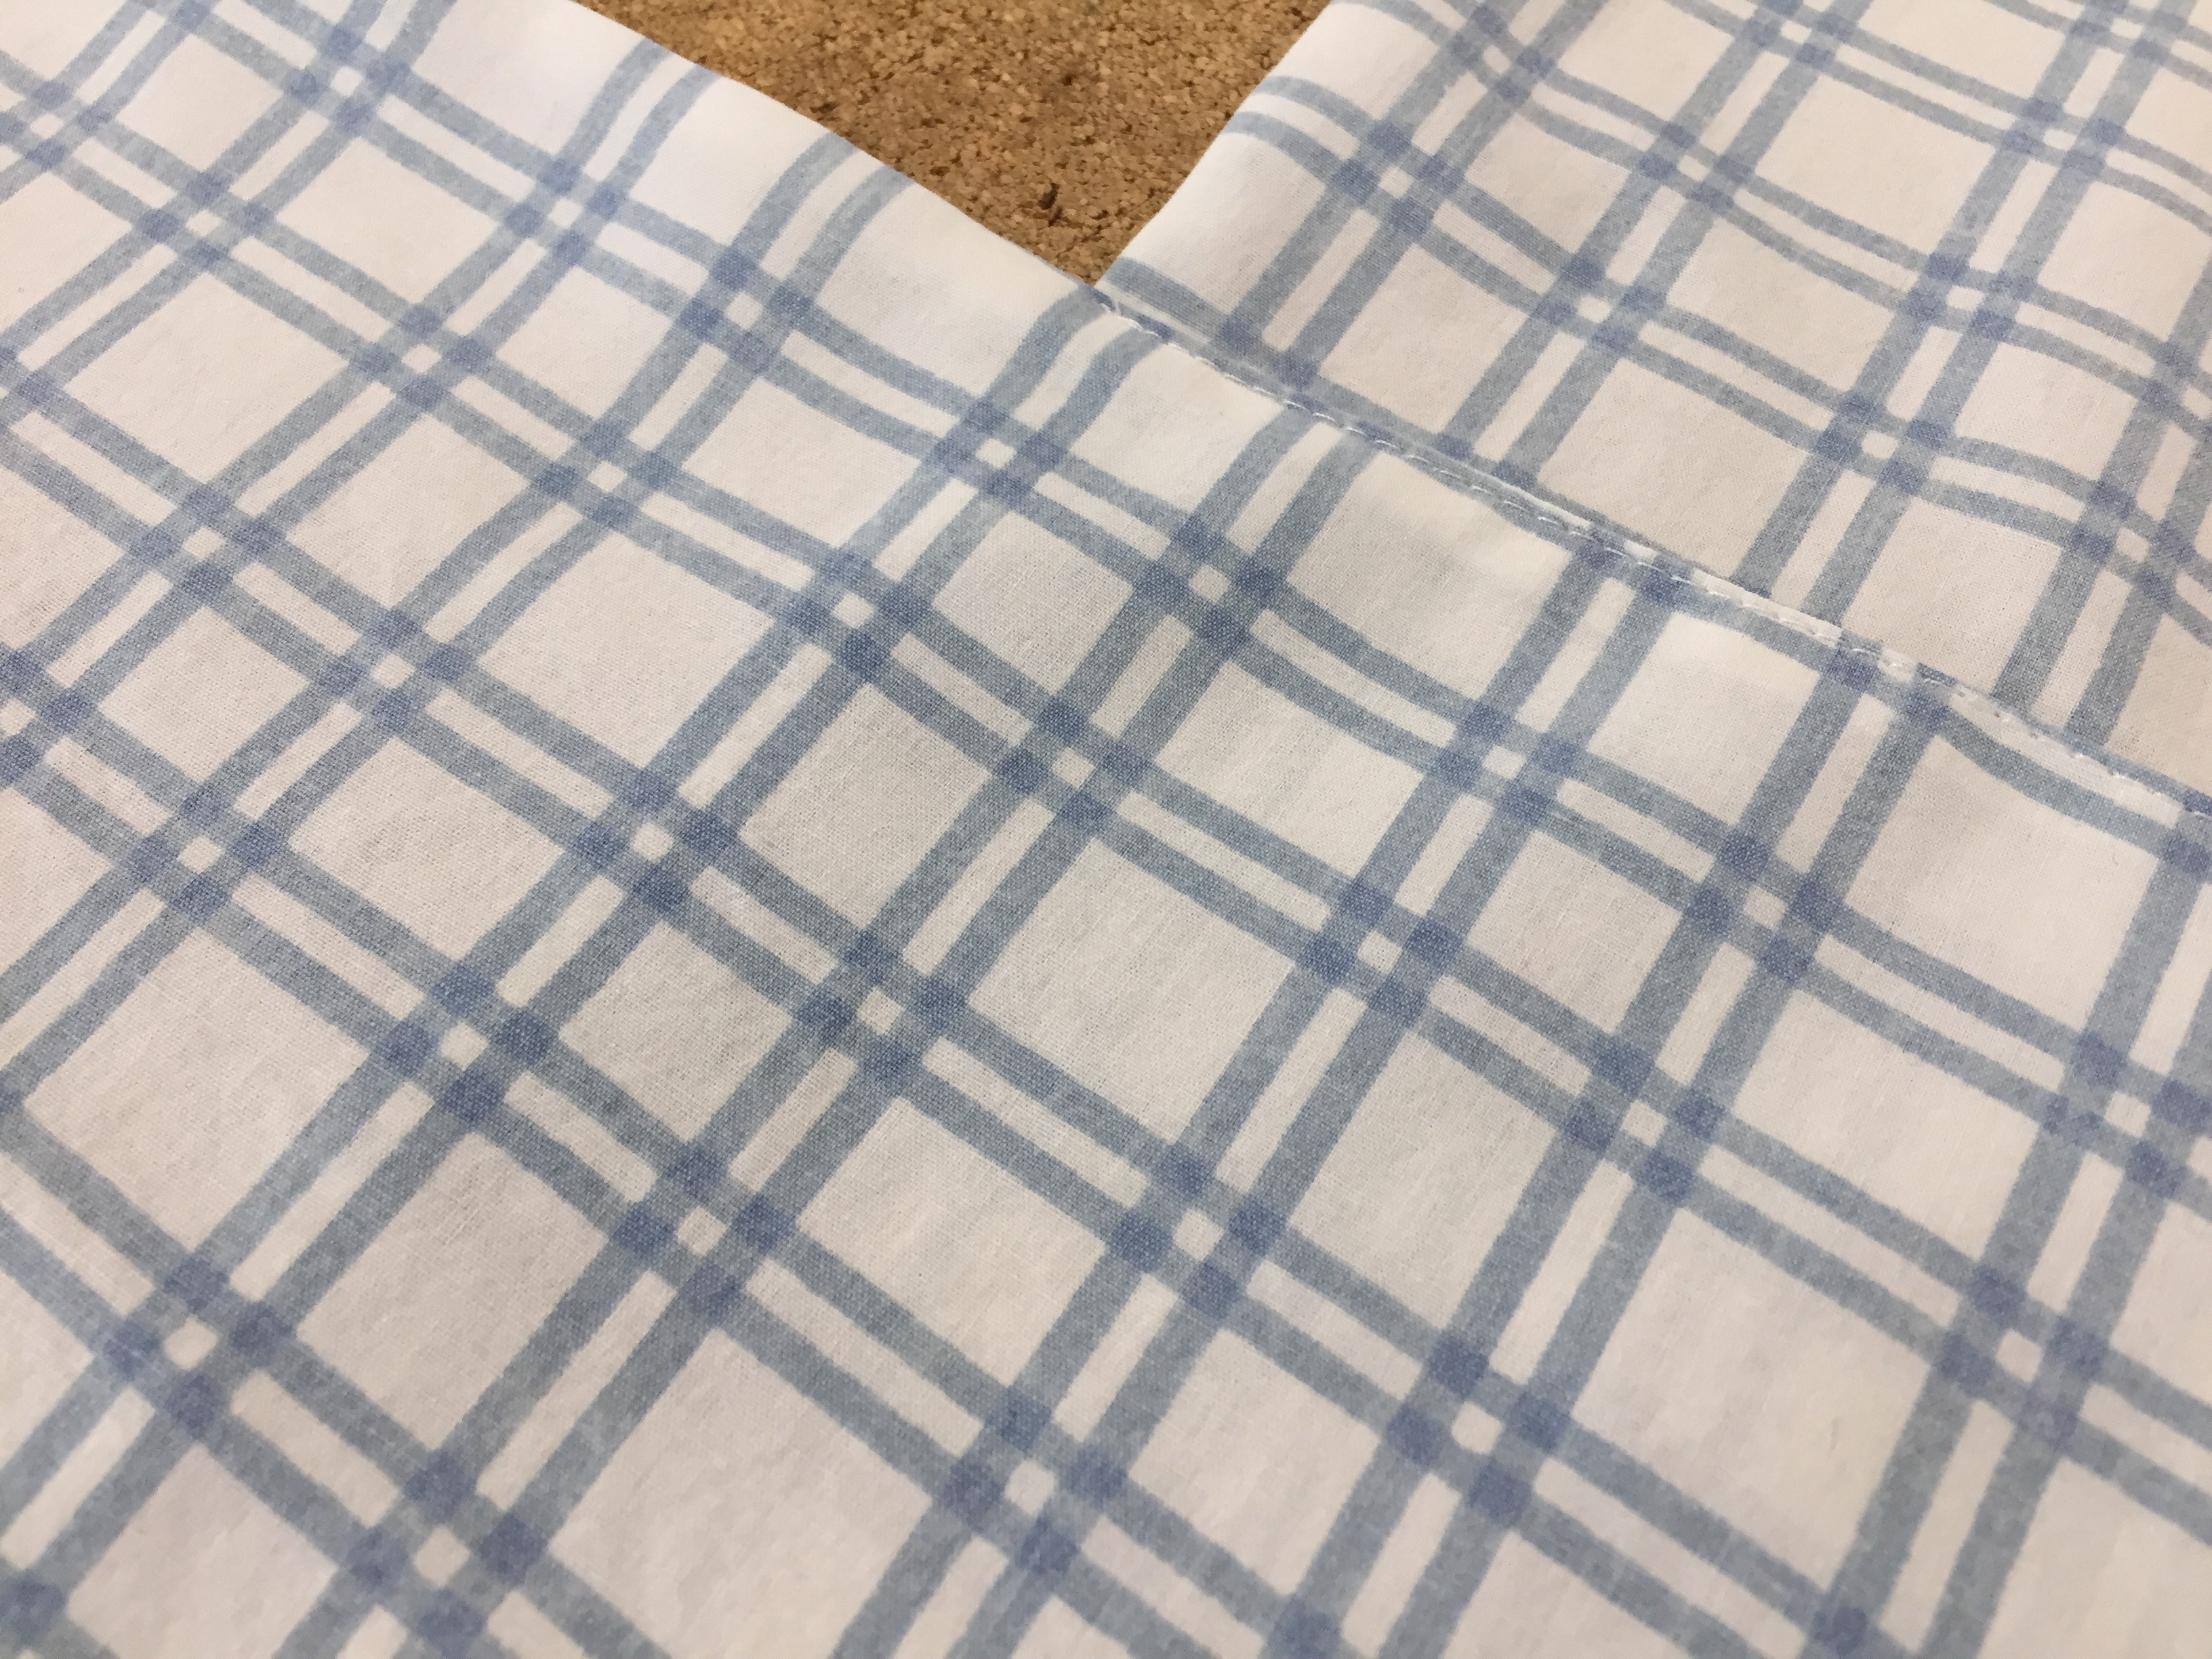
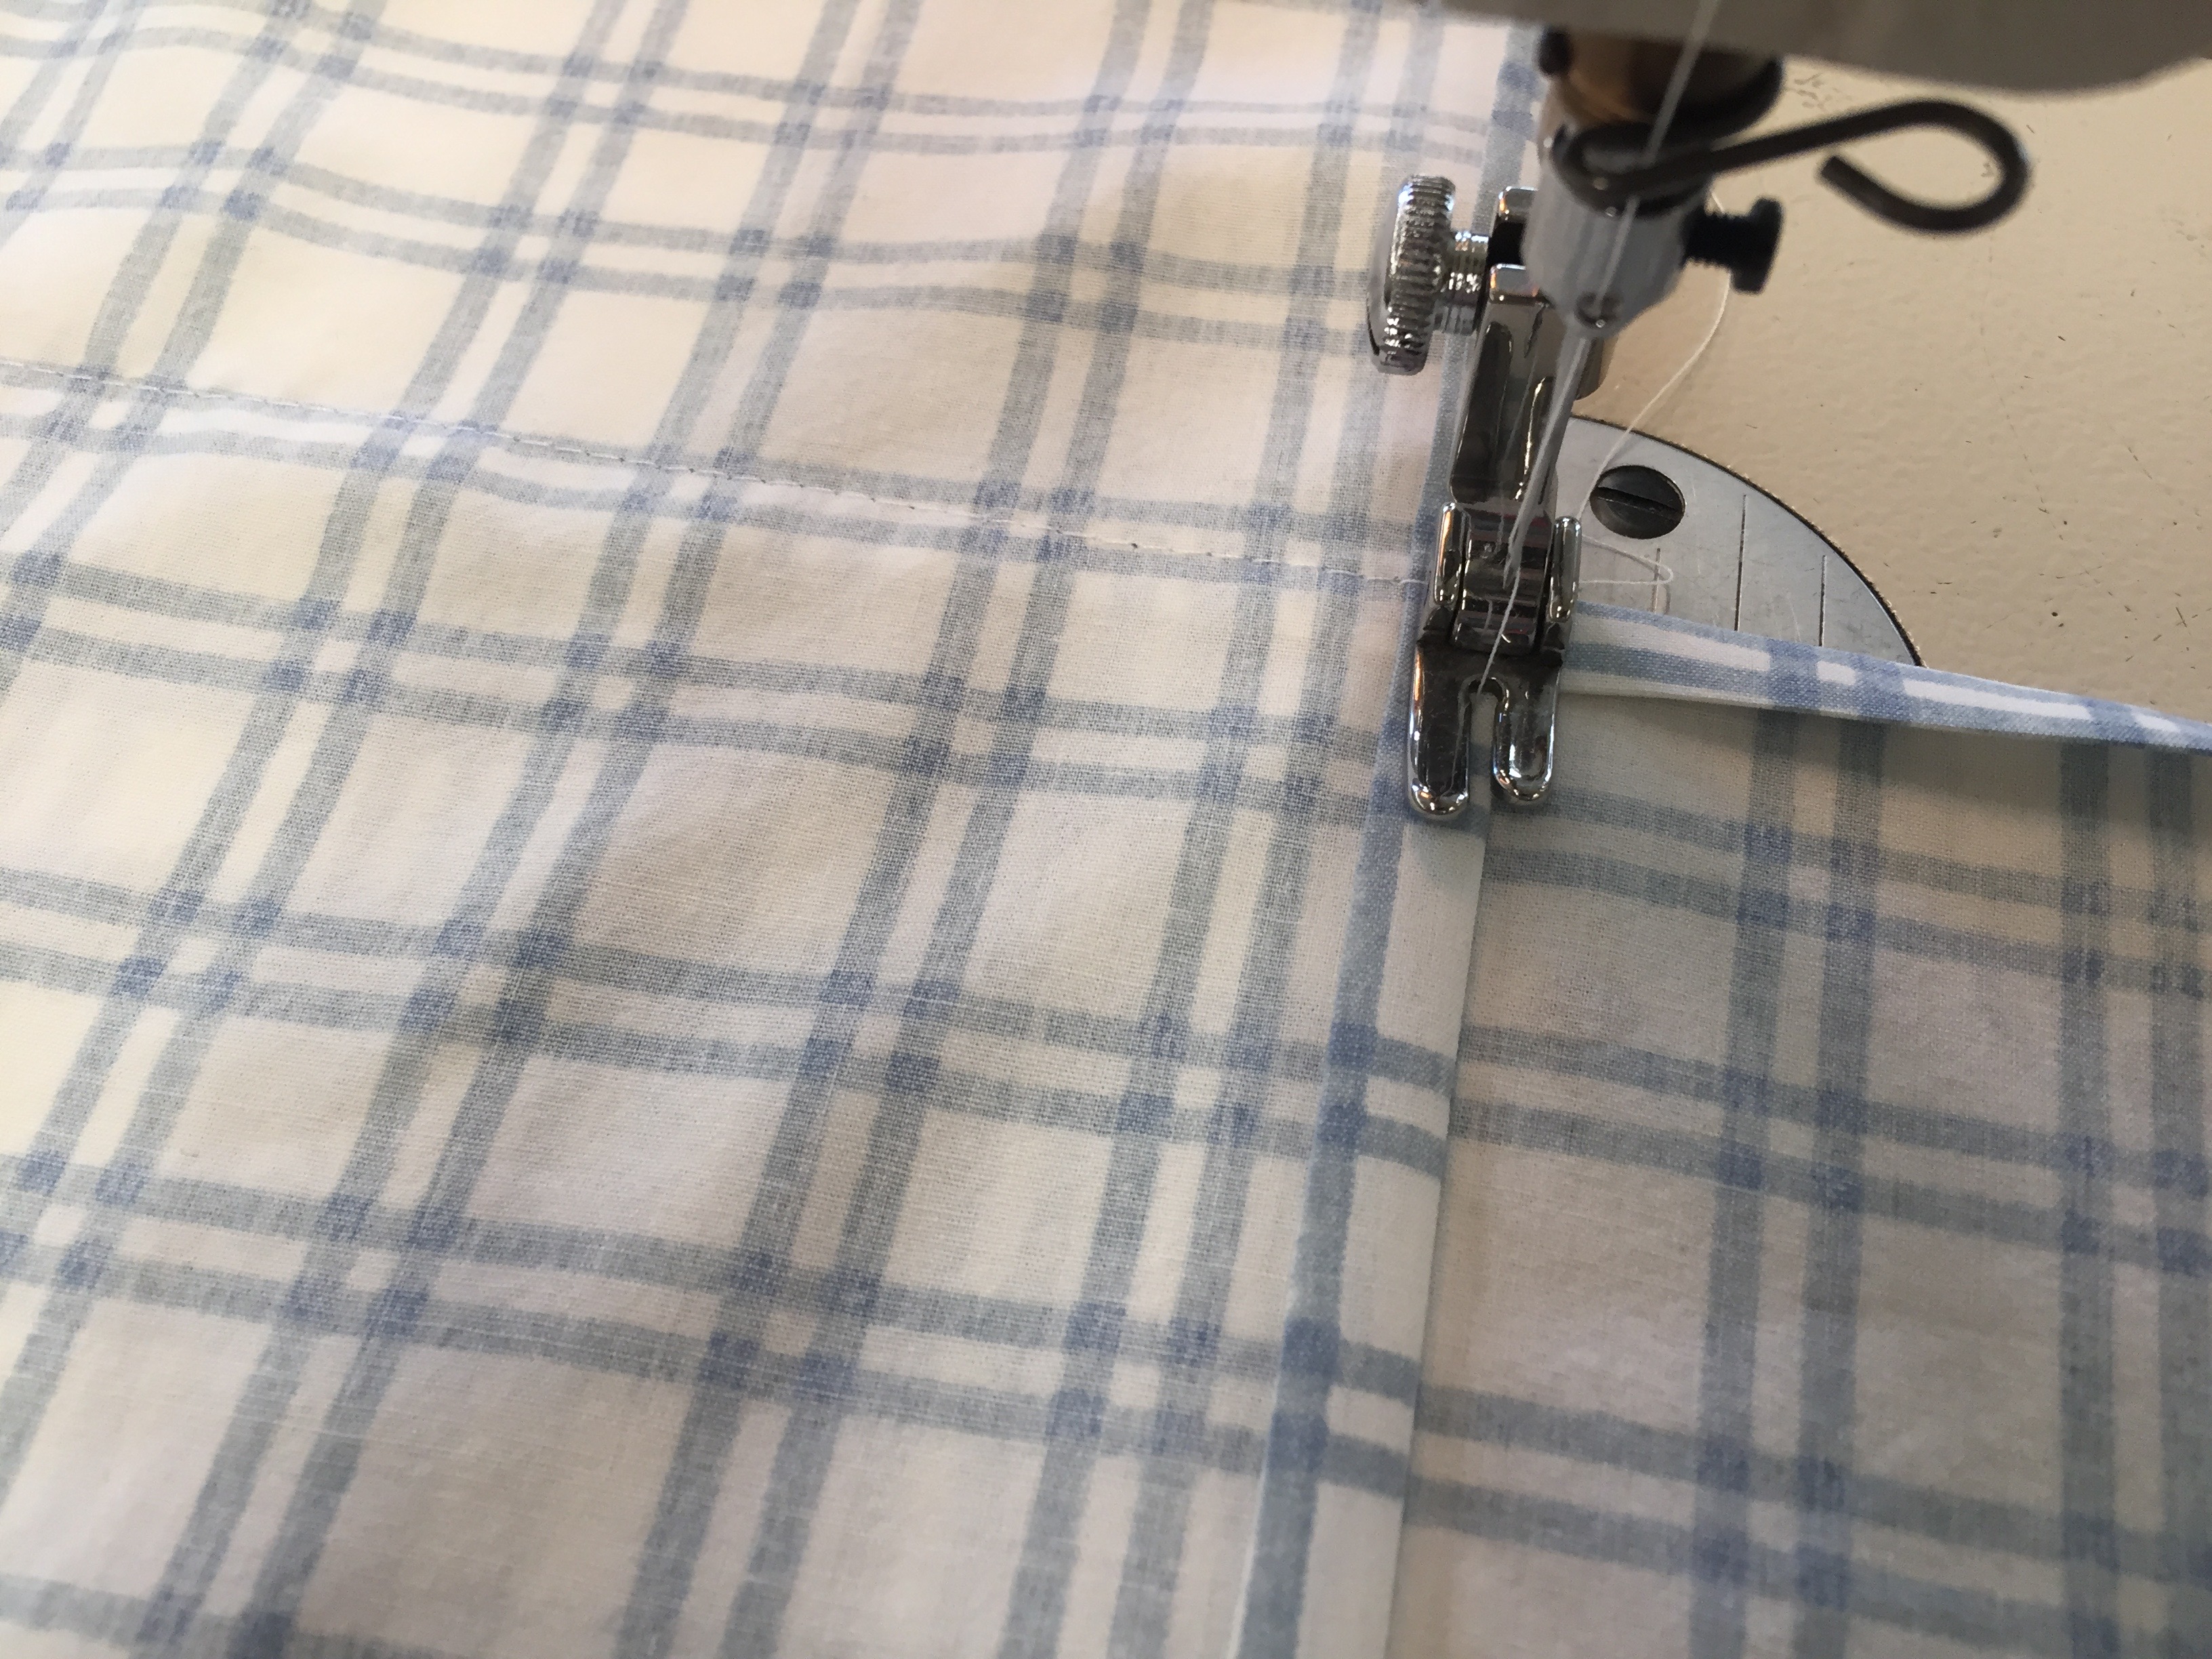
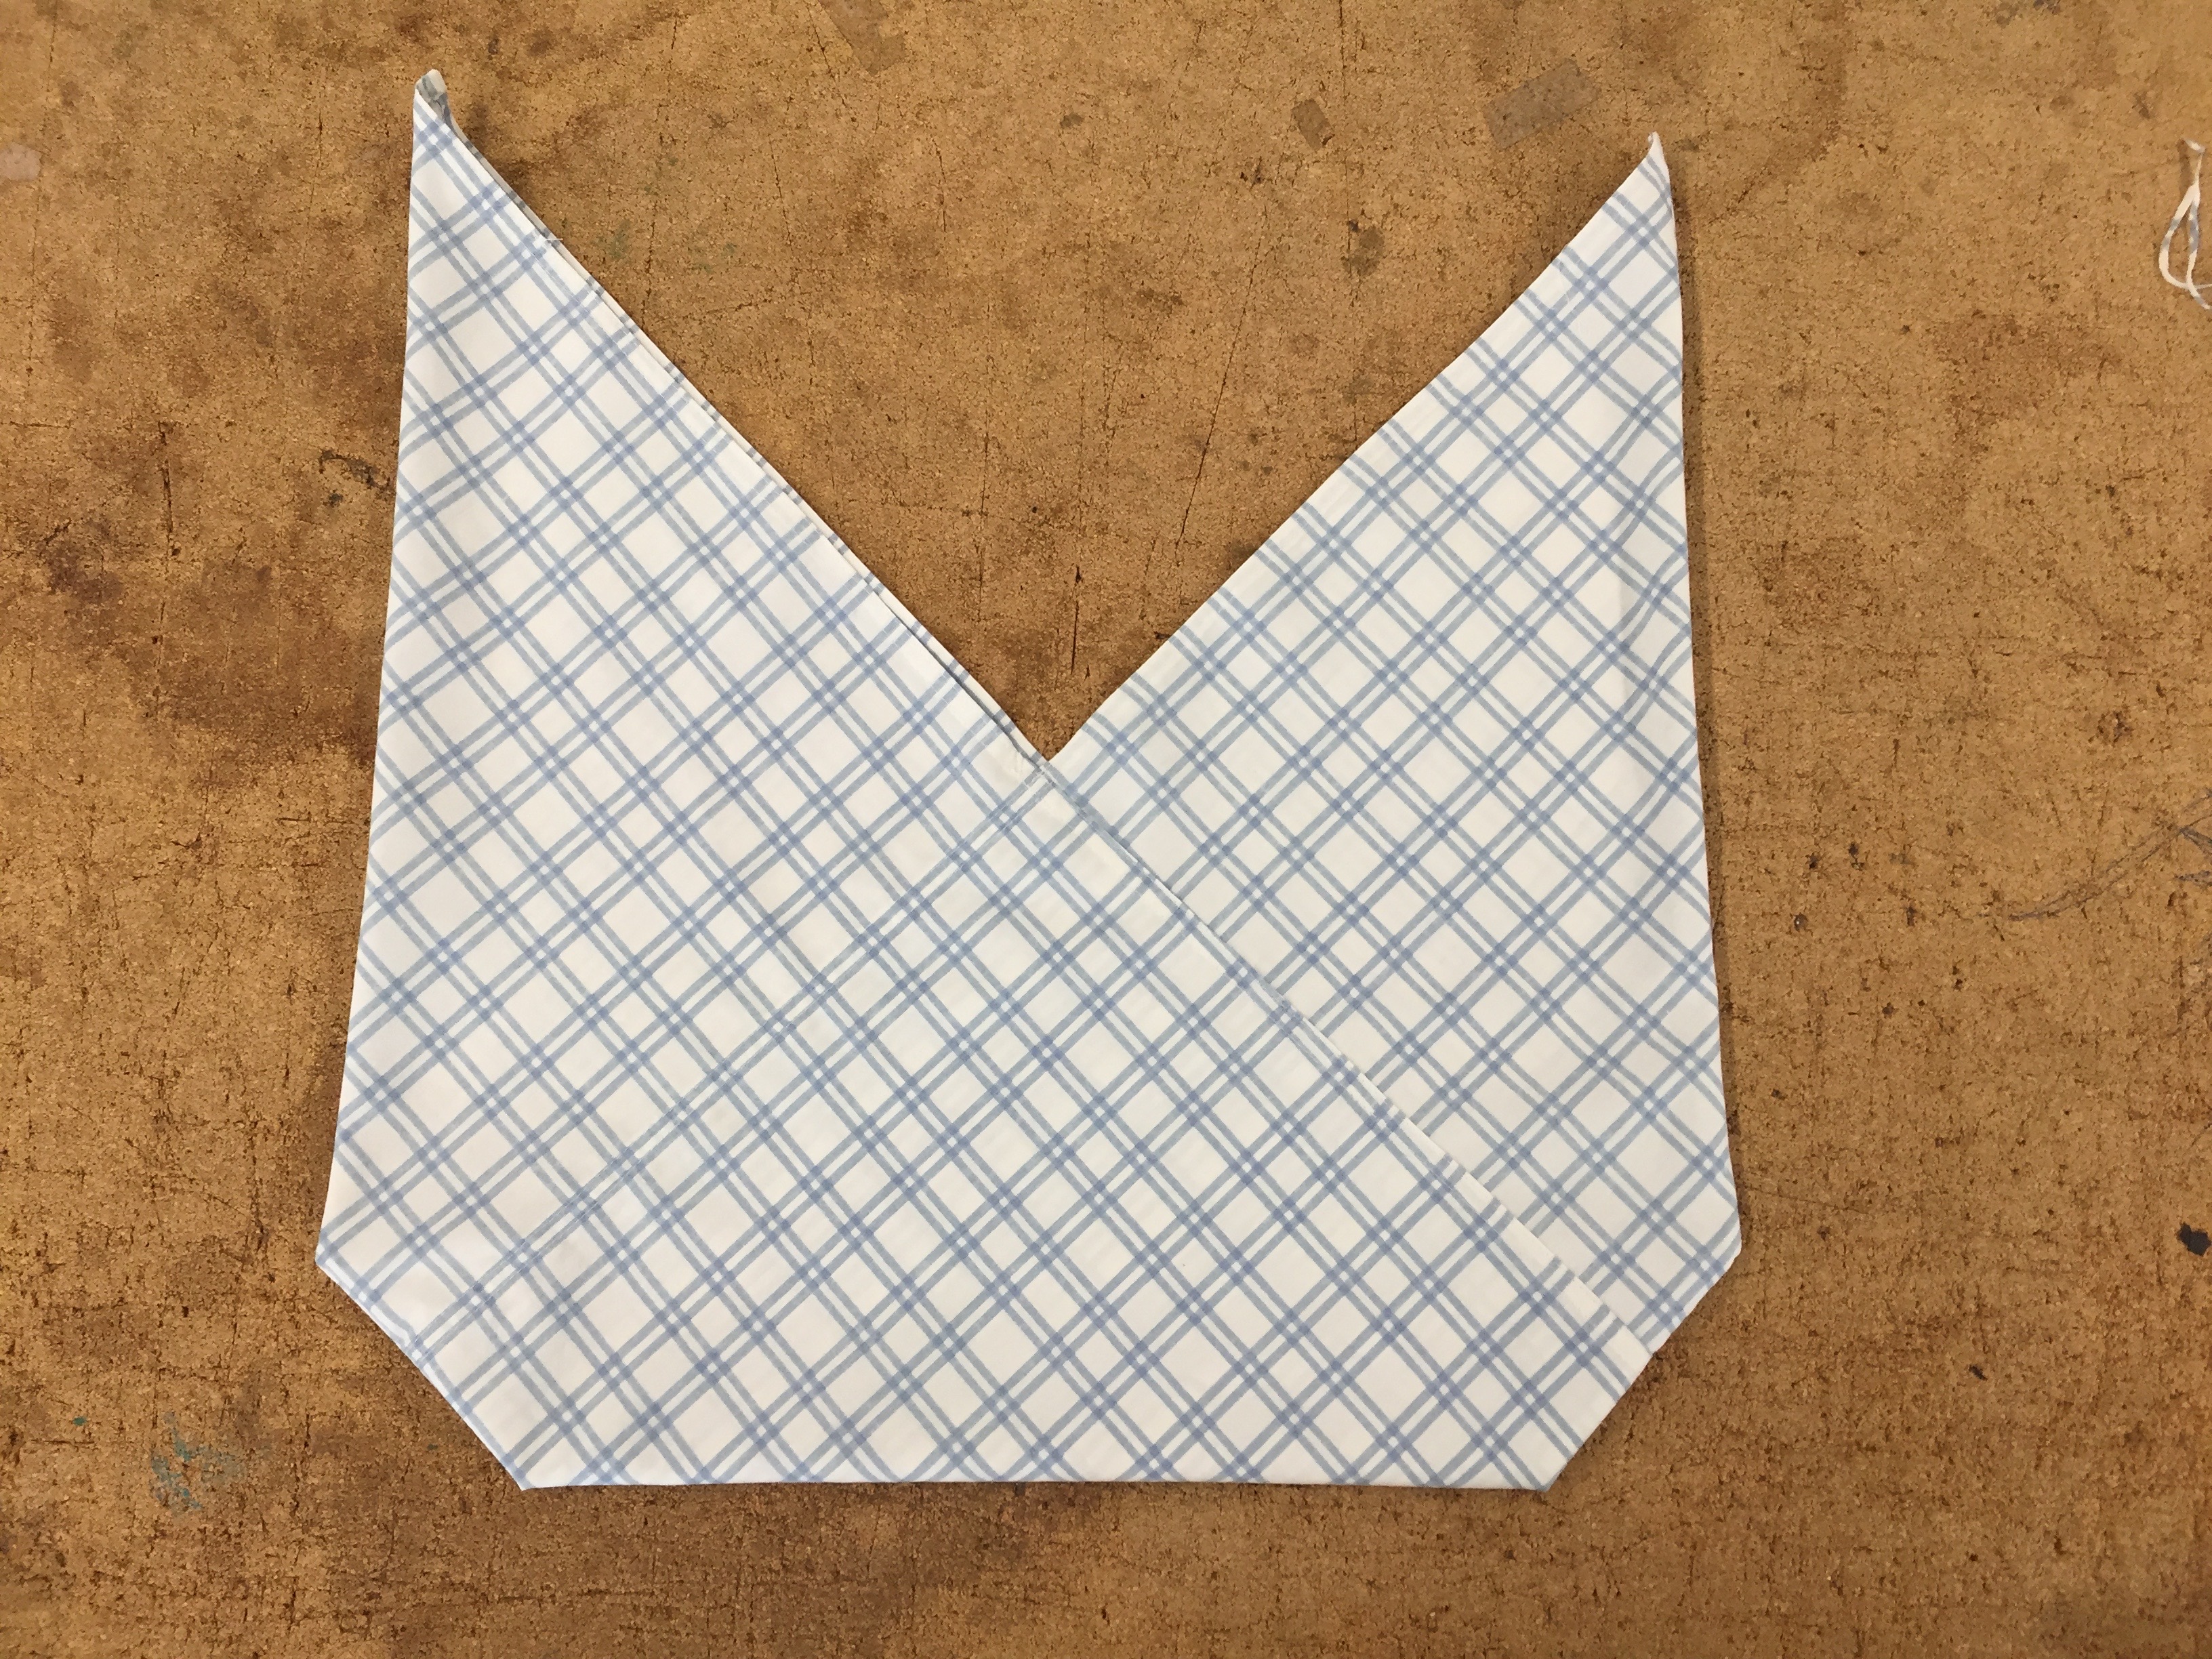
6. Top stitch 1/4" away from the edge of the square to secure the folded edges.

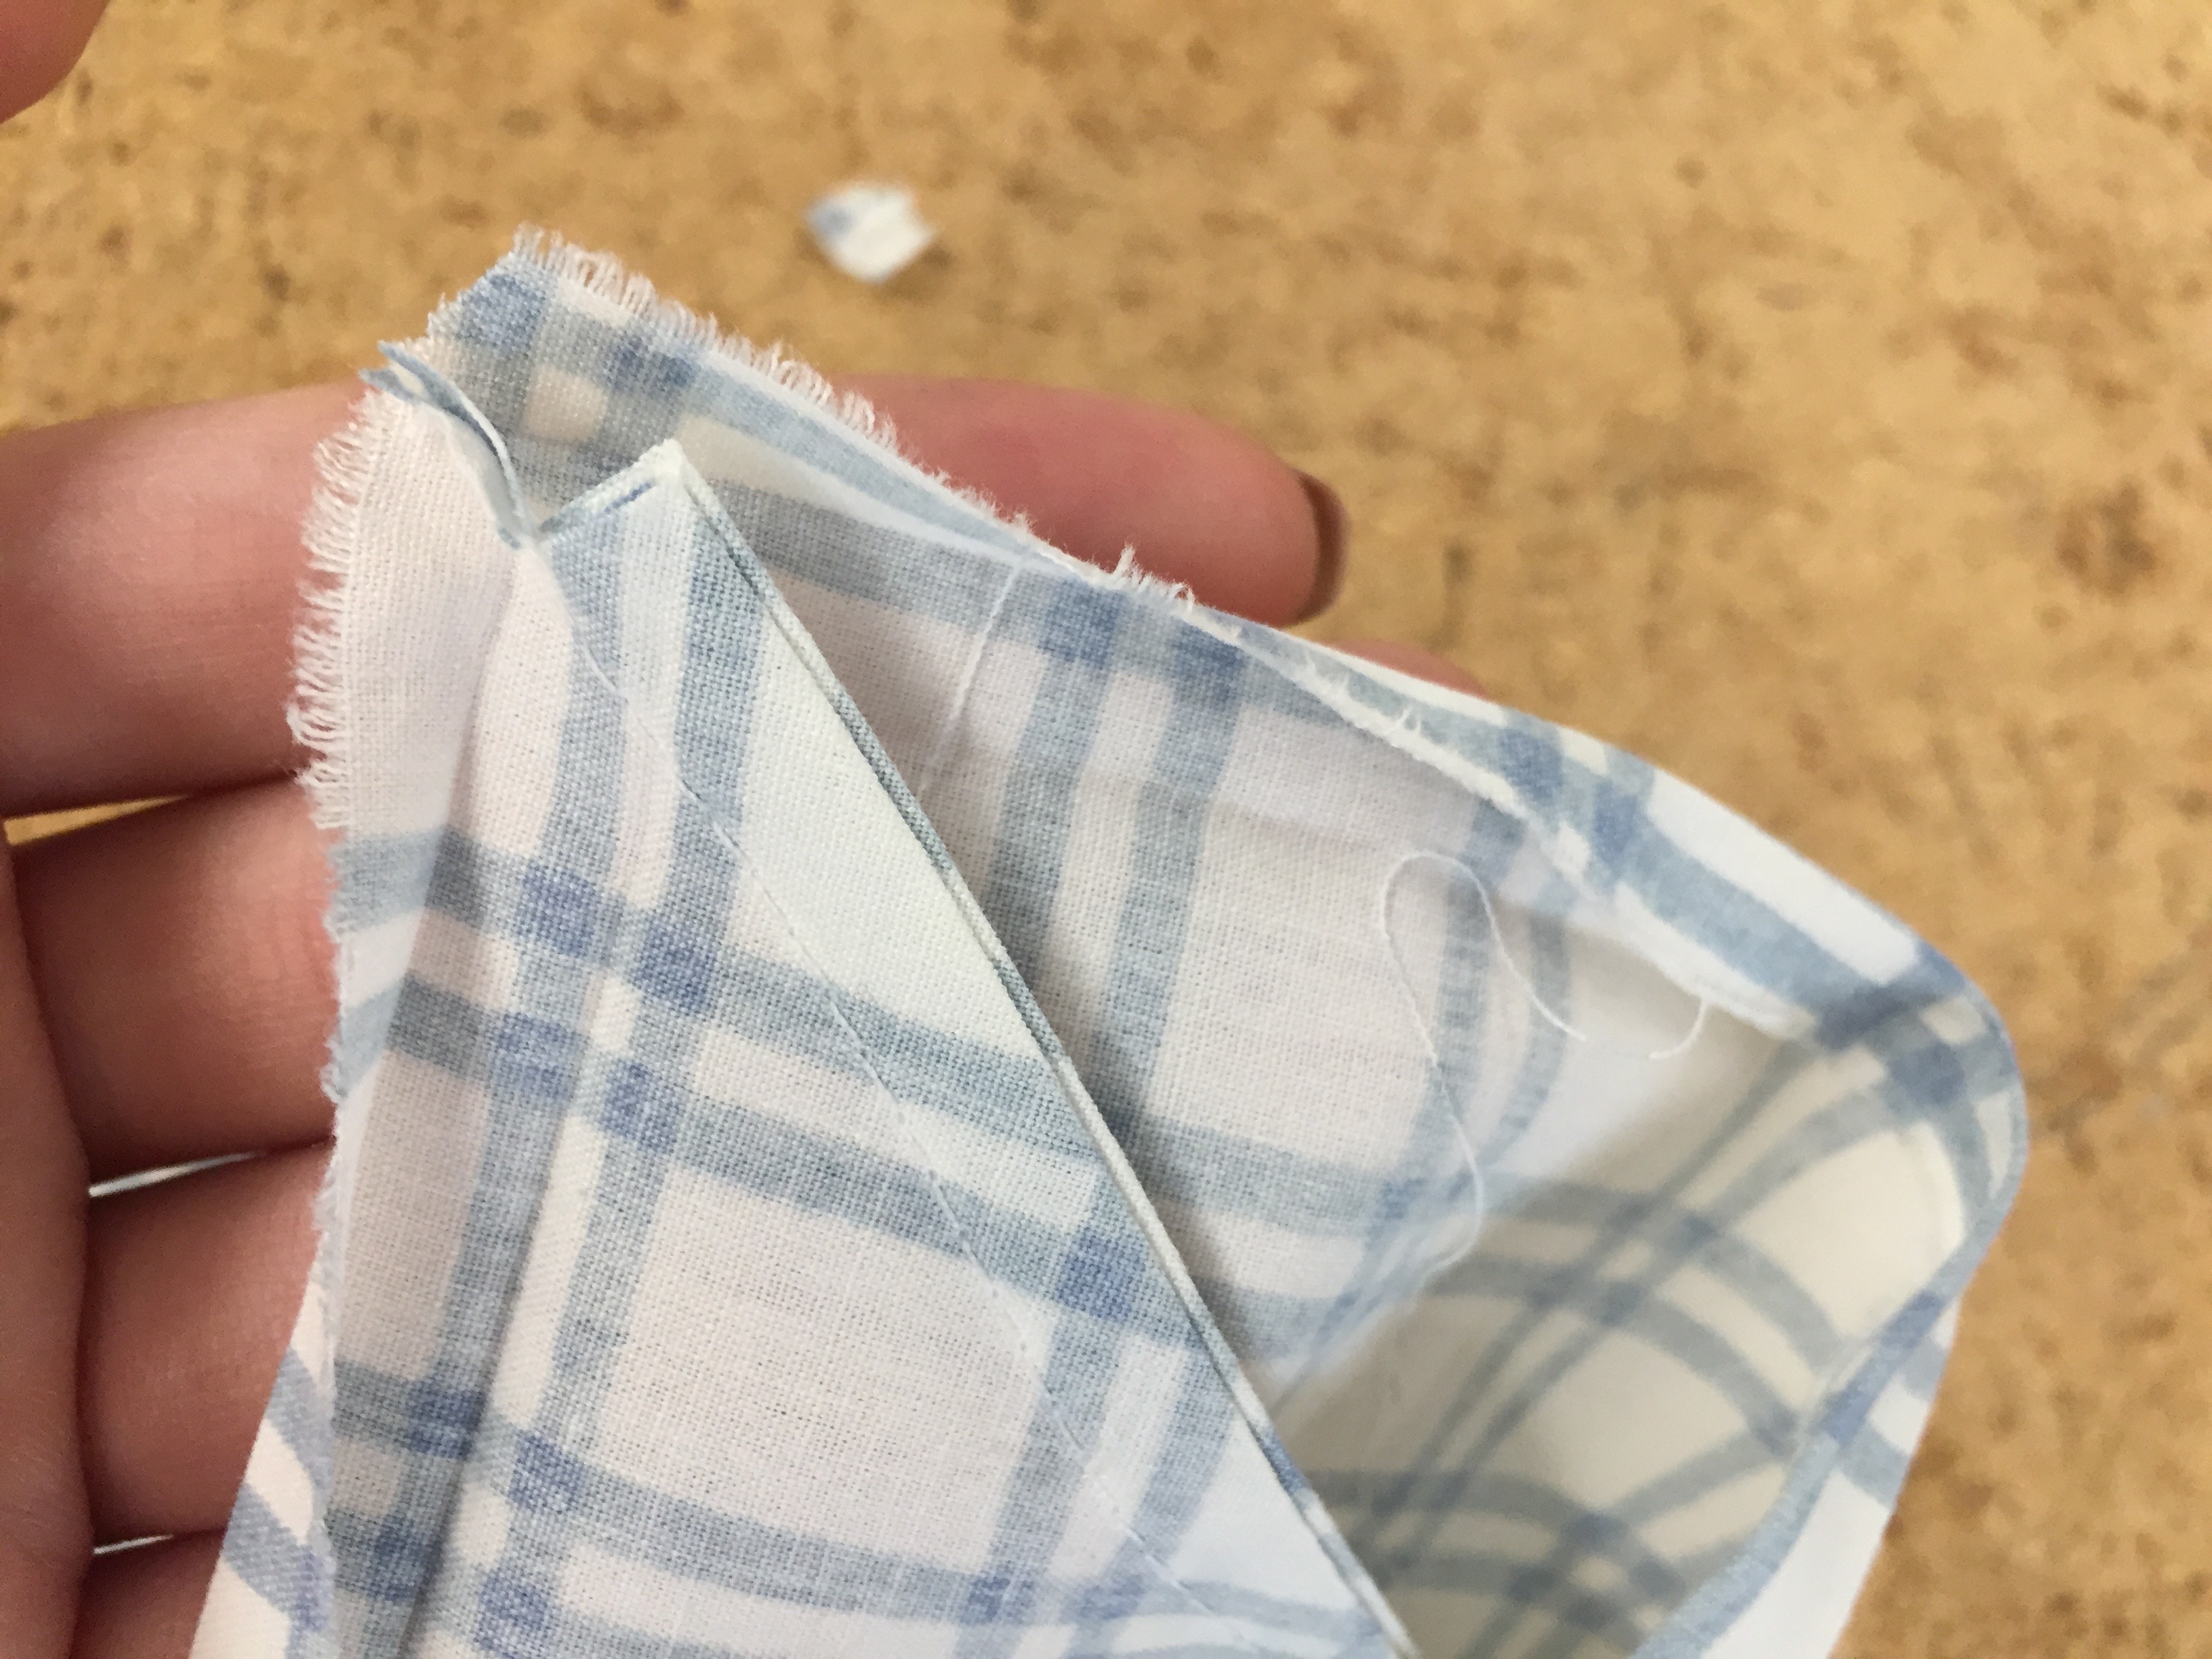
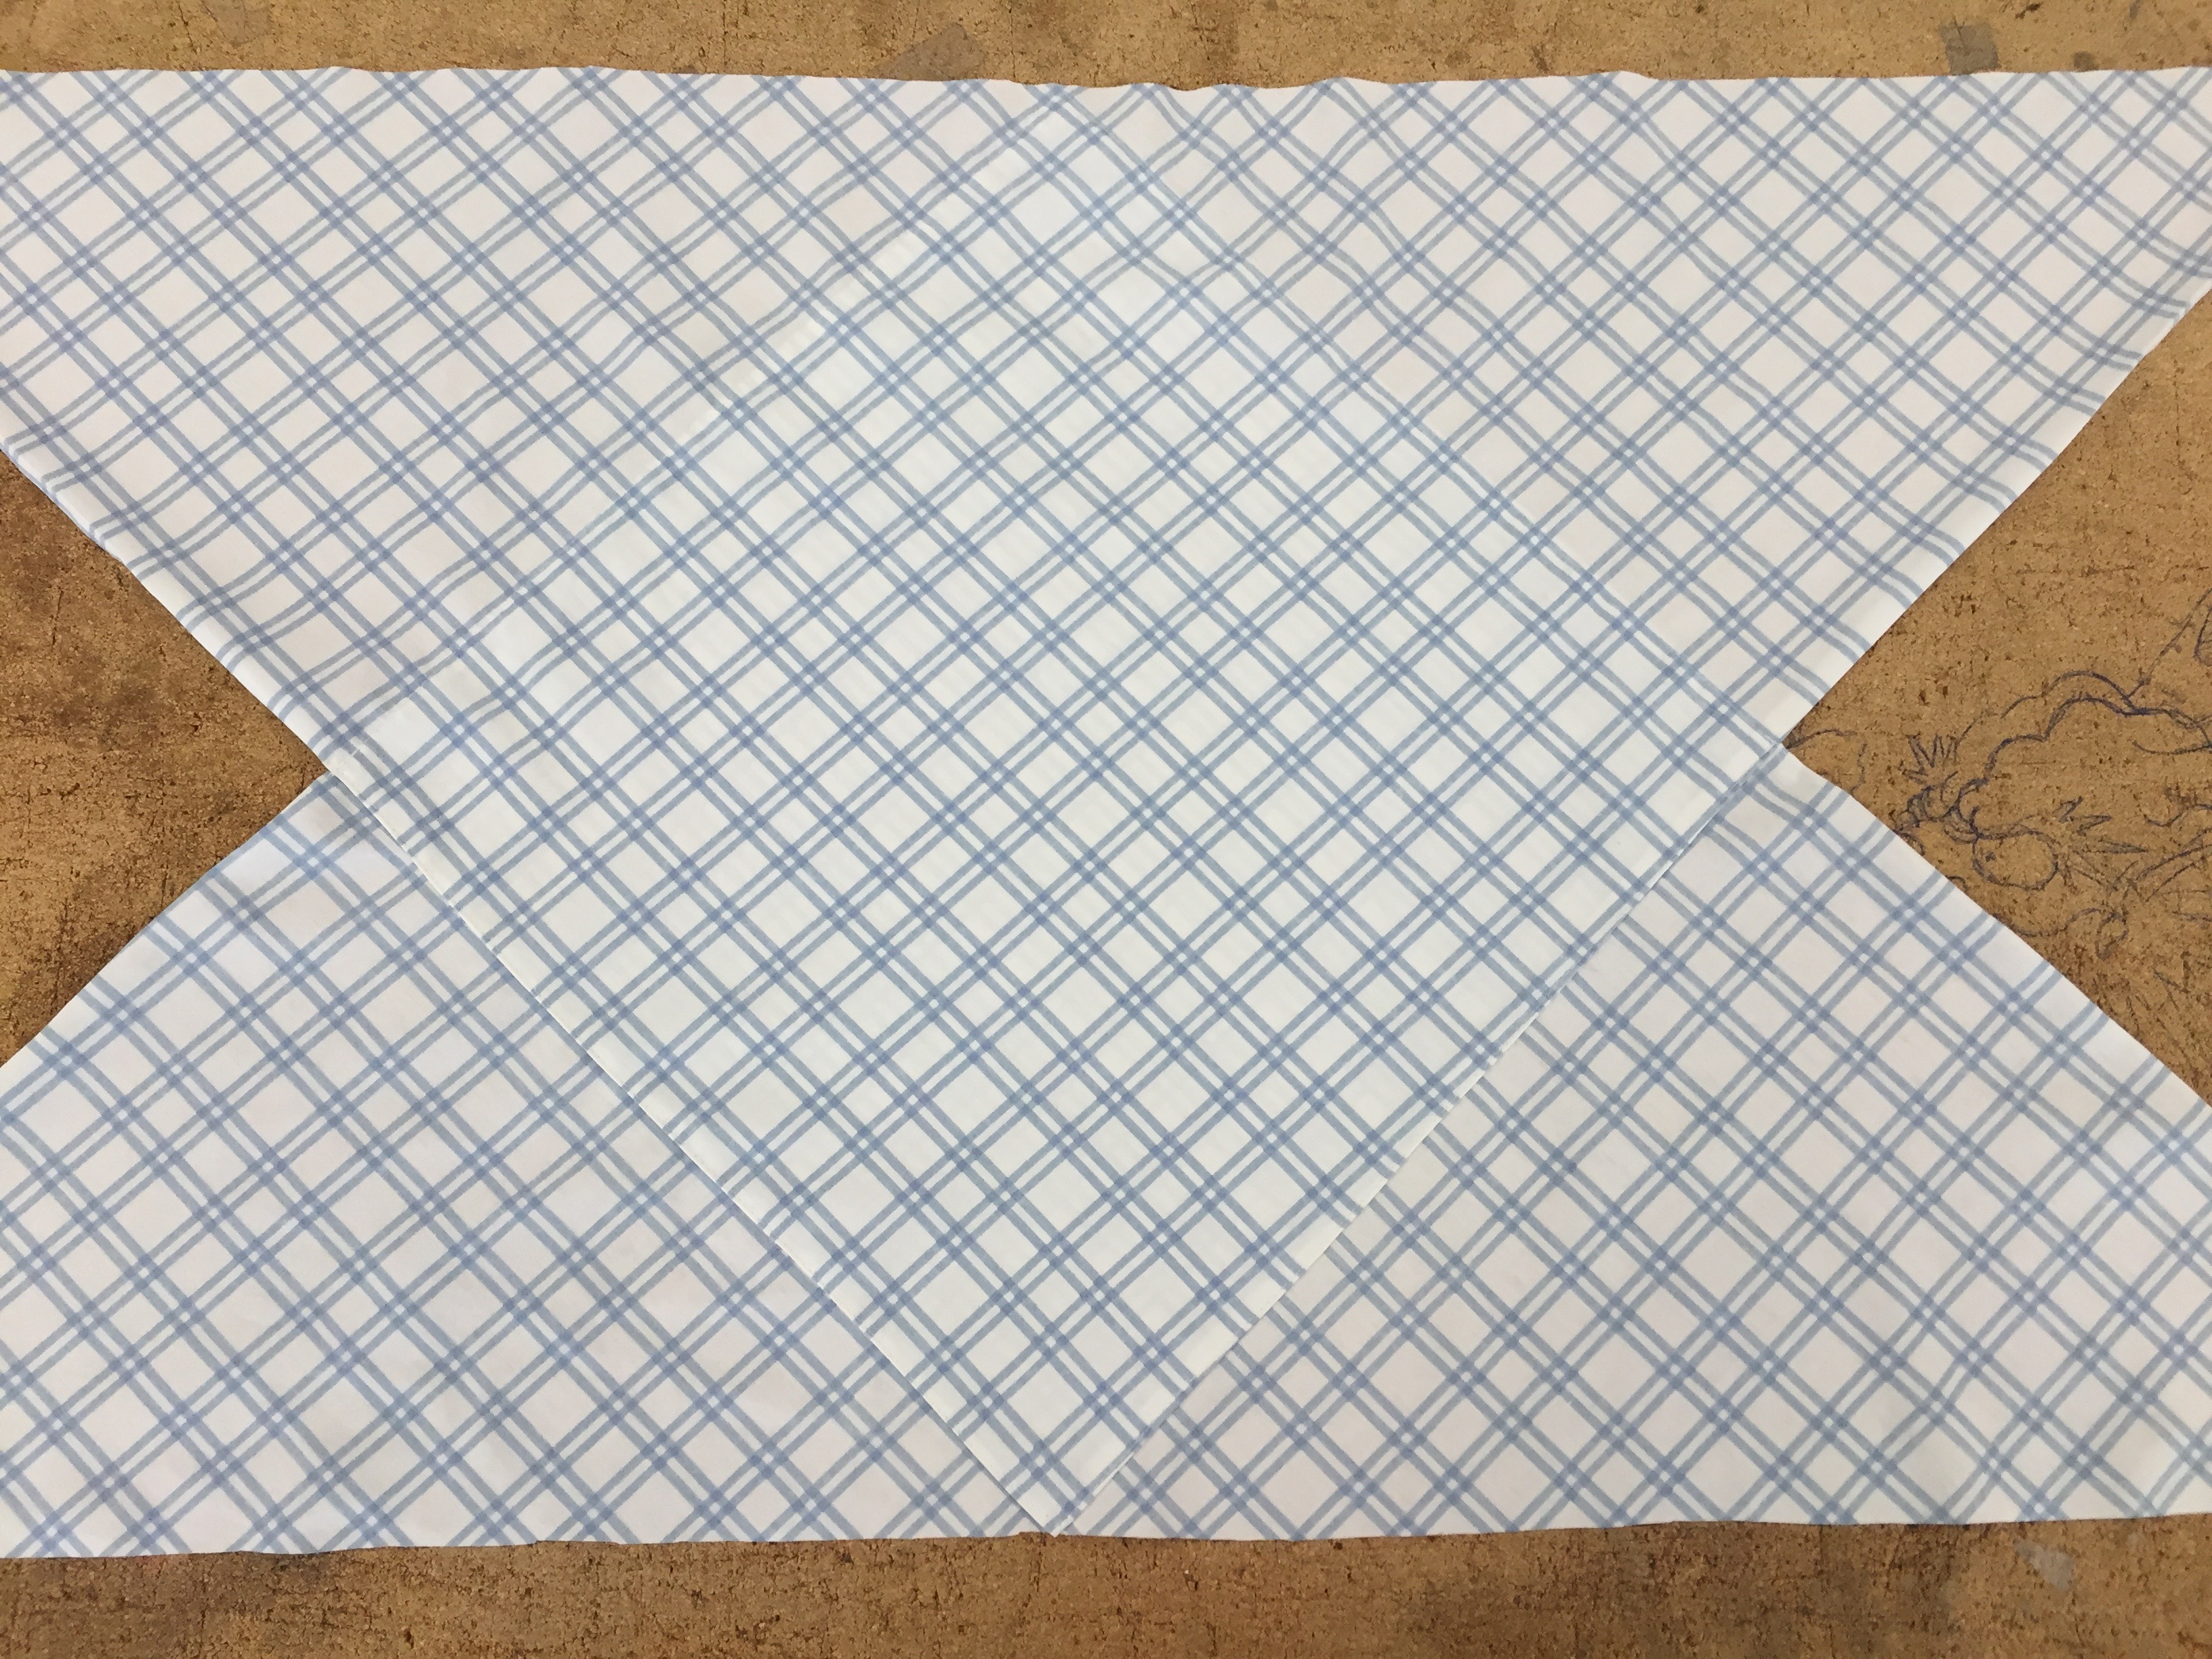
7. Fold your bag in half with wrong sides together, and sew french seams along both sides.
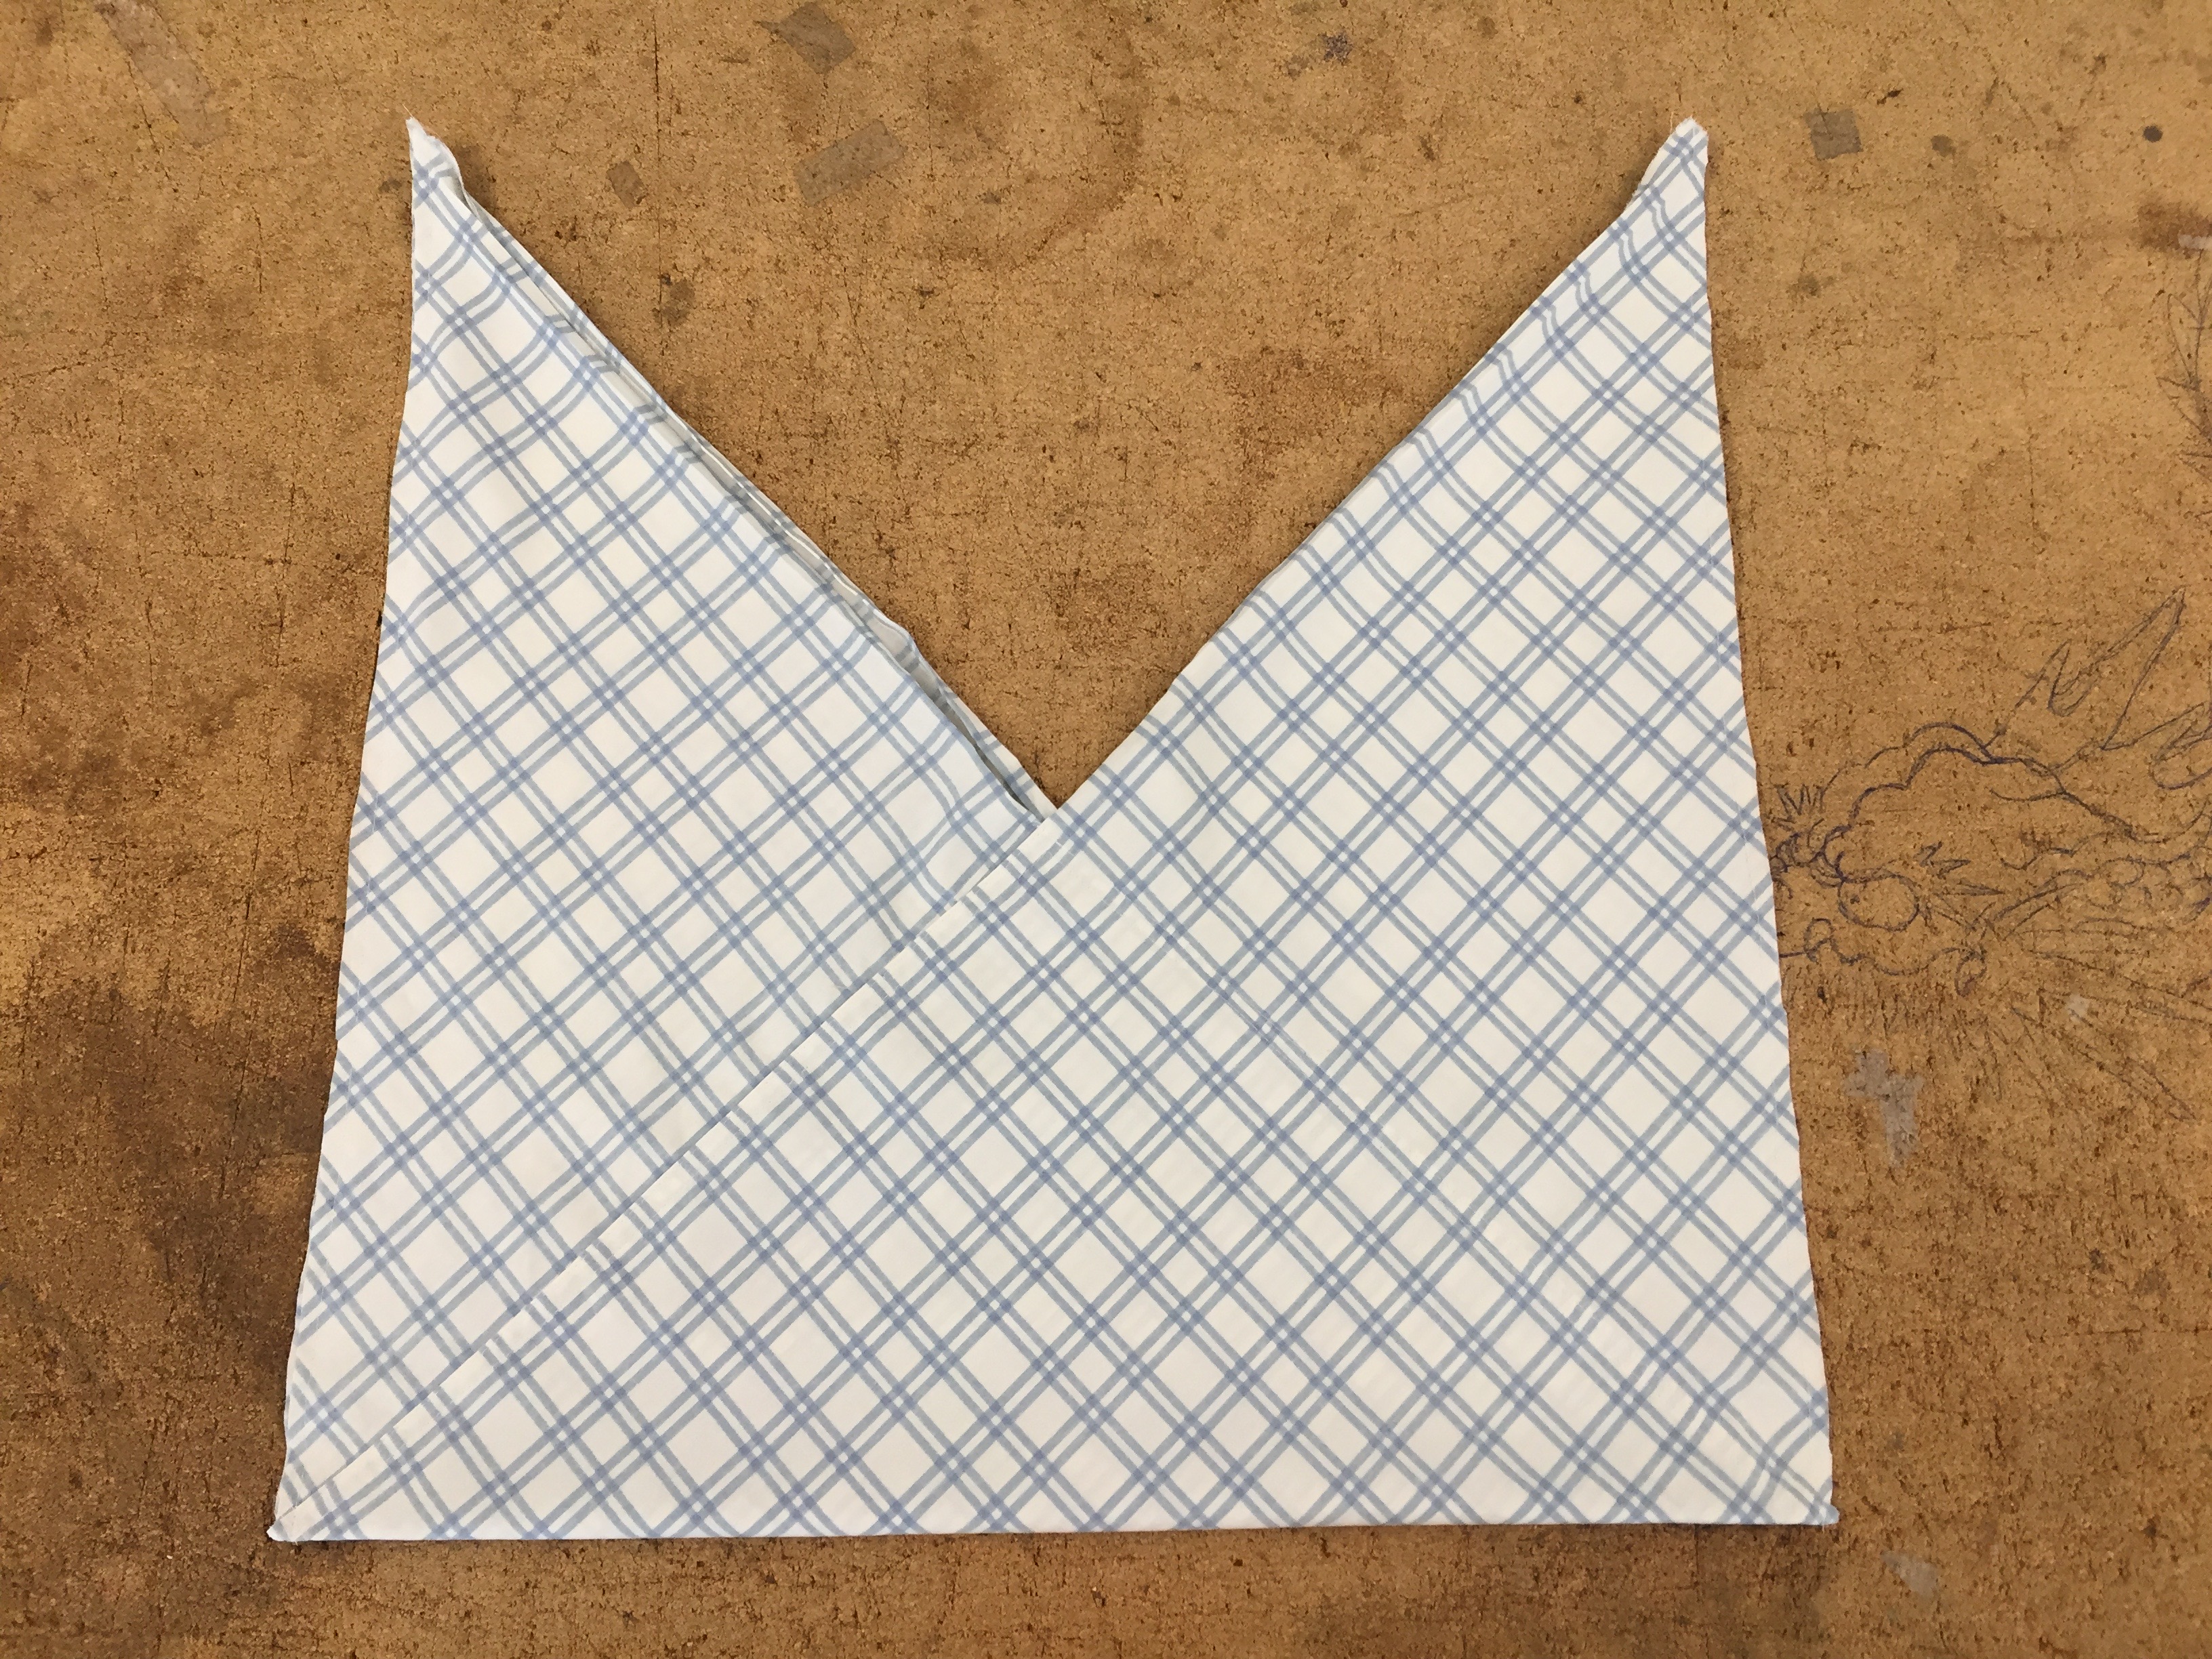
8. Trim the corners of your bag.
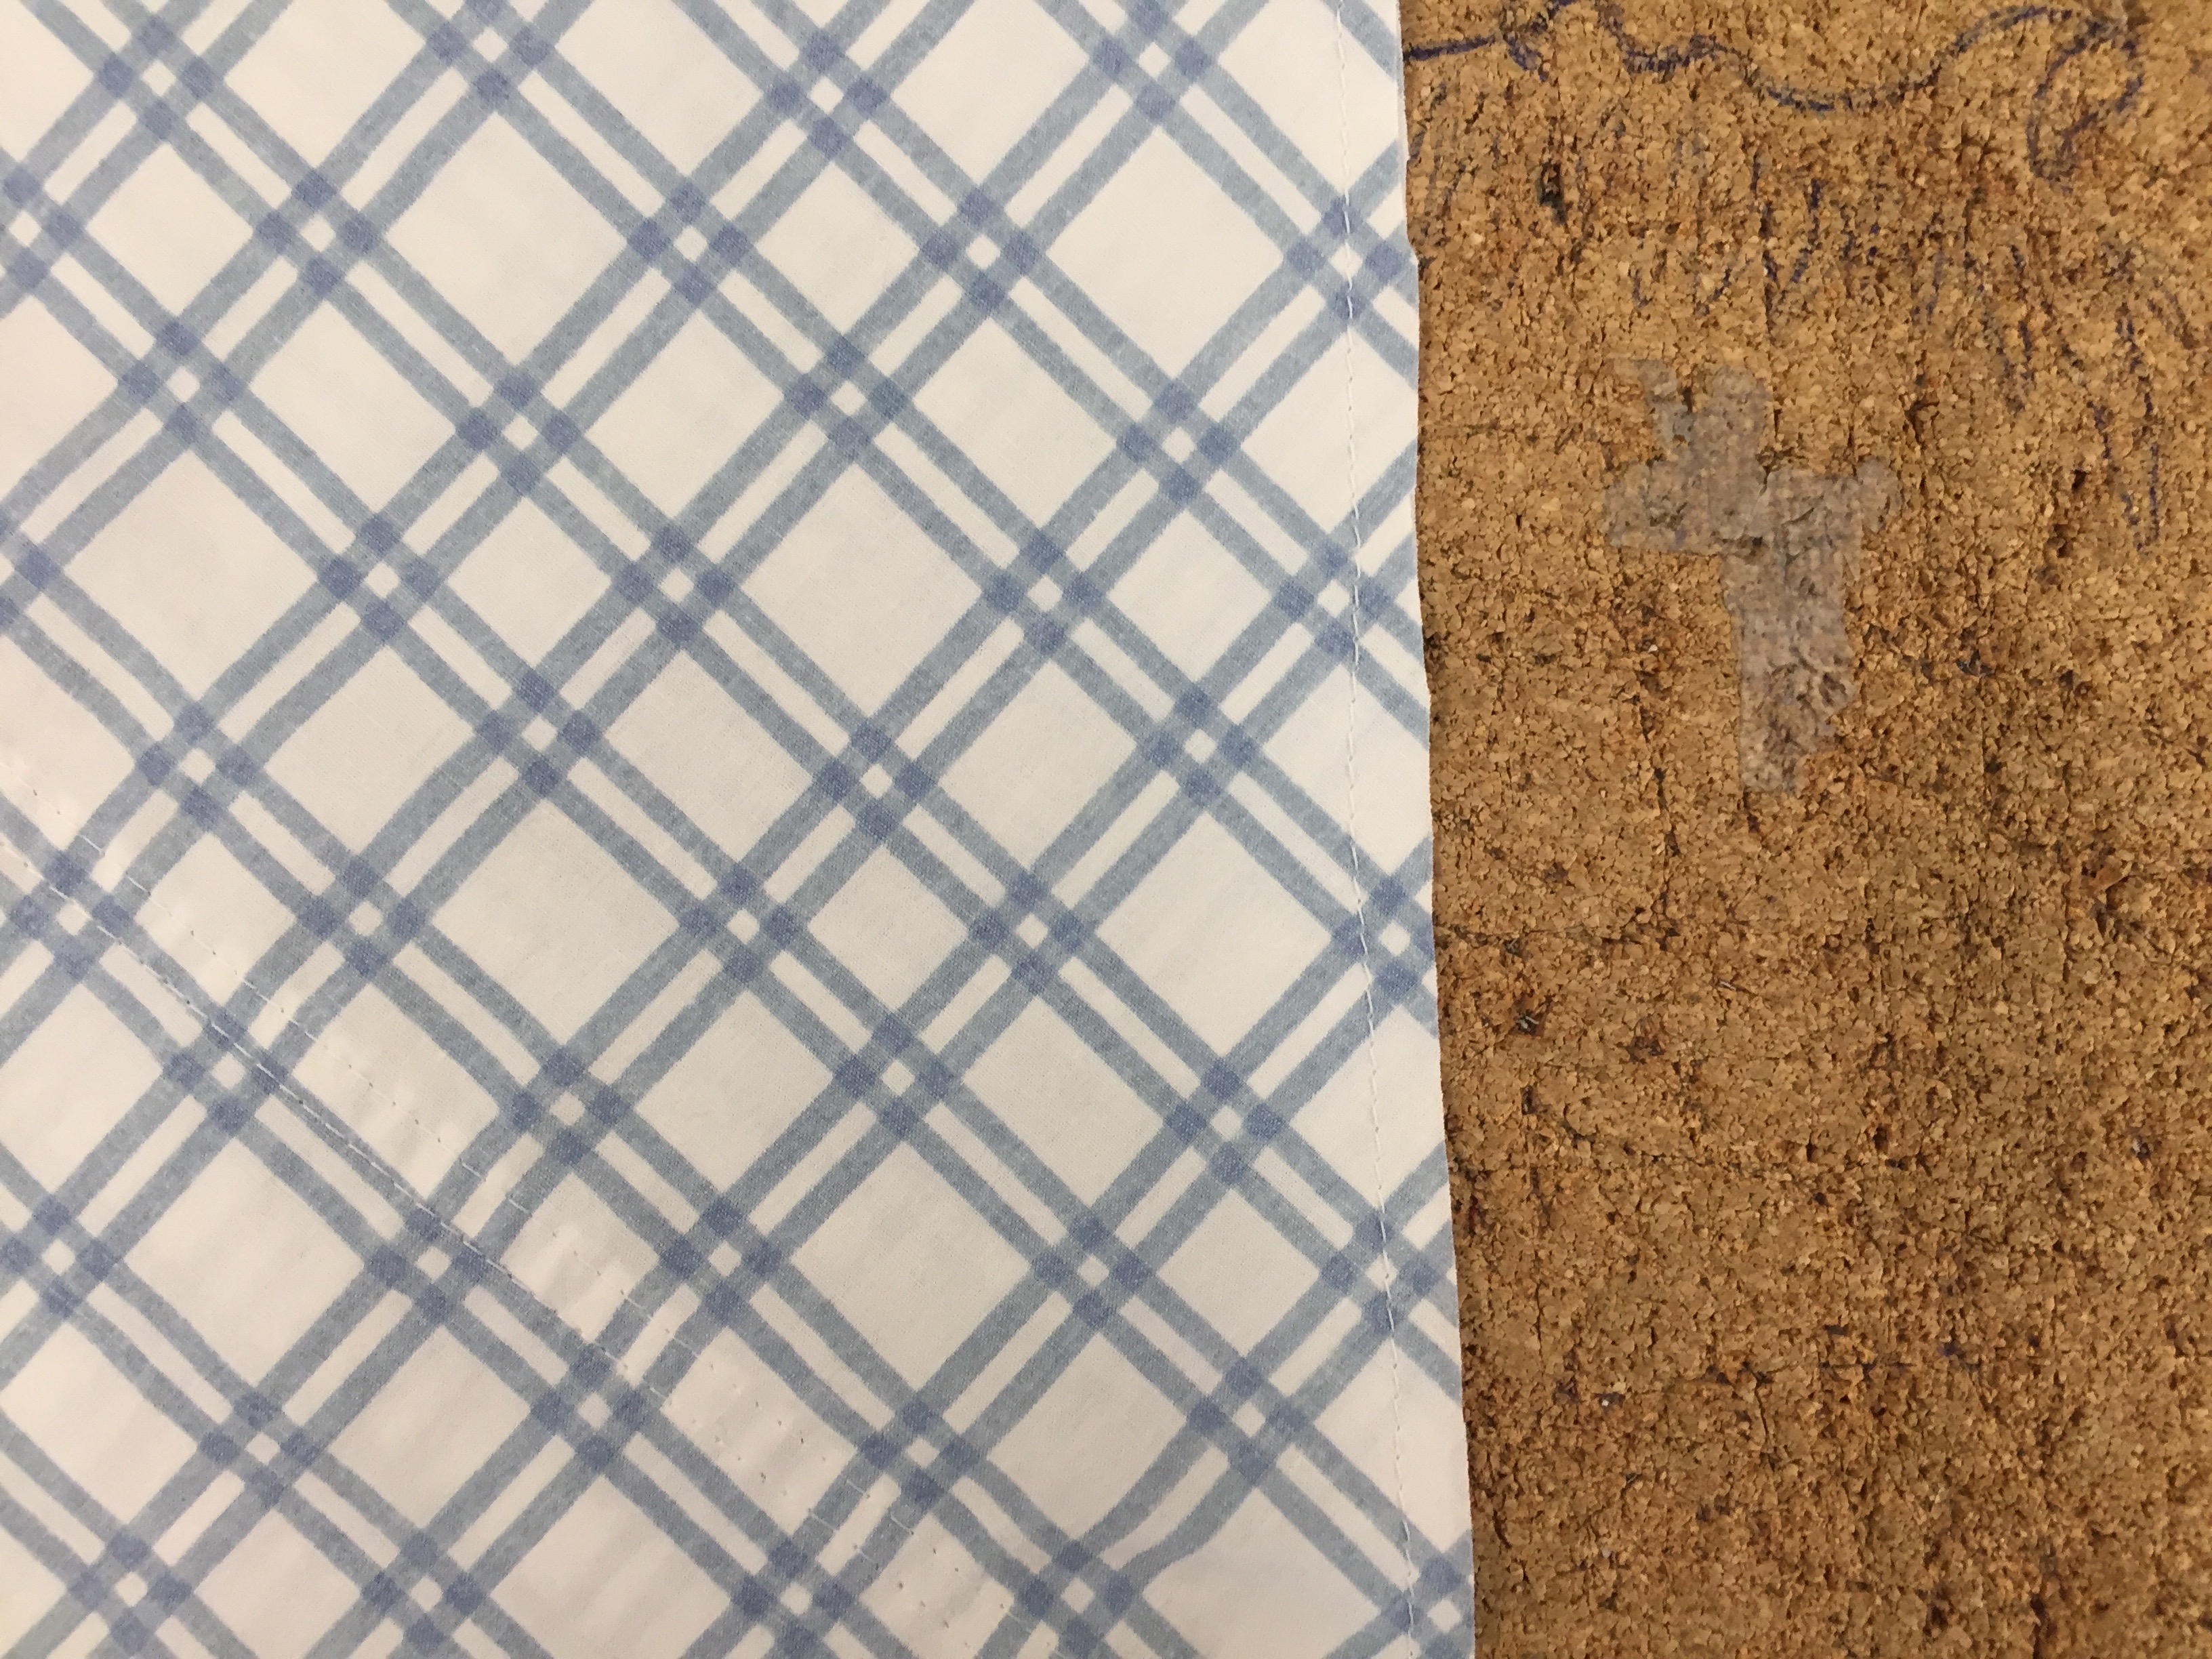
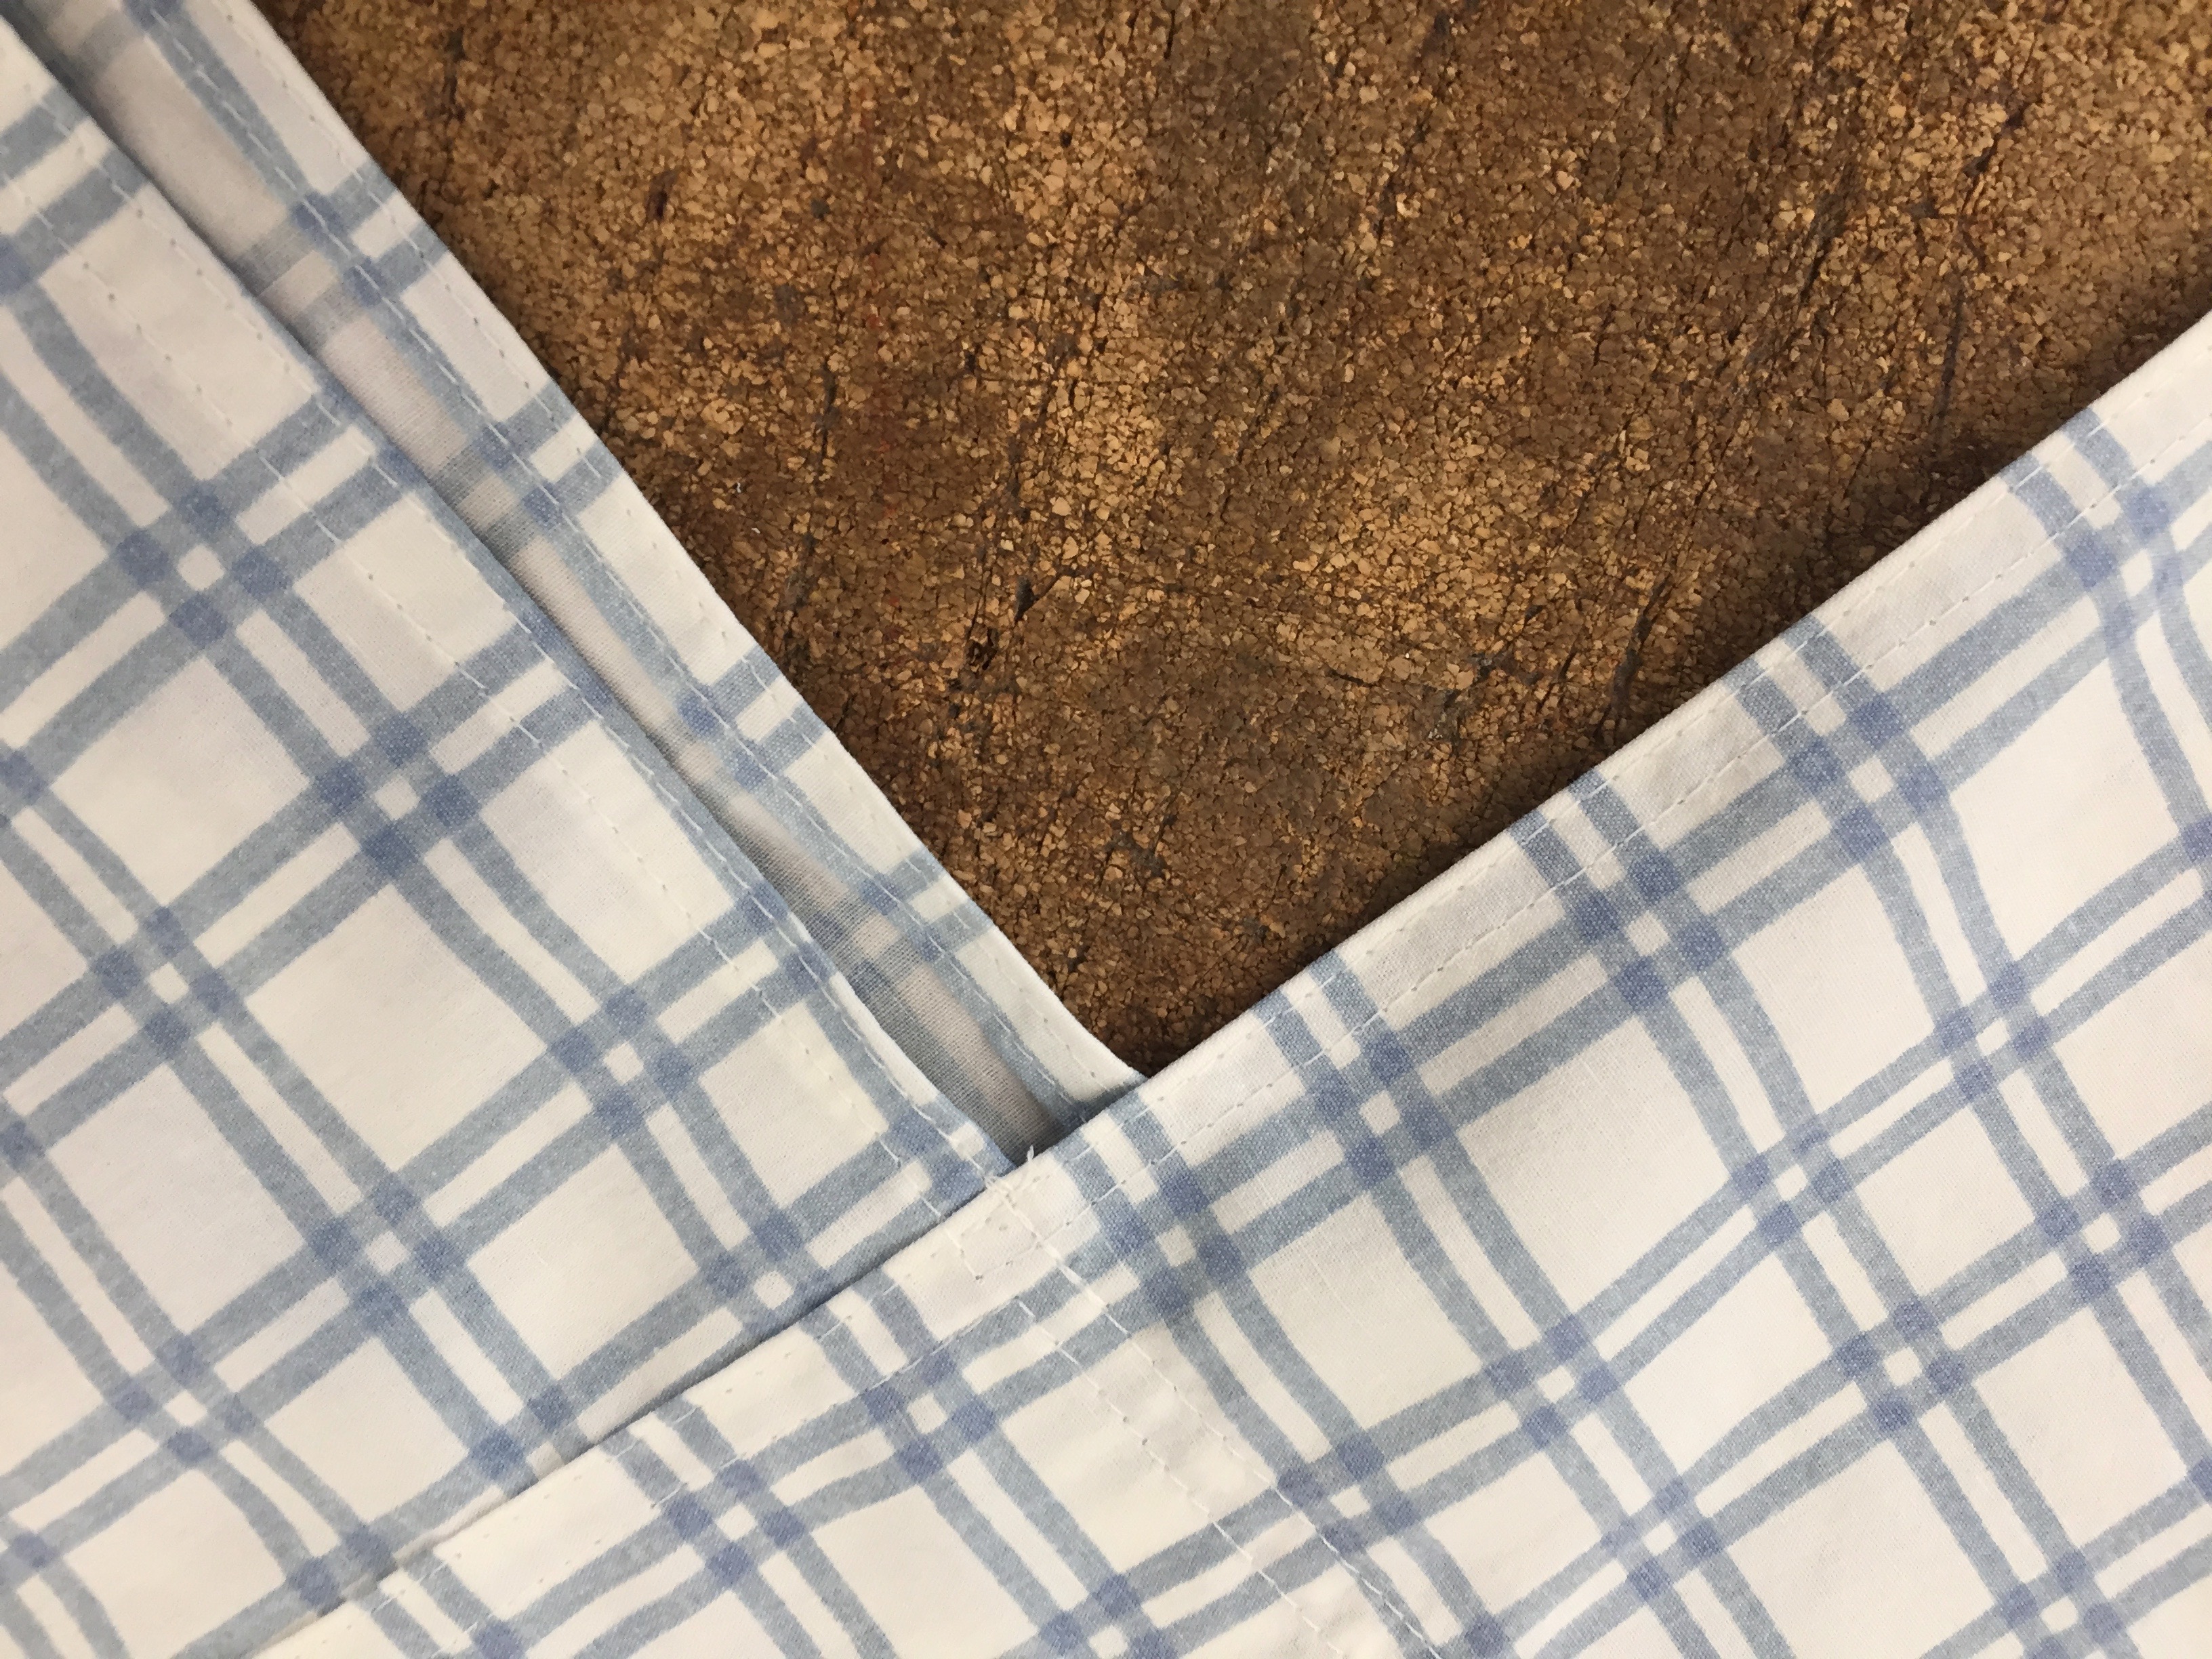
9. Finish the edges of your bag with 1/4" top stitching.
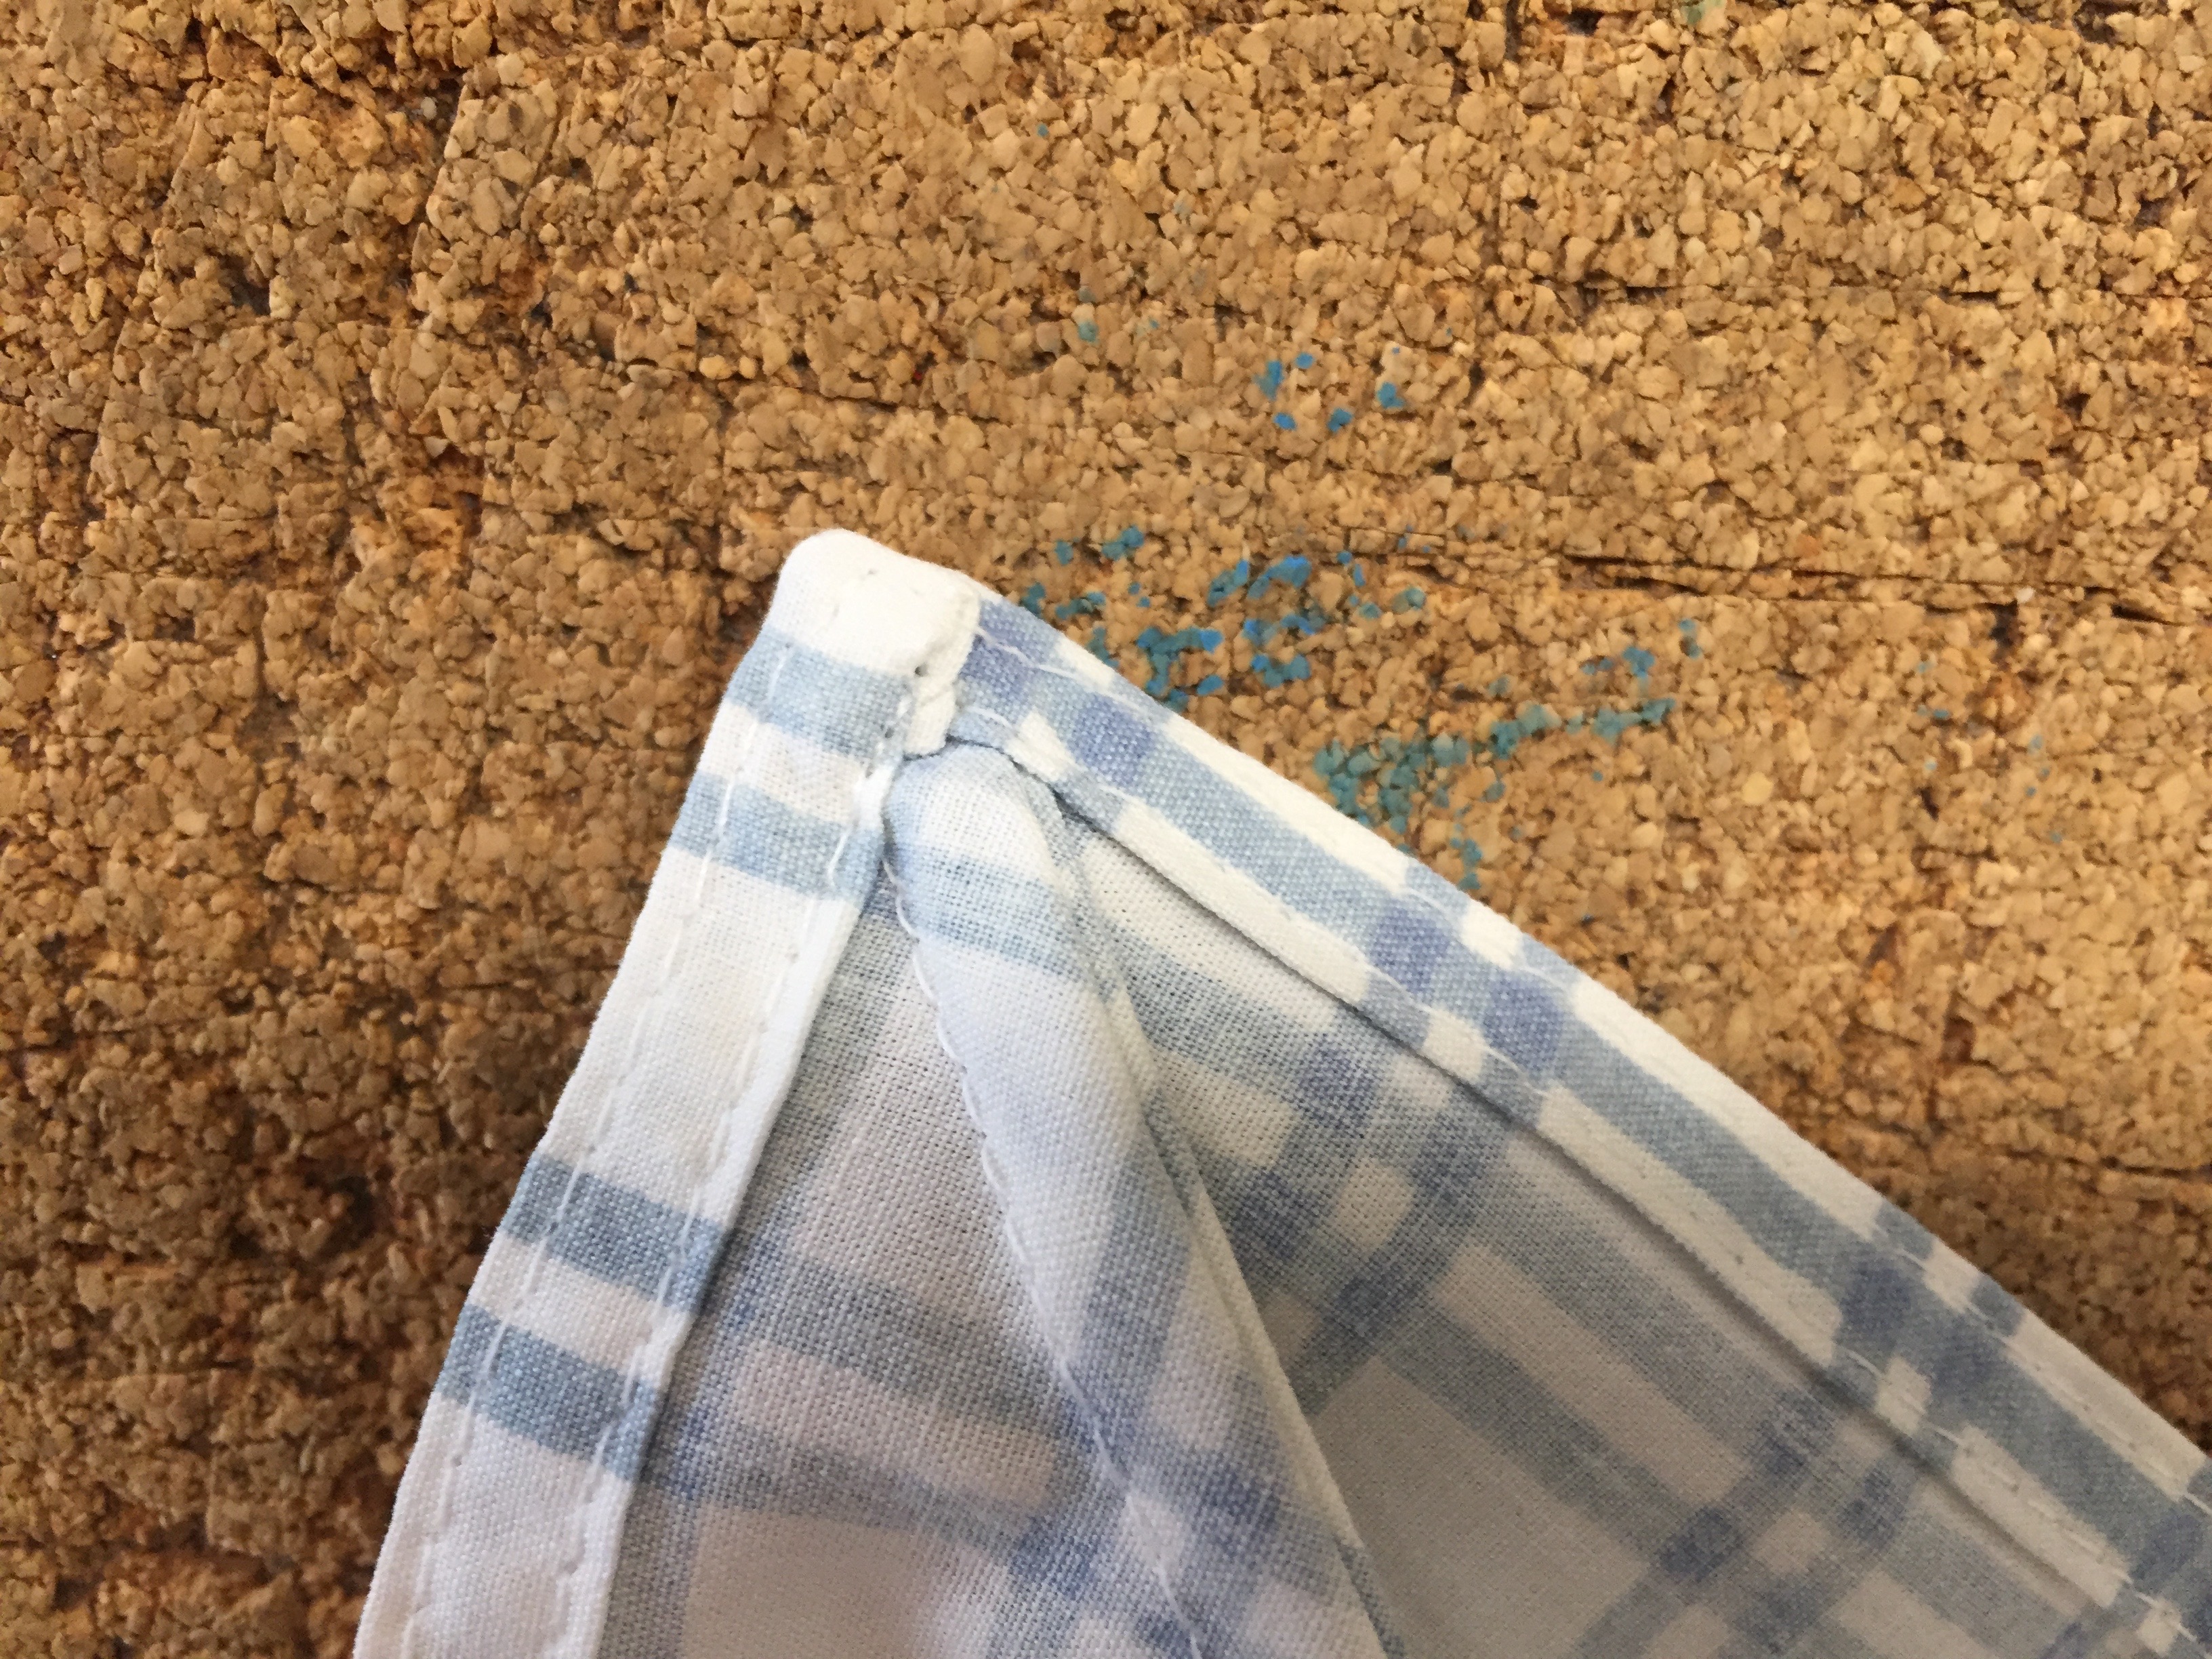
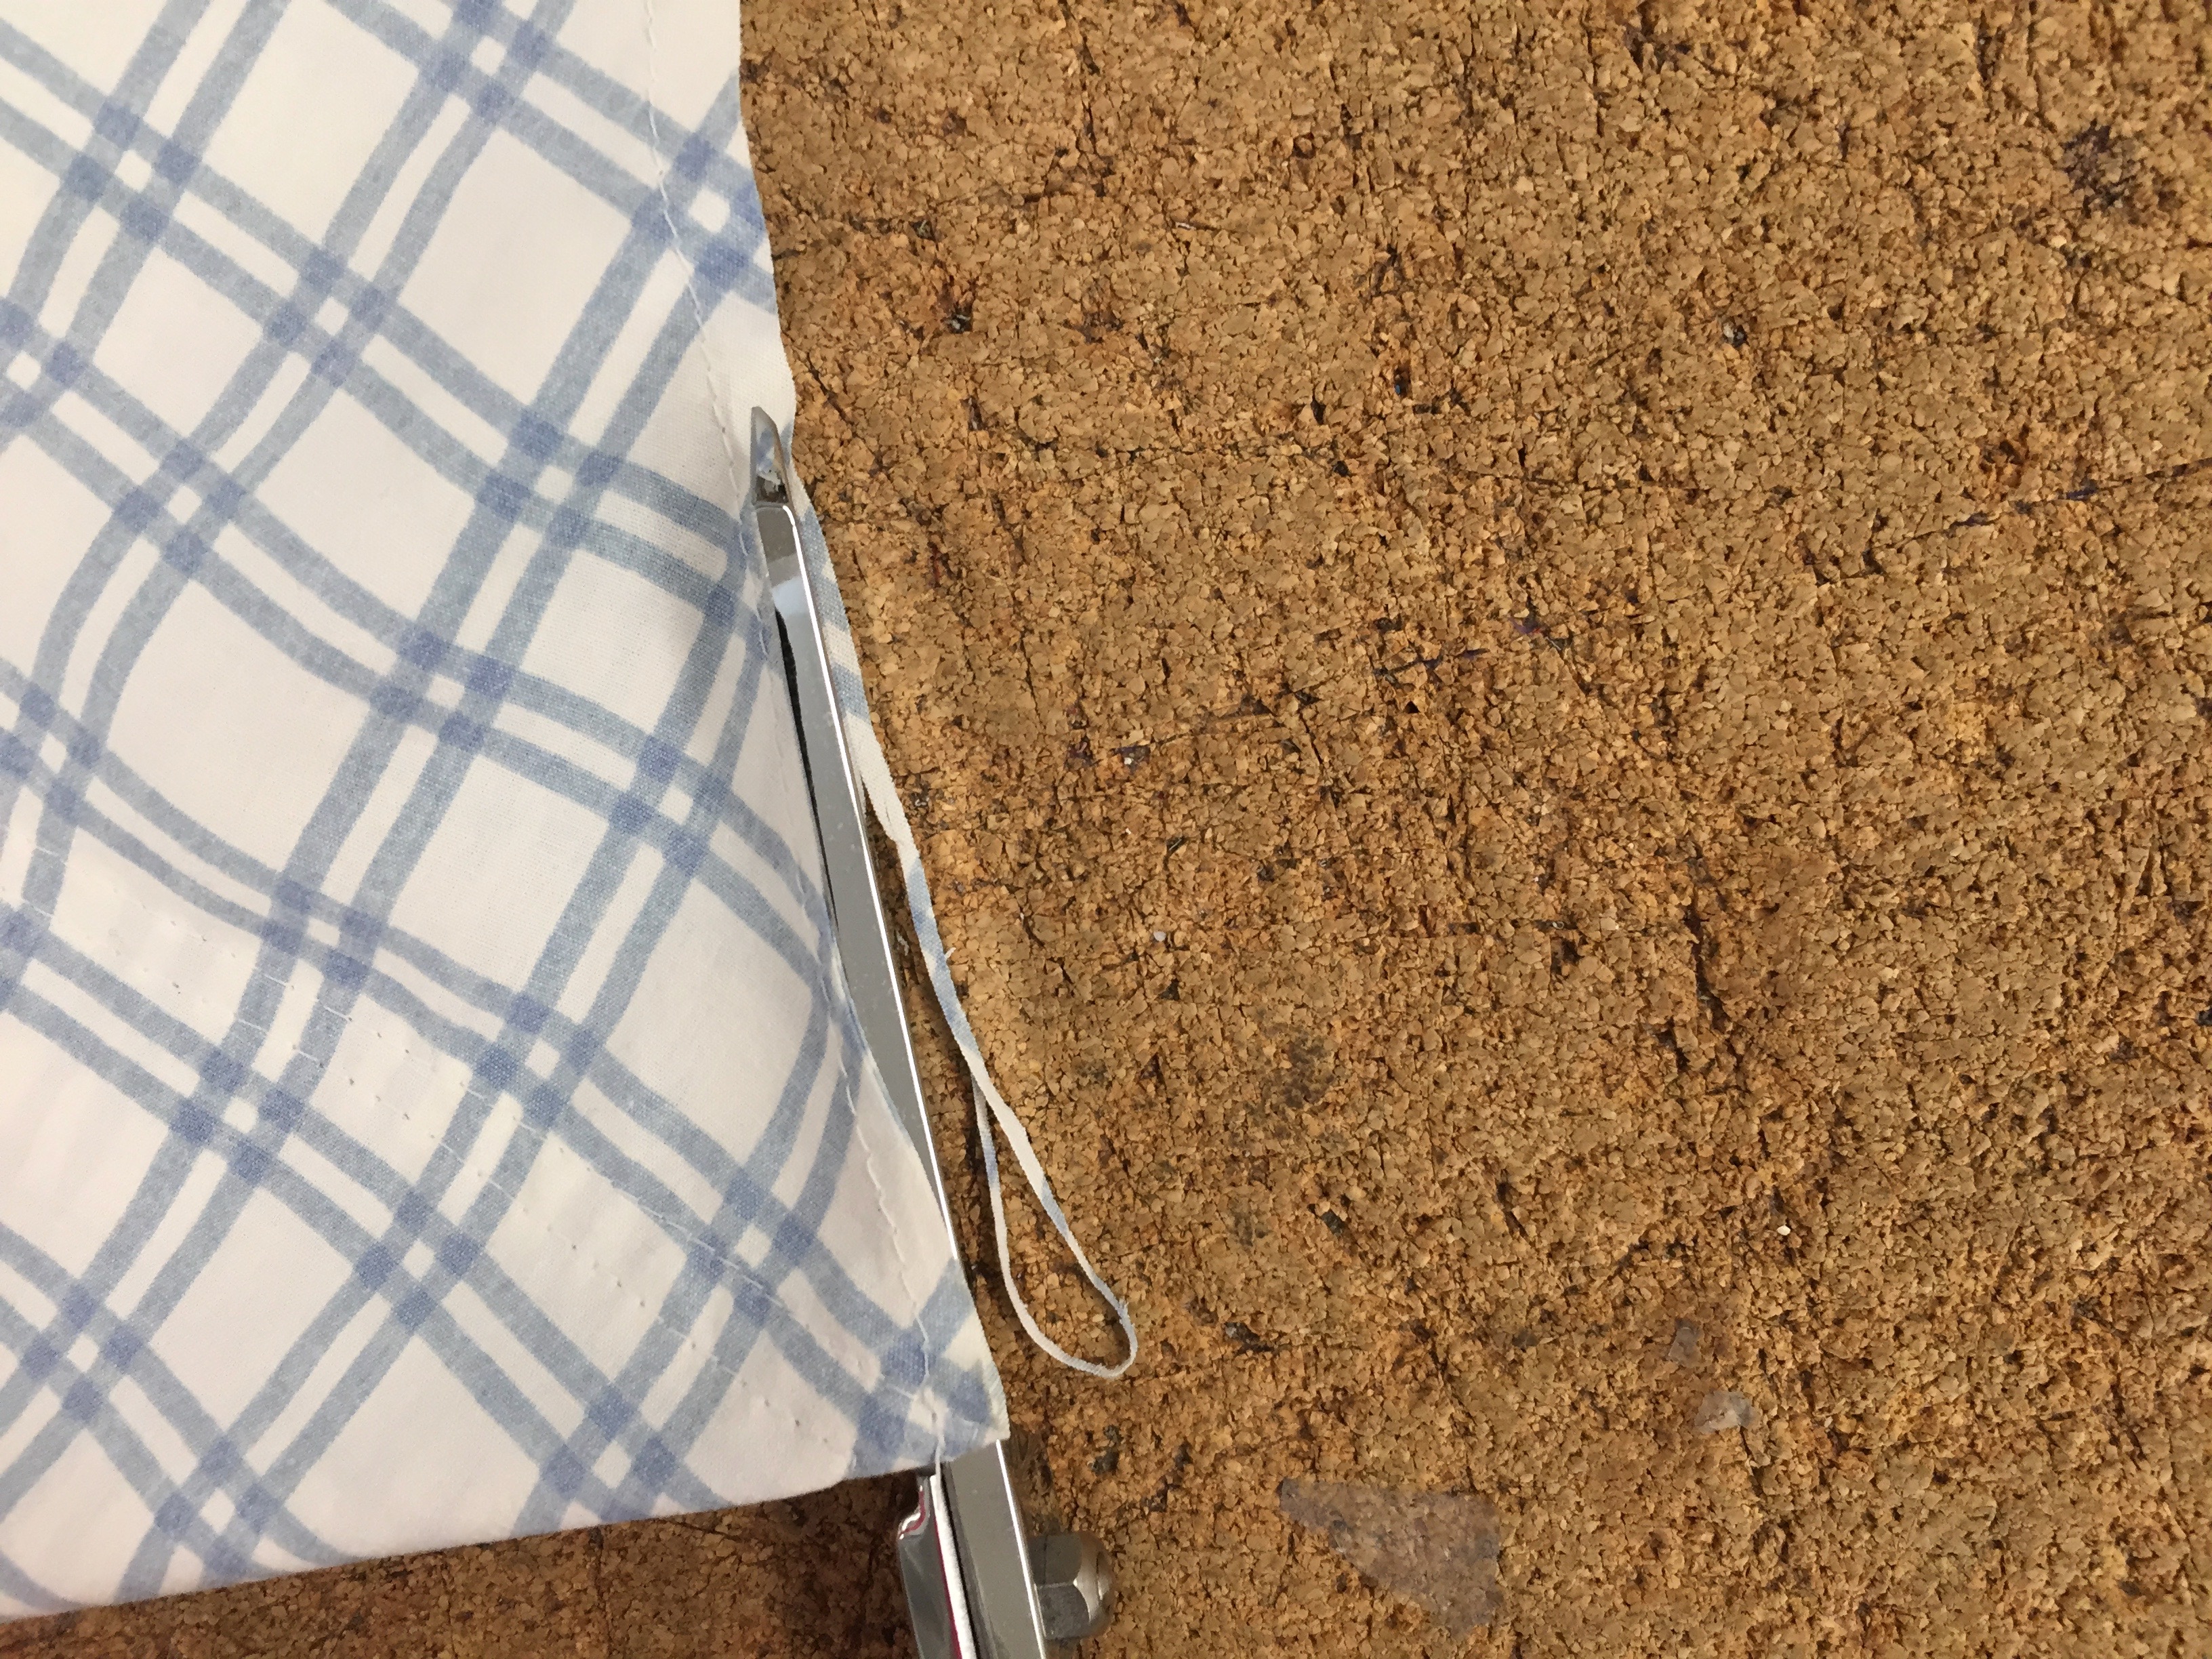
10. Mark a line with pencil or chalk 2" away from the corner of your bag on both corners. Sew along the lines.


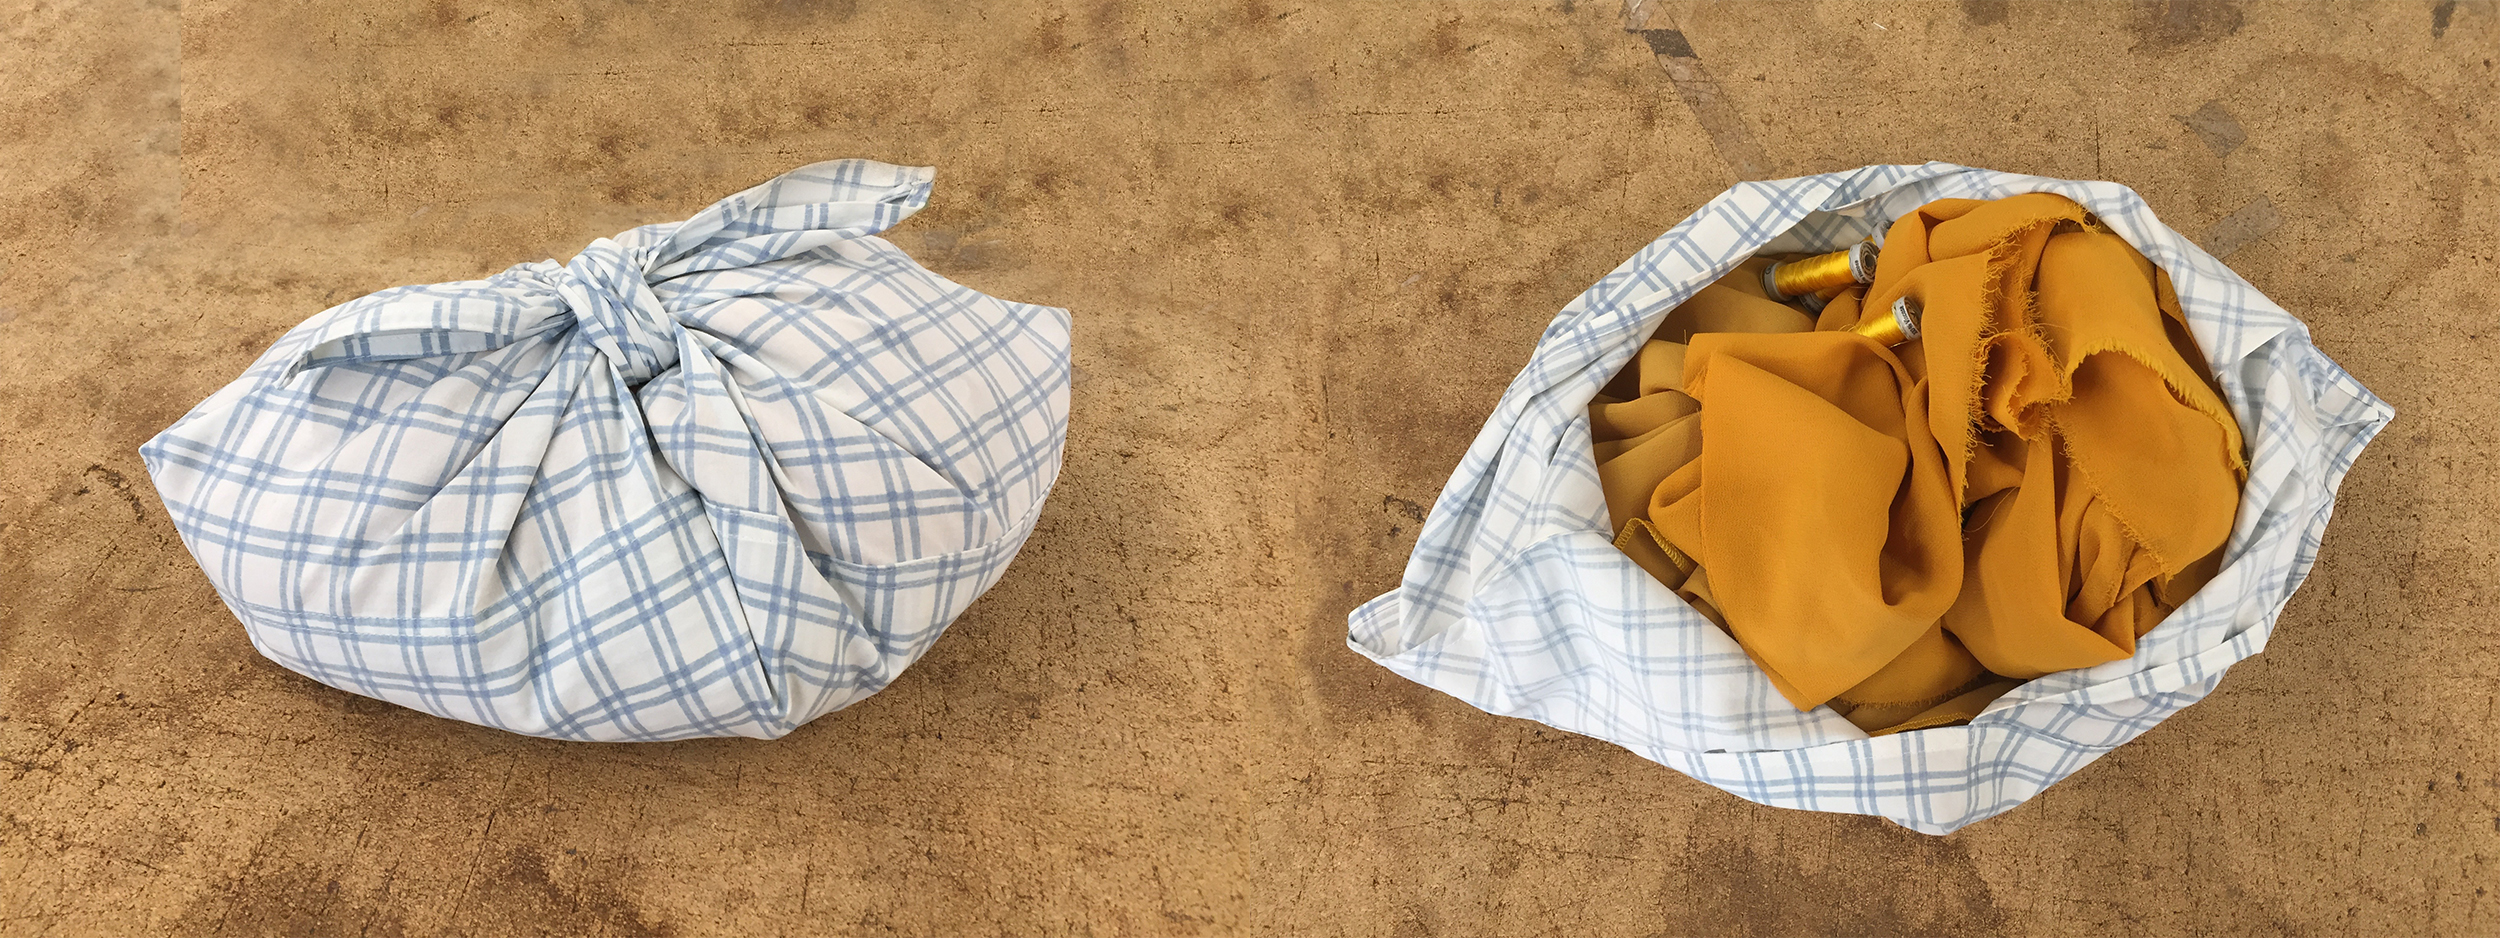
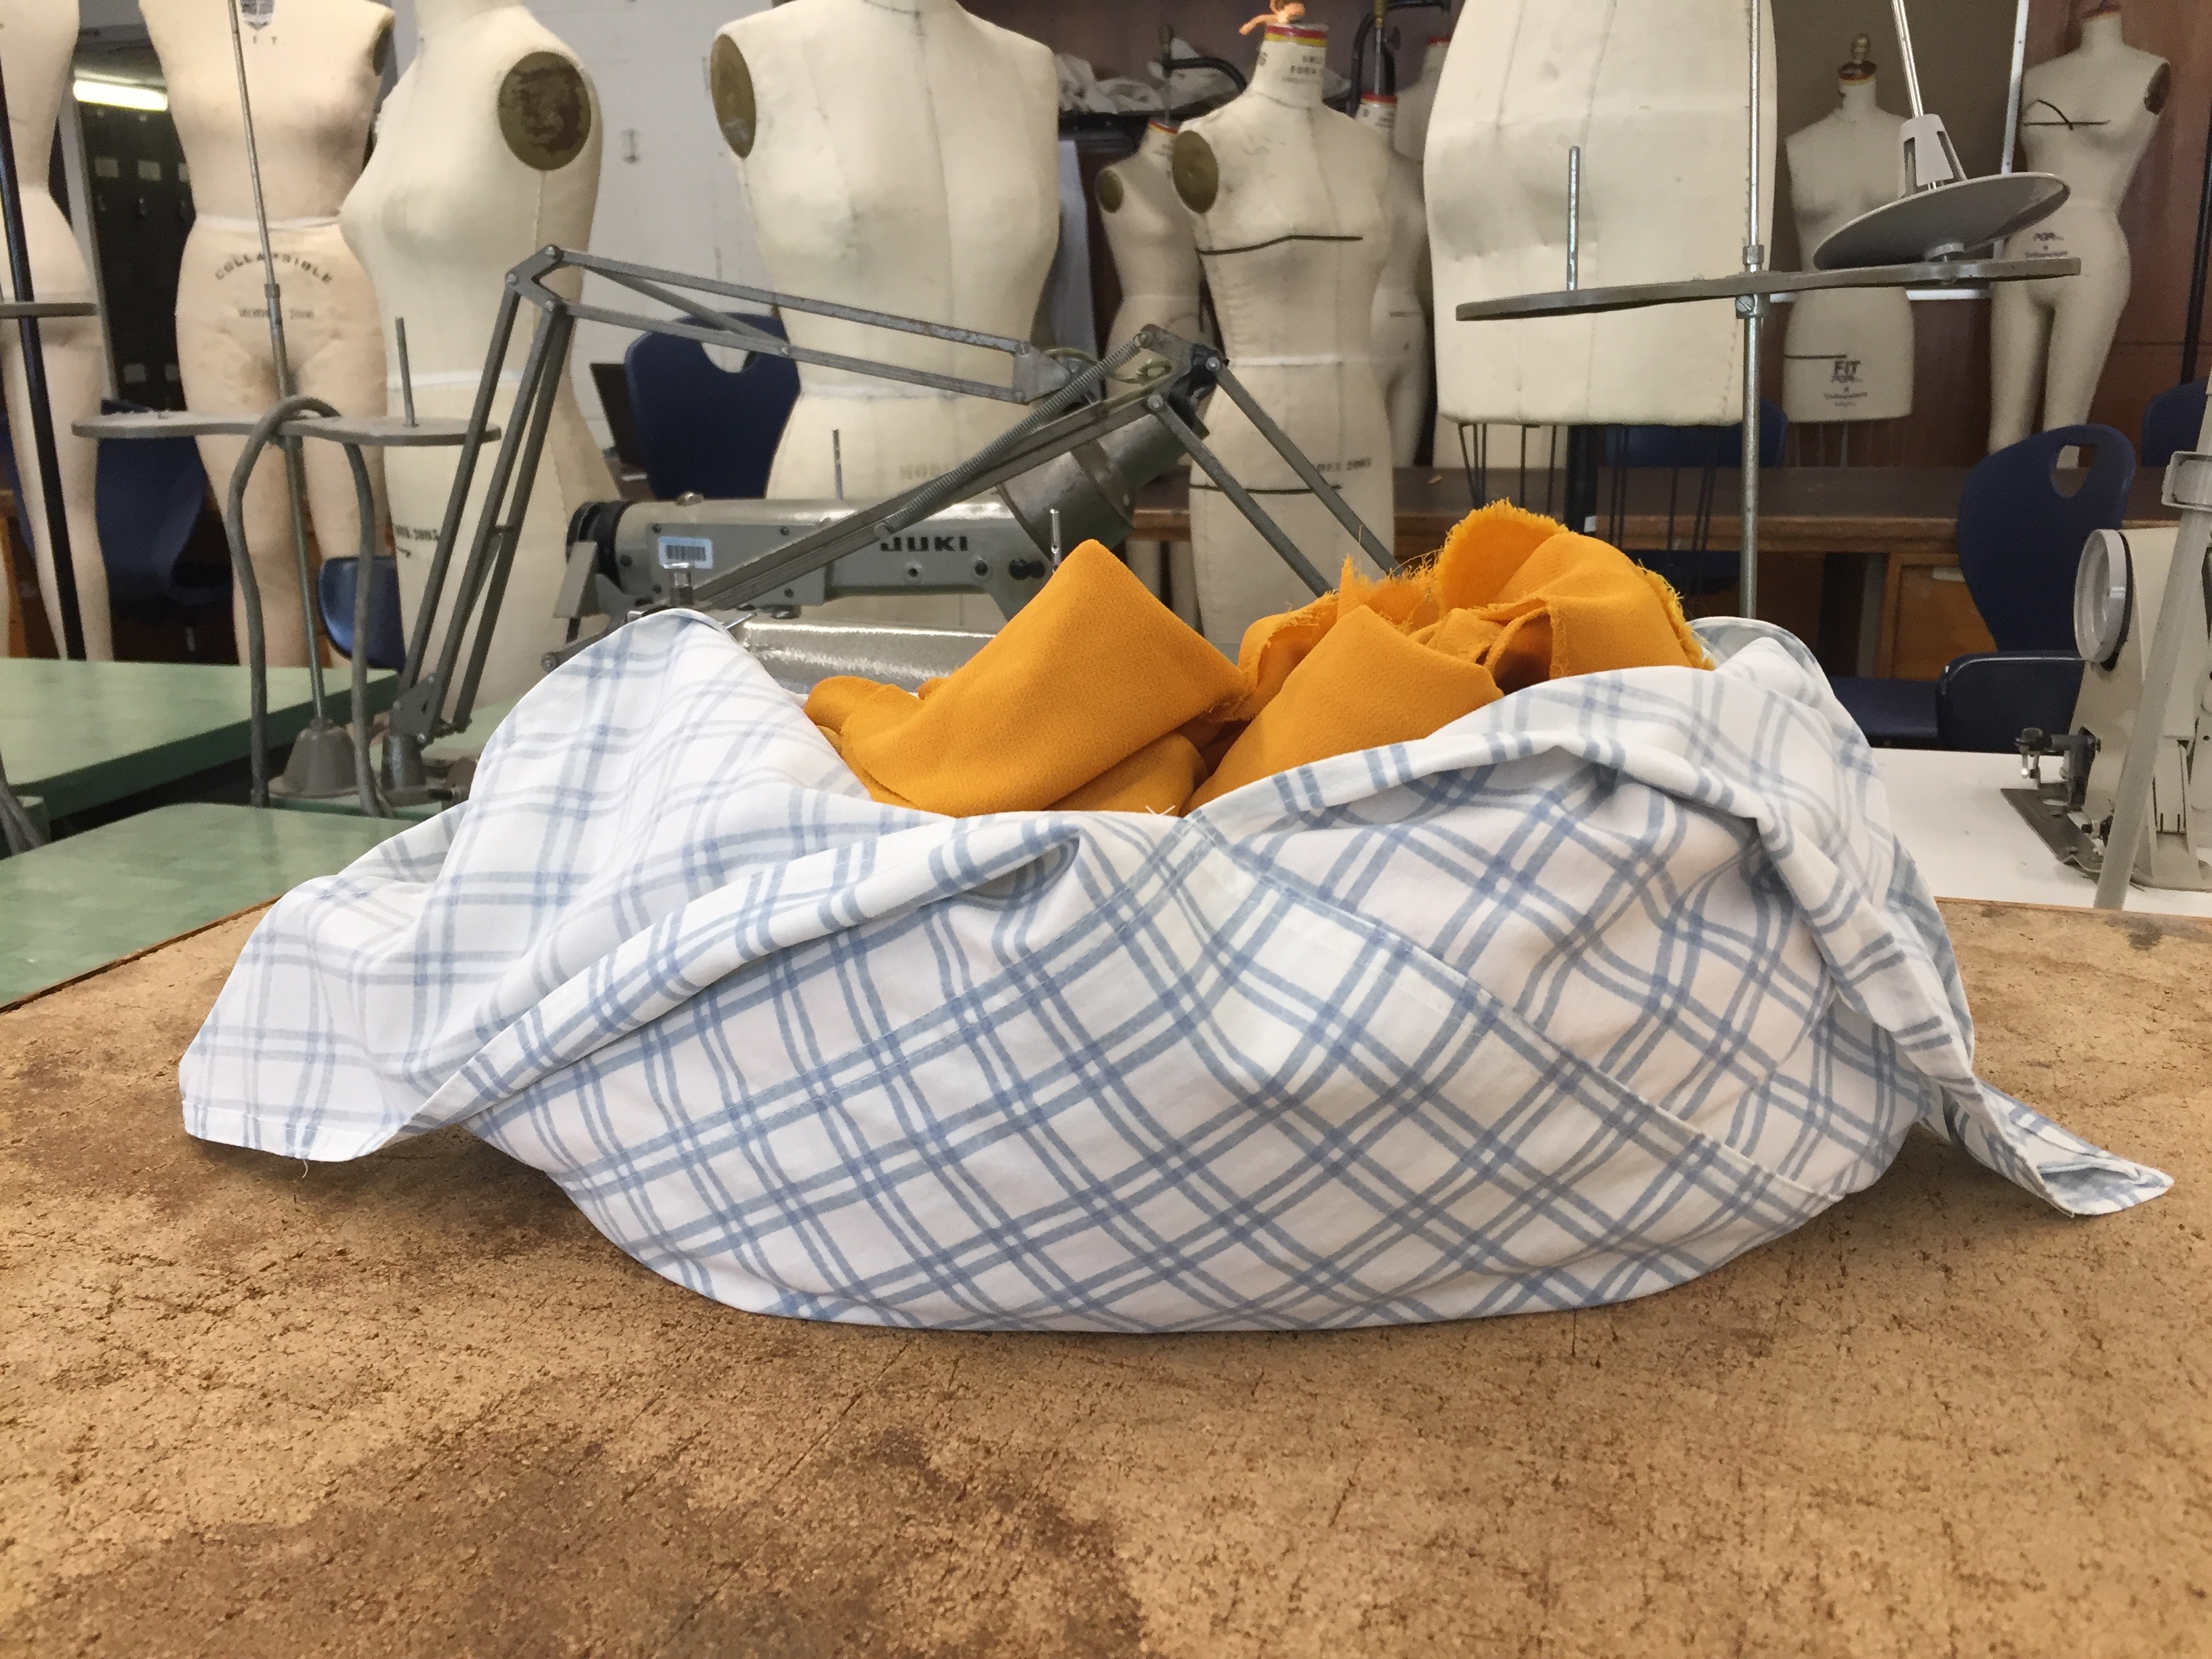
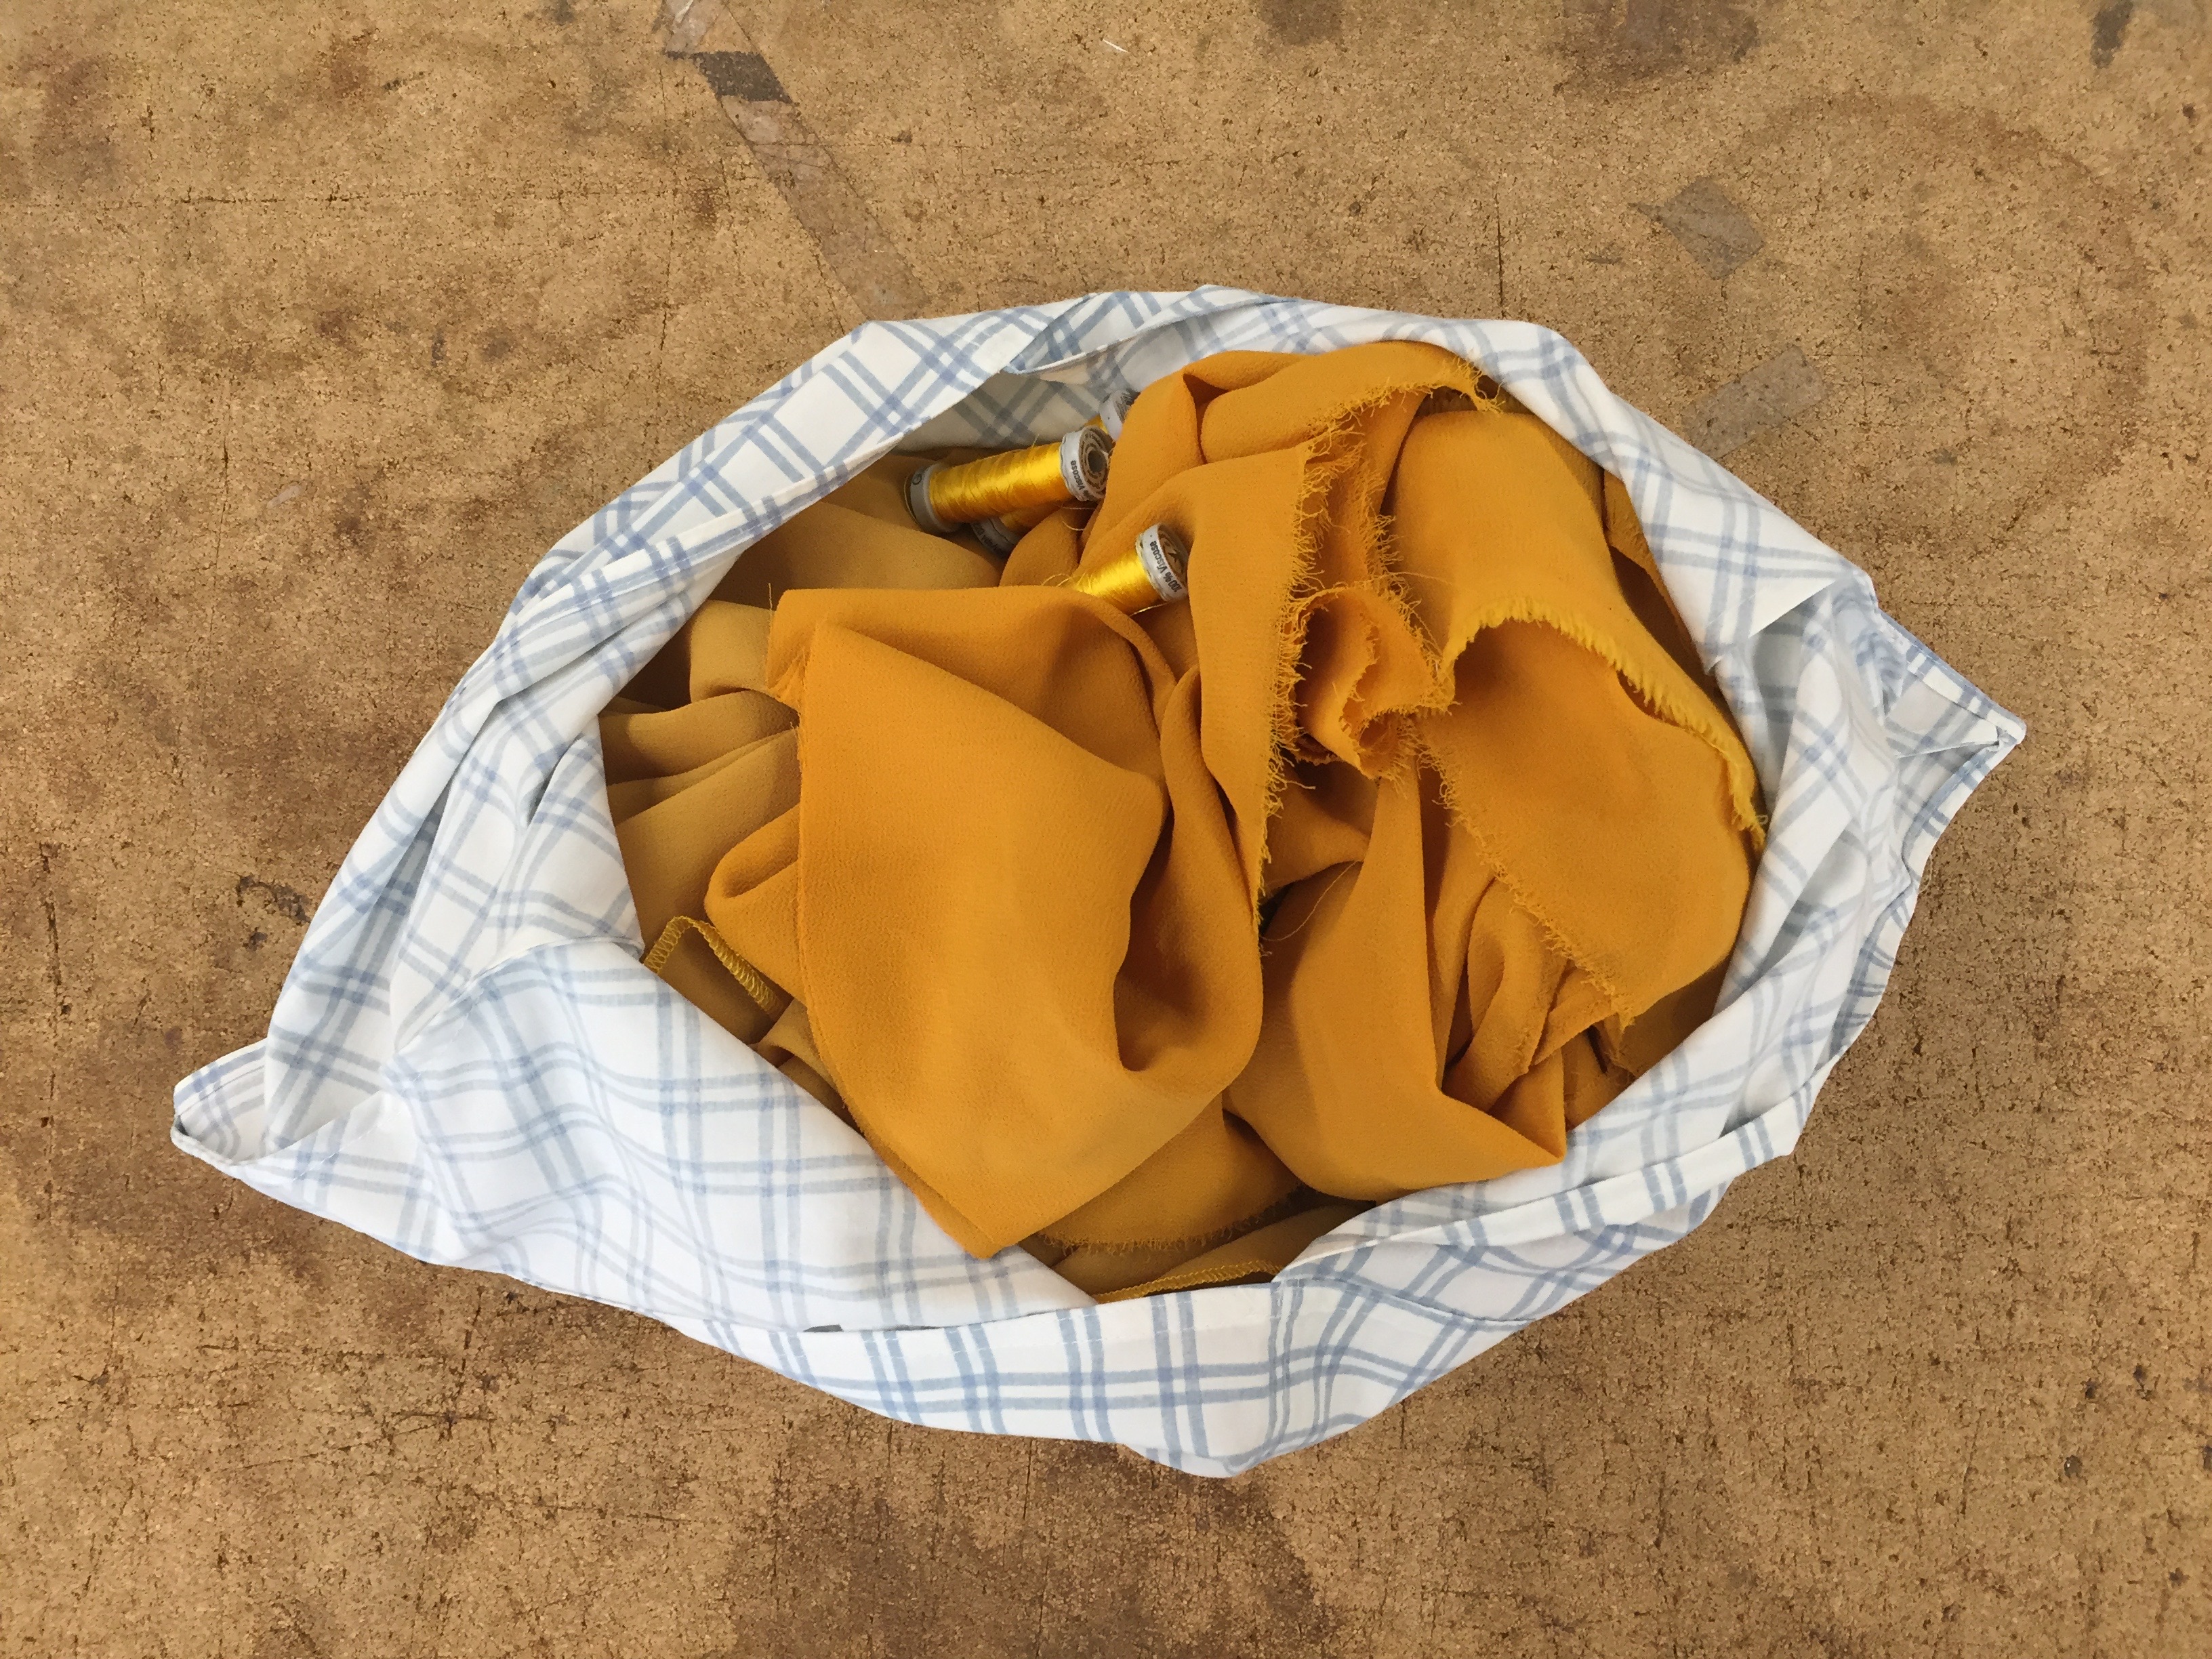
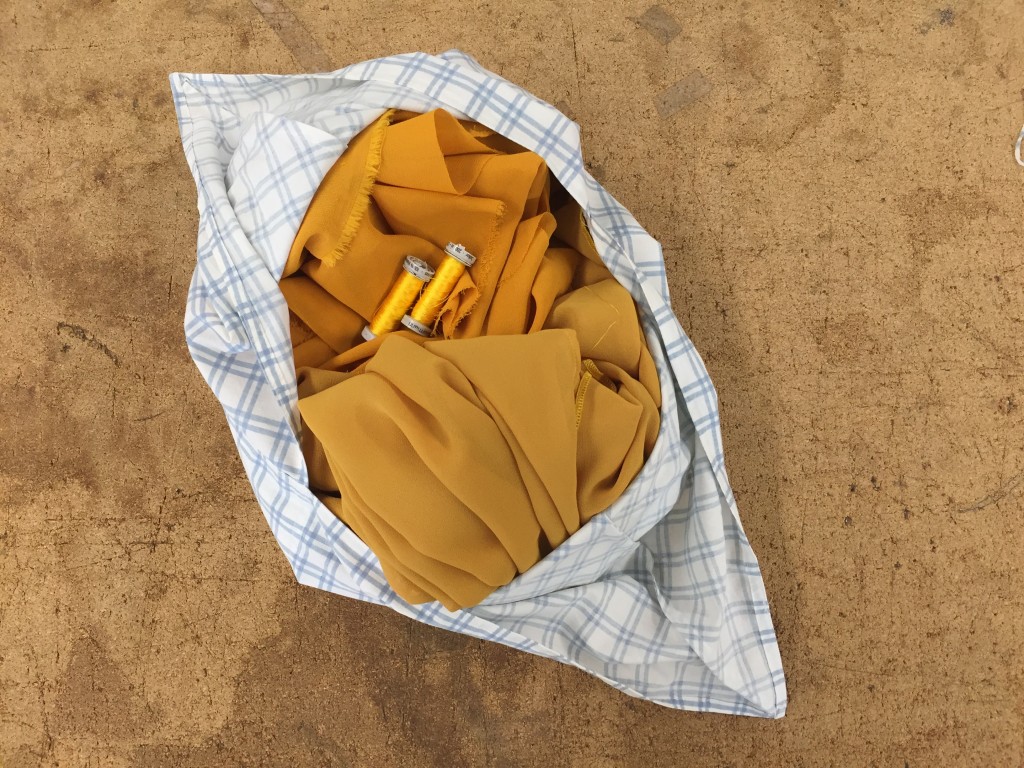
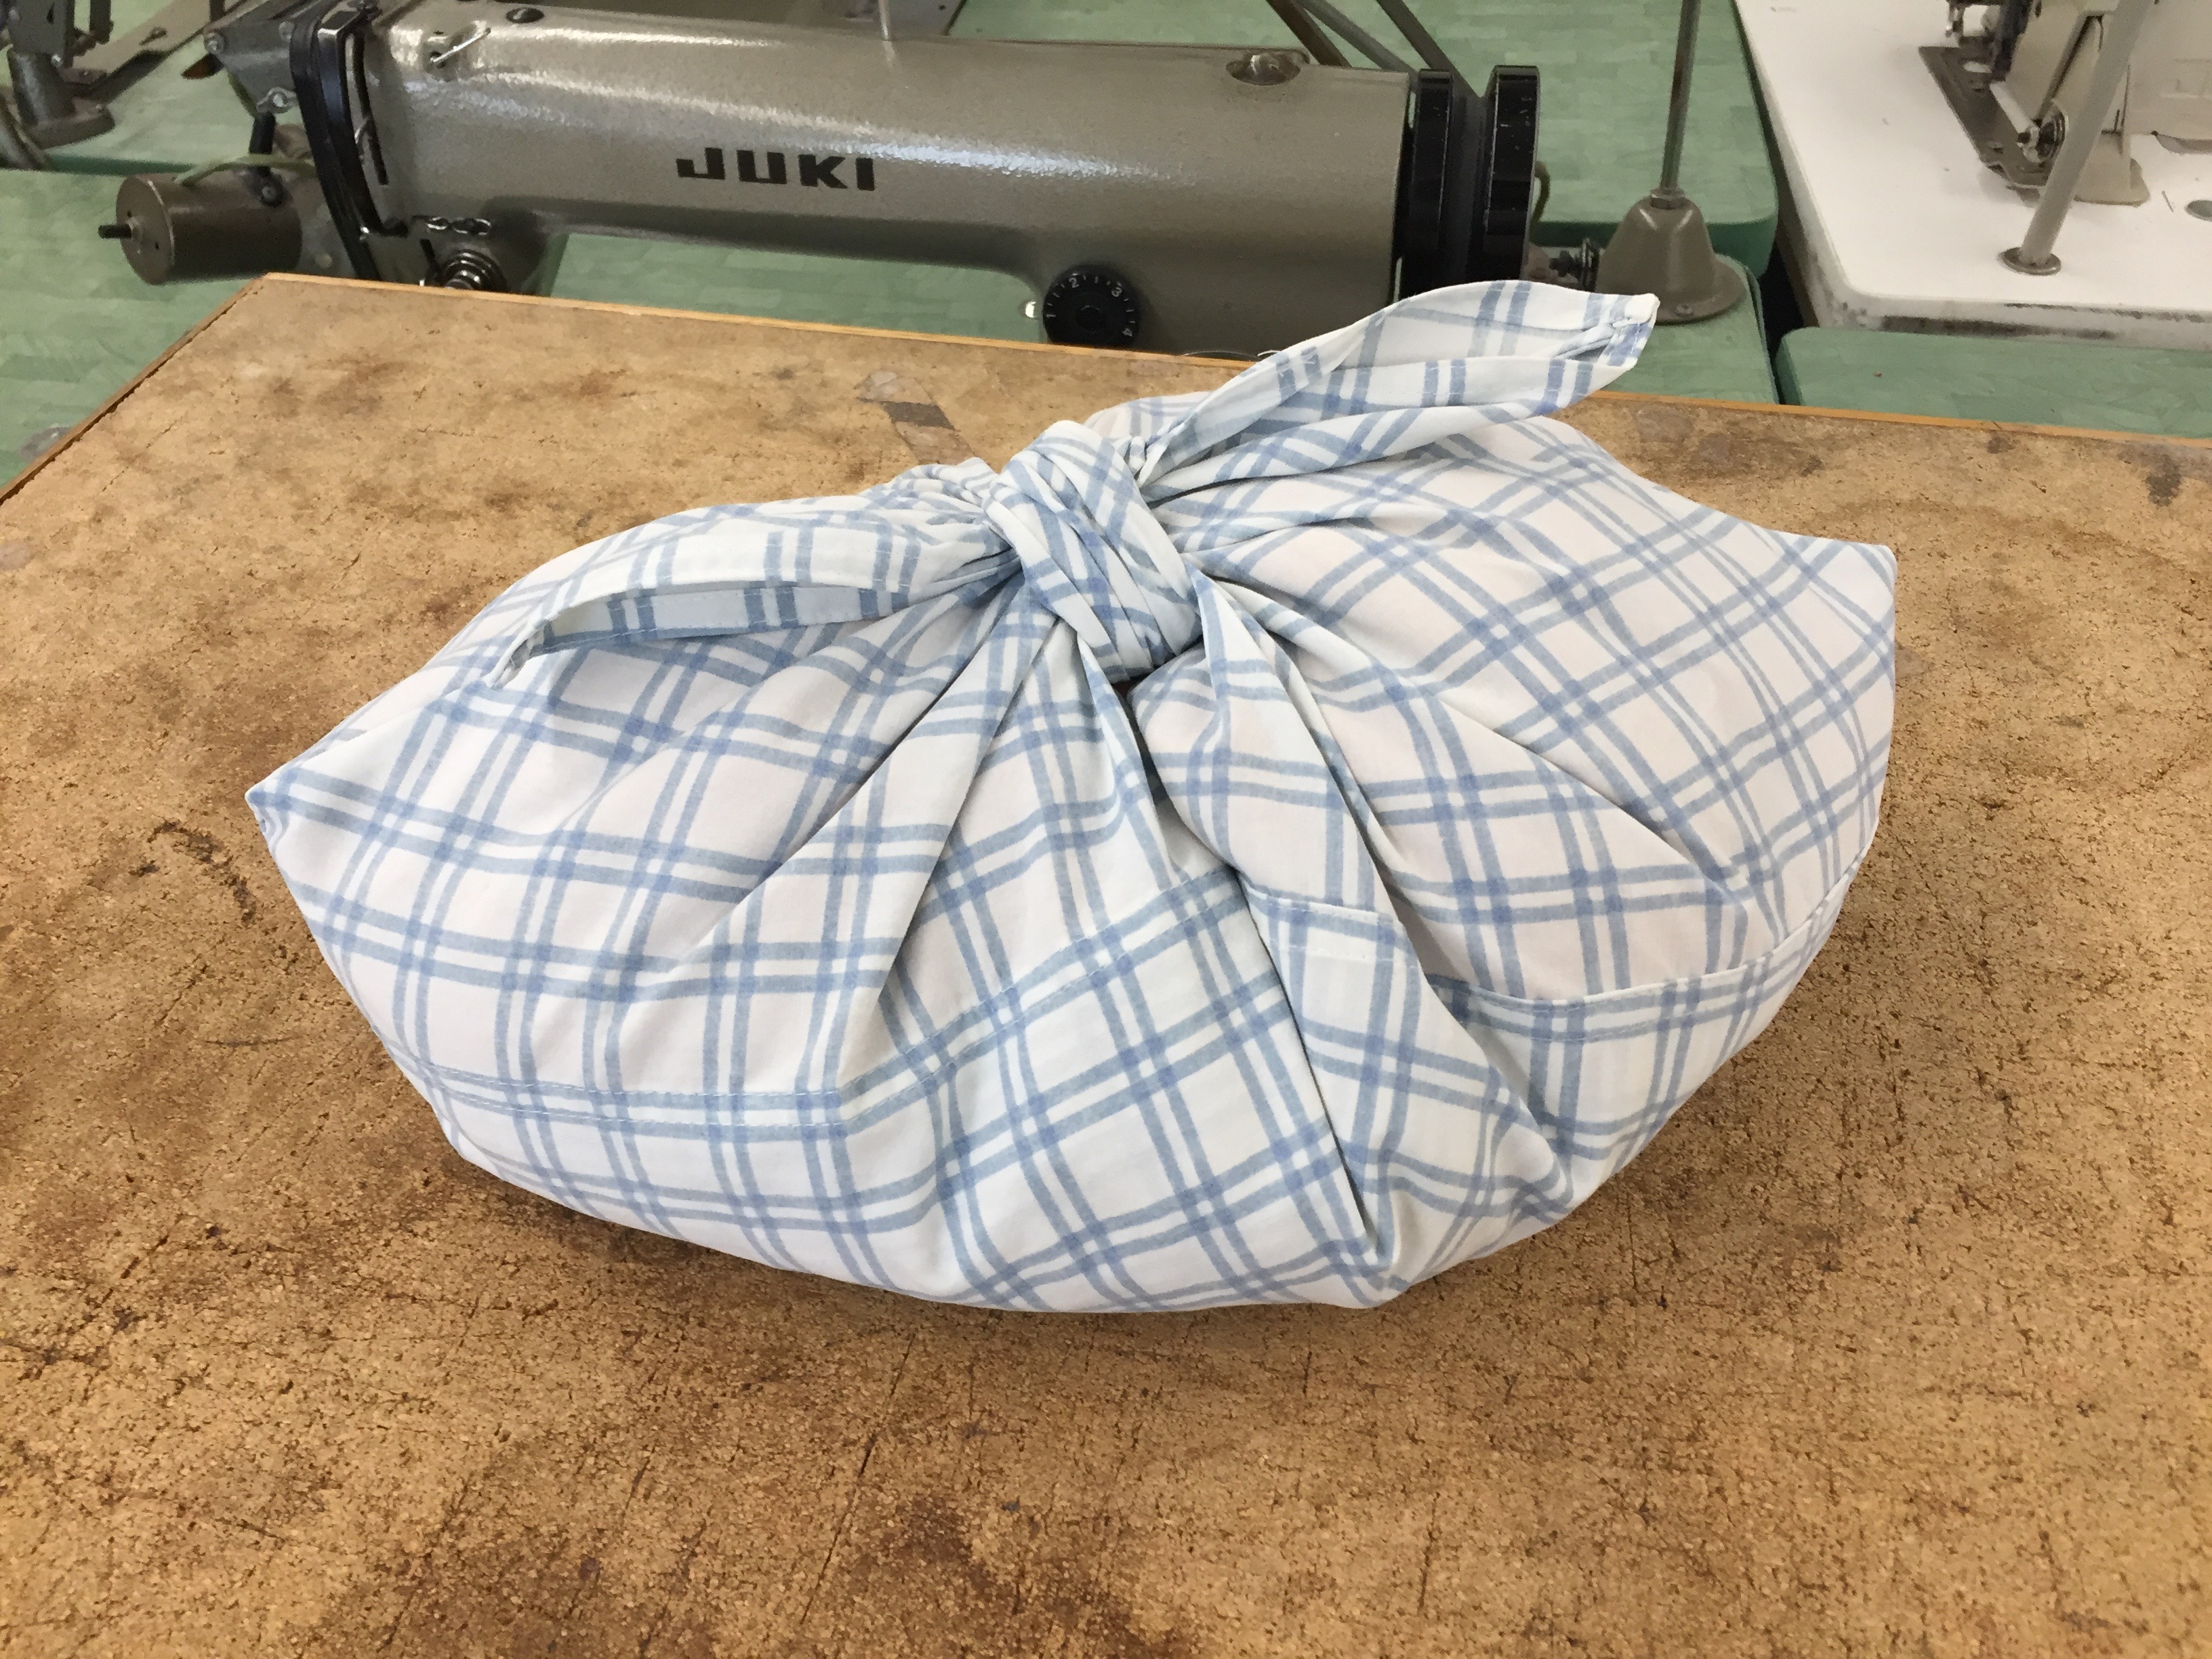
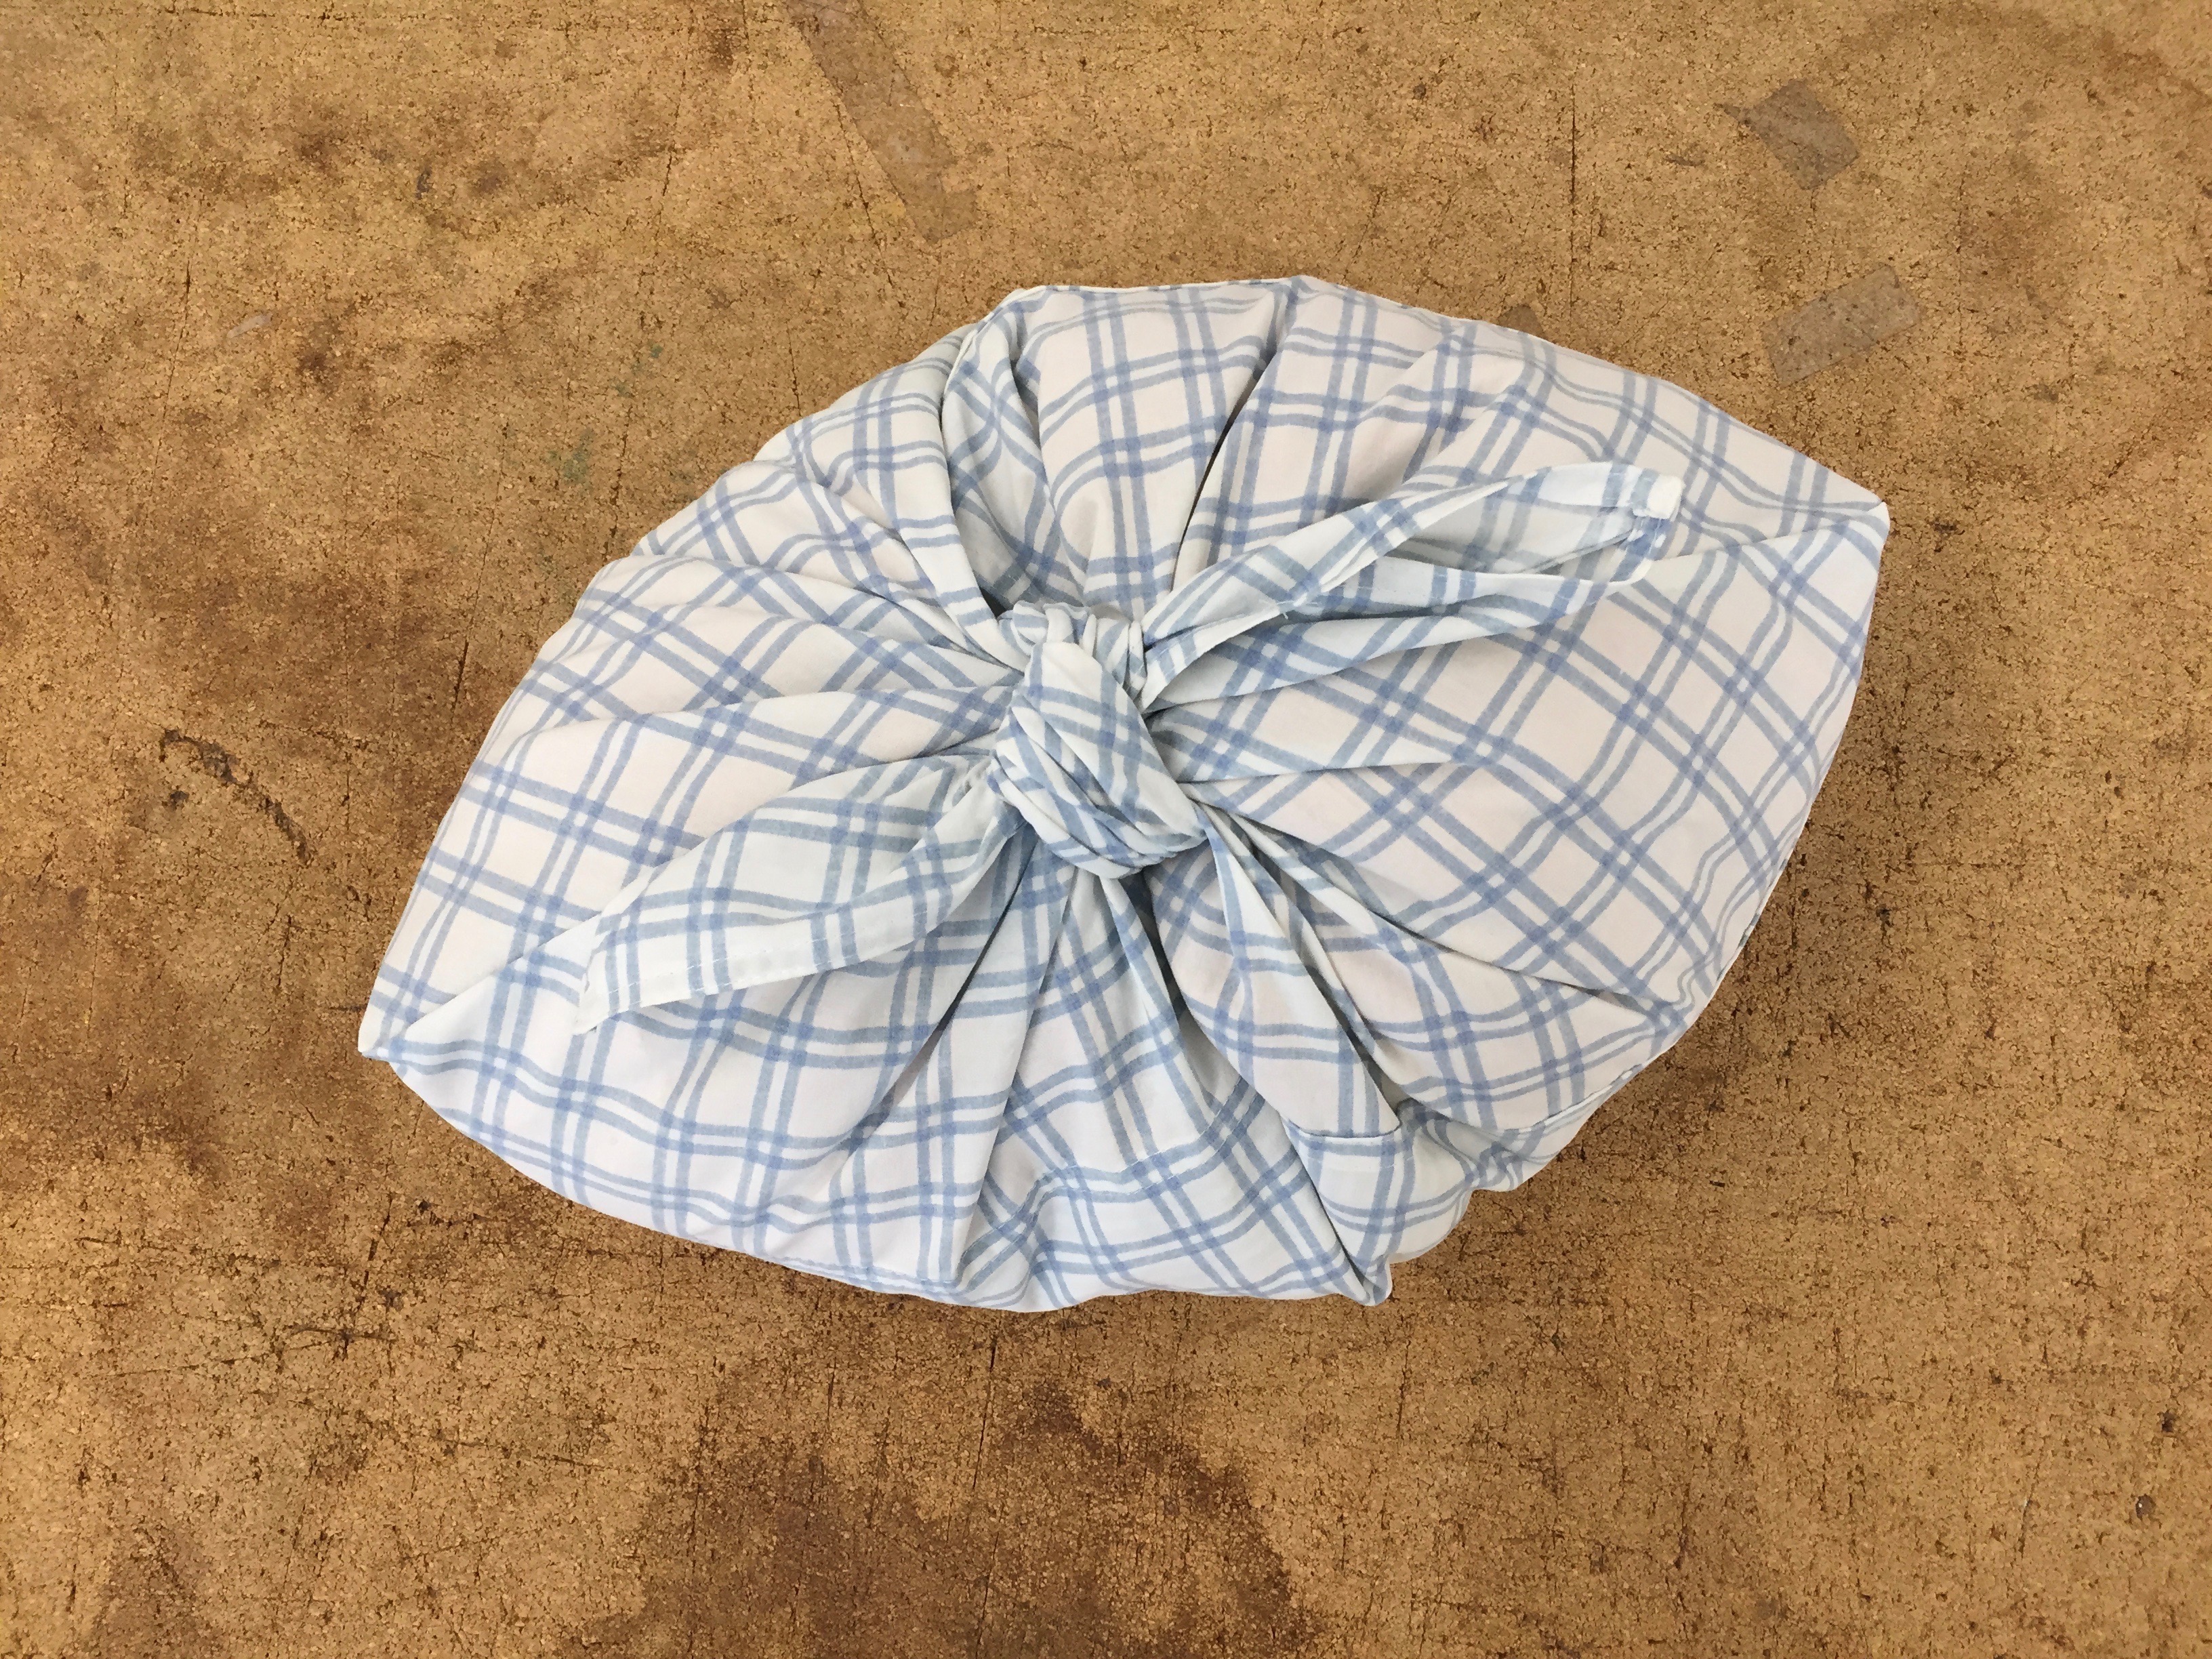
11. Flip inside out. Fill with your supplies. Tie the two flaps together, and you're all set!